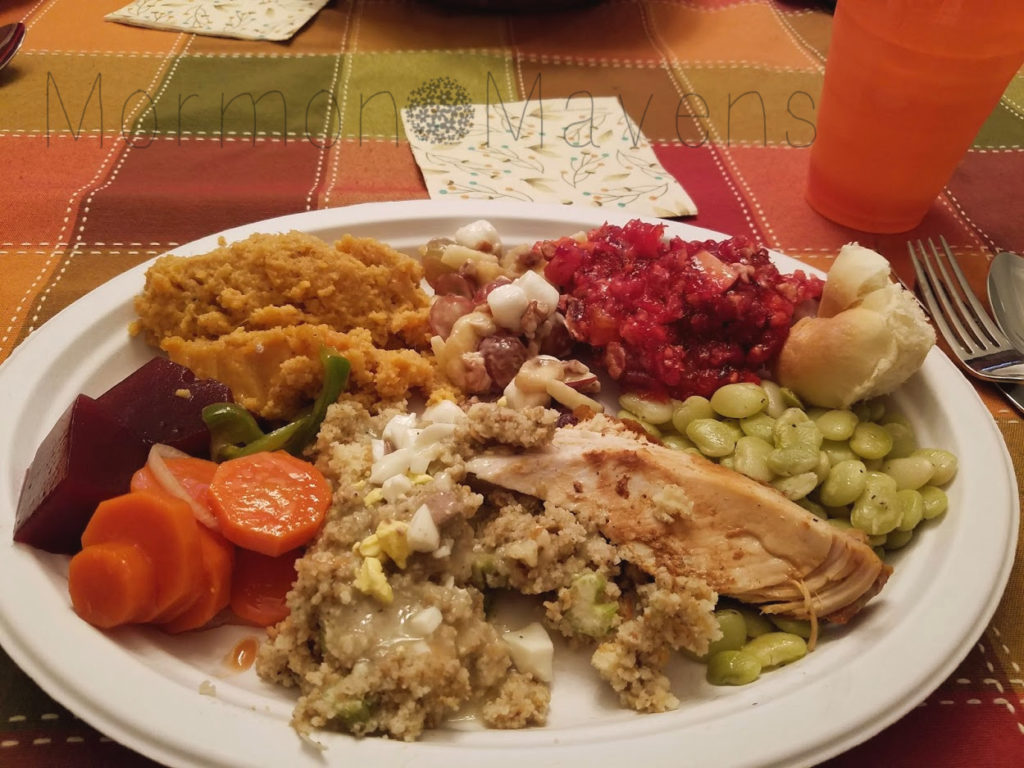
Low Country Boil has become a tradition for our family, but only if we are at the beach. Not that we couldn’t have it at home if we wanted to, but it’s just come to be associated with beach time! And that’s fine by me. The more of both, the better.
Over the years we have tested and tweaked and found our family’s favorite ingredient combo, amount, and method of serving. It suits us. You may choose to do it differently, but that’s the beauty of the boil…..you make it your own by what you choose to put it in and how you choose to serve it.
What’s In It
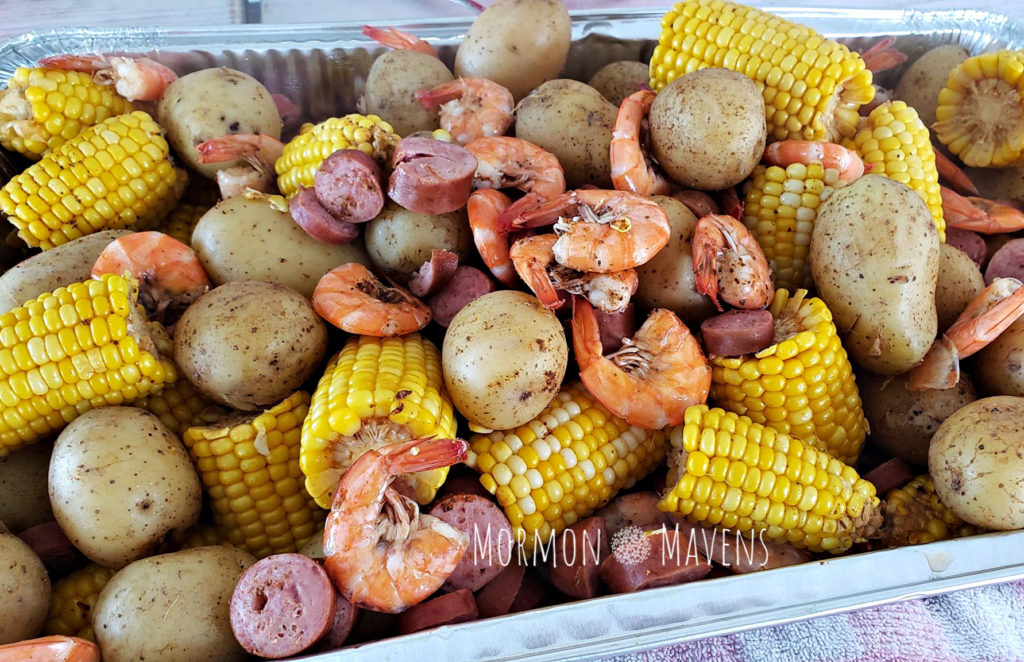
Crawfish, corn, crab legs, shrimp, sausage, potatoes, etc. There are so many variations. But our family sticks with the fab four of shrimp, polska kielbasa, corn on the cob, and Yukon potatoes. When you change up the ingredients just know that you will need to adjust the cooking times accordingly. While some people add vinegar or lemons, we prefer it with just some seasoning. But you do you! You’ll need a big stockpot with a lid to hold all this goodness.
Draining That Thing
Once the last ingredient, the shrimp, have cooked you need to drain that thing pronto! Overcooked shrimp are no fun to eat. So, ideally, you would be equipped with a special pot and strainer, like this one. But neither I nor the beach house kitchen has one of these bad boys, so we make do. Before it’s time to drain, I get my hot pads and a bath towel ready. And, by the way, with a heavy stockpot full of water and food, this now becomes a two person job.
I lay the towel on the edge of the sink and another person will use the bath towel to hold the bottom of it while I hold the handles and lid to drain. That second person essentially keeps the pot from falling over and slipping and they hold the weight of it so it can be tipped over while steam envelopes the draining person and makes their hair even more frizzy than it already is with beach humidity. But seriously, be very careful here because IT’S HOT!
How to Serve It
Die-hards may tell you it’s not an official boil unless you dump it all out onto a table covered in paper (drained first, of course!). It’s fun that way, but messy. I have found that my favorite way to serve it is, after it’s drained, divide it up into disposable foil pans (like I said we do this at the beach and who wants to do dishes at the beach?!). The beach house dining room is two picnic tables placed end to end, so it’s a long dining space. This allows everyone down the table to have access to a whole mess o’ the boil.
Serve it with melted butter and cocktail sauce (Cross & Blackwell only please….on this I simply will not budge). I really like for everyone to have their own individual dishes for the butter and the cocktail sauce so I’ve come up with a couple of solutions on how to do this. Again, I’m at the beach and don’t want to add to my dishwashing duties, so both ideas are disposable.
My favorite: Use disposable foil muffin pans (the ones with 6 muffin wells). I cut these with heavy kitchen scissors so that I have 3 sets of wells (2 wells in each). That means each person has their own little serving container that can hold both the melted butter and the cocktail sauce.
My backup, if no pans can be found: Occasionally I go to the beach grocery store and they don’t have the foil muffin pans so I get the disposable 1 oz. sample cups that look like this. They are smaller than muffin pan wells, but they’ll do in a pinch.
Low Country Boil
2019-09-09 13:37:56
Serves 6
Nothing says "beach vacation" like having this delicious seafood boil. Accompanied by melted butter and yummy cocktail sauce, how can you go wrong?!
- 2 Tbsp. salt
- 1/2 cup Old Bay seasoning
- 3 (24 oz) bags of baby Yukon potatoes
- 10 ears of corn, shucked and cut into smaller cobs
- 2 pkg. polska kielbasa, cut into 1 to 2-inch chunks (almost 2 pounds)
- 4 lbs. raw shrimp (in shells)
- melted butter
- cocktail sauce
- In a large stockpot, combine the salt and seasoning with LOTS of water. I'd love to tell you exactly how much but I don't know honestly. I fill a large stockpot not quite half full with water. Bring this to a boil. (If you fill it too full, as I have done before, simply ladle out the excess to make room for more ingredients.)
- Add the potatoes and boil for 5 minutes. (Sometimes those bags of baby Yukons will have 2 sizes of potatoes....one size is sometimes twice the size of the smaller ones. If this is the case, boil the potatoes for an additional 2-3 minutes.)
- Add the corn cobs and boil for 5 minutes.
- Add the sausage and boil for 2 minutes.
- Add the shrimp and boil for 4 minutes or until all the shrimp have turned a nice warm pink all the way through.
- Drain immediately and serve. It will be super hot, so you may want to let the boil rest (on paper or in pans) for 5-10 minutes before digging in....if you can wait!!
- Serve with melted butter and cocktail sauce.
Mormon Mavens https://www.mormonmavens.com/


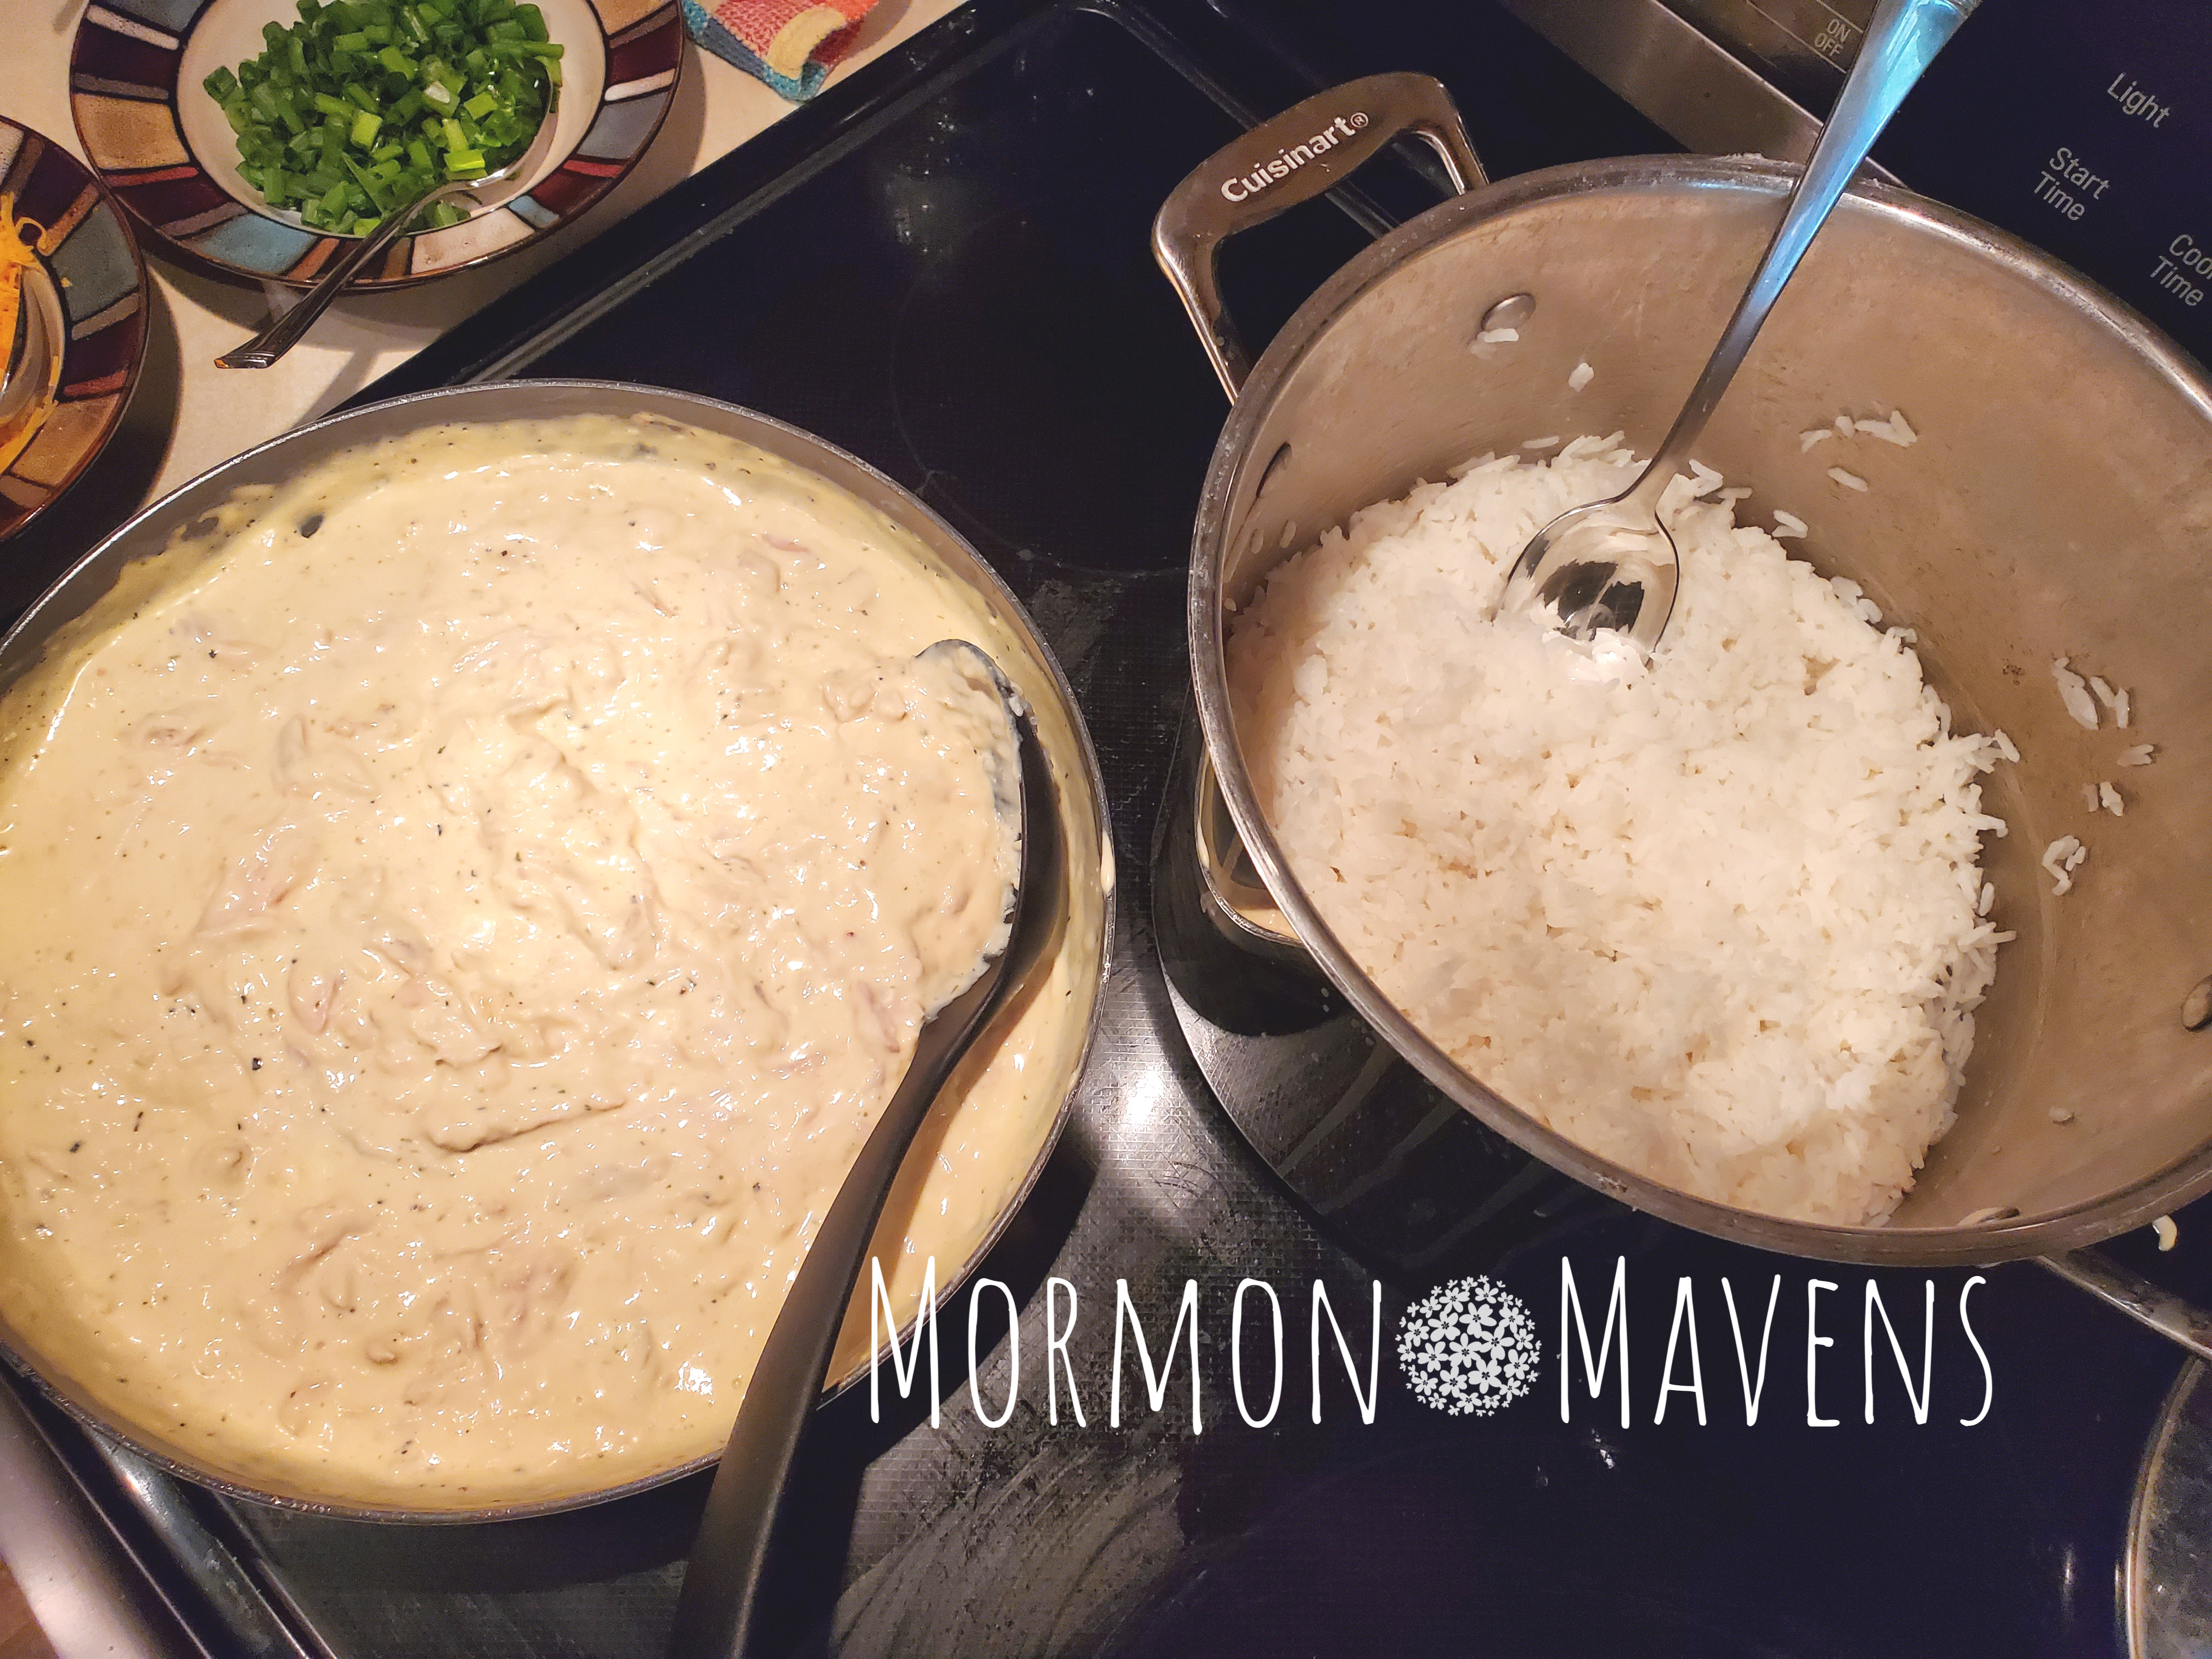
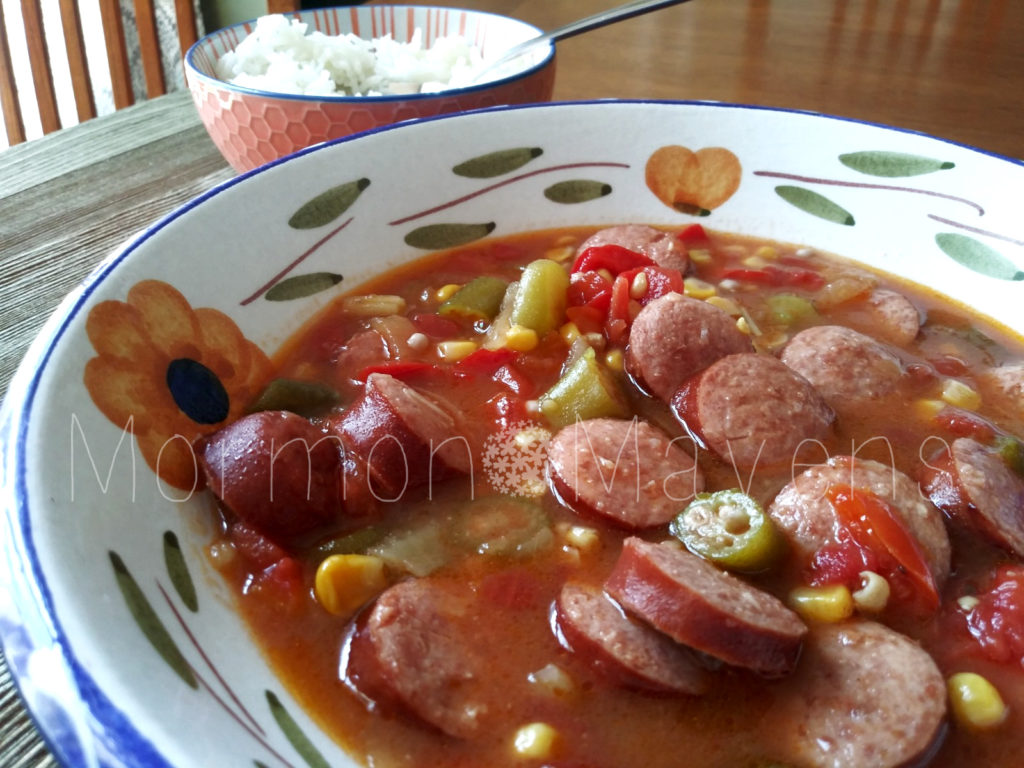 This gumbo is a much-requested family dish and our friends ask for the recipe whenever we serve it up. Kelsey Teague, a former Maven–who is also my daughter–shared the recipe on our original blog and then we re-posted it