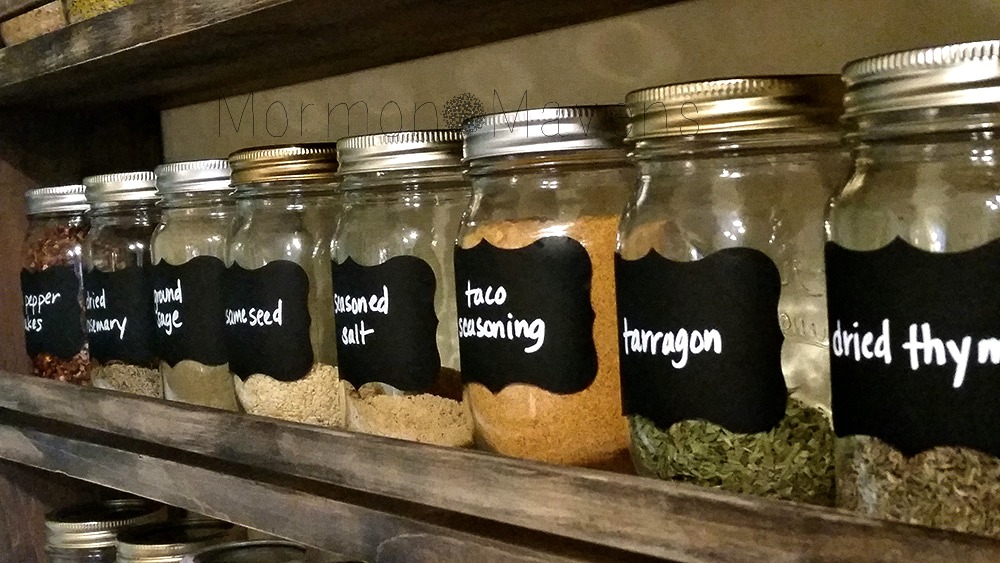
Have you ever had a project in mind but it was still just in the planning phases when suddenly you just decided that it had to happen now?
That’s how this spice shelf came to be.
See, I have this drawer. (And by the way, I’m totally kicking myself for not snapping a pic of it before the project started.) It was my spice drawer and it was a mess. Problem was that it had two layers of jars and if you didn’t put each one back just so, you couldn’t close the drawer. And I could never find all my spices. And I didn’t even keep the baking spices there. This was just the savory ones! I hated that drawer. I was so ready to change over to canning jars when I heard that my Canadian best buddy had done that.
And one night I just snapped.
“I’m getting rid of all these stupid bottles right now!”
Never mind that I didn’t have a spice shelf made or even have the supplies purchased for it. I had the jars (lots and lots of jars that I was able to get from a friend who dejunked them in a move) so I figured…why not?
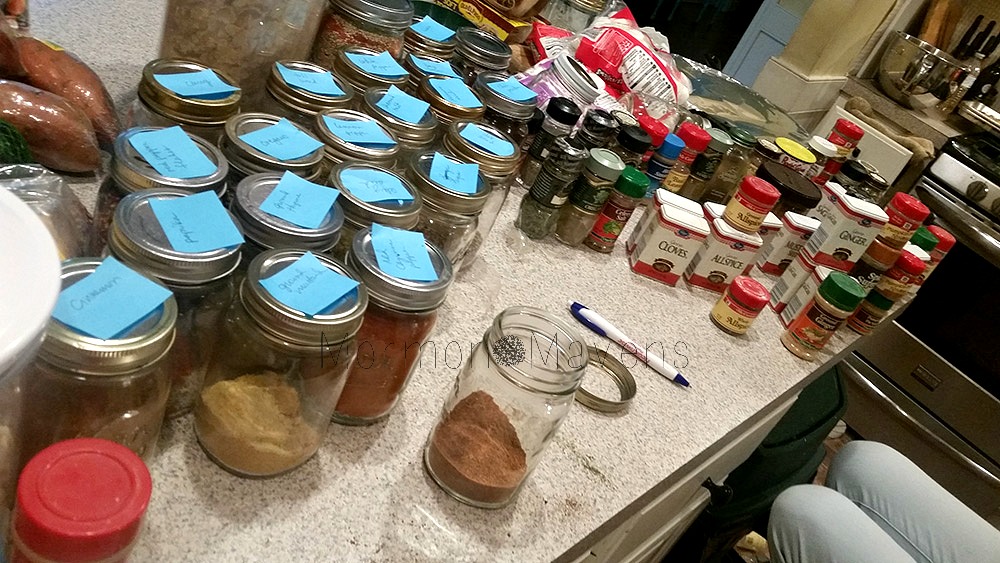
So, I pulled out every single stinkin’ spice and herb that I had in that drawer and hiding in any other cabinet in the kitchen! I pulled them all out, put them on the counter, and my youngest daughter and I sorted them. Yep, I had several multiples. See, this was a good thing? Now I’ll know exactly what I have.
I felt energized. Giddy.
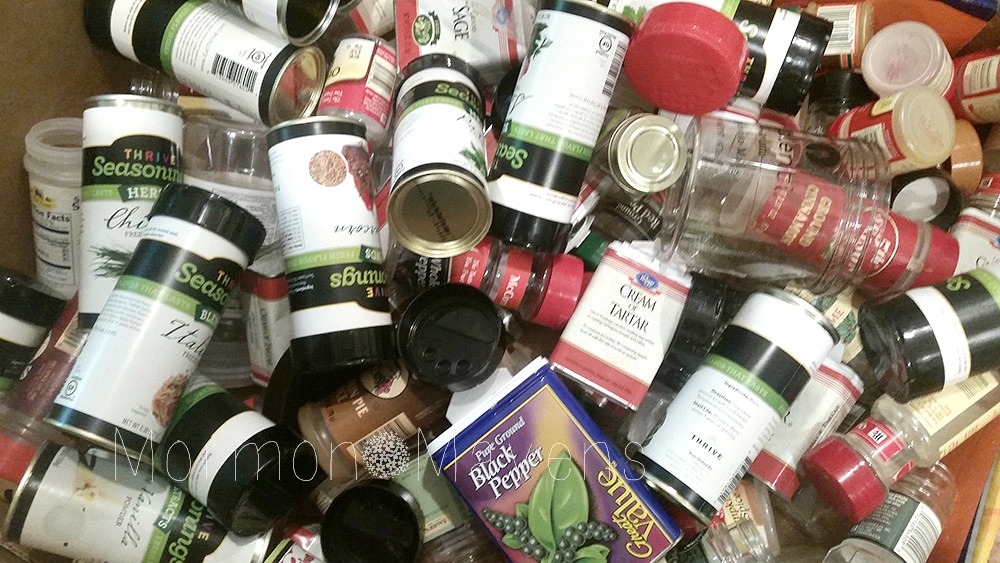
The carcasses of all those annoying little bottles!
Into the jars they went.
But in the absence of any labels, I used Post-It notes to keep track of what was what. And those spice jars sat on my counter (in my very small kitchen) for two or three days while we worked on the shelves. 
But now that it’s all done. I’m in heaven! I absolutely adore it.
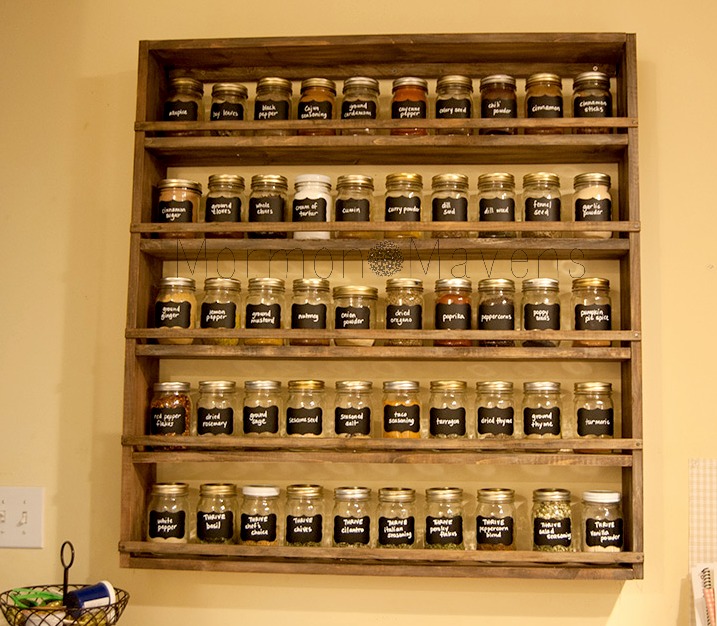
I’ll share with you how we decided the sizes and what we used. You could totally customize this kind of shelf to whatever size you wanted. I knew that I had 50 jars to accommodate so I had to base the measurements from that. I figured 5 shelves was as much as would fit above the chair rail. So we measured for 10 jars on each shelf with a couple of inches space above the jars and an inch or so space between jars.
To build the spice shelf, we used 1×6 boards and basically made a box. Then we placed the 4 boards to make the inner shelves and screwed them into place. Then we used trim pieces to make the shelf rails and nailed them into place using decorative tacks (they look kind of like miniature railroad spikes). As you can see at the top there is a narrower board attached to the unit that is used to screw the whole unit into the wall–into studs…this thing is heavy!!
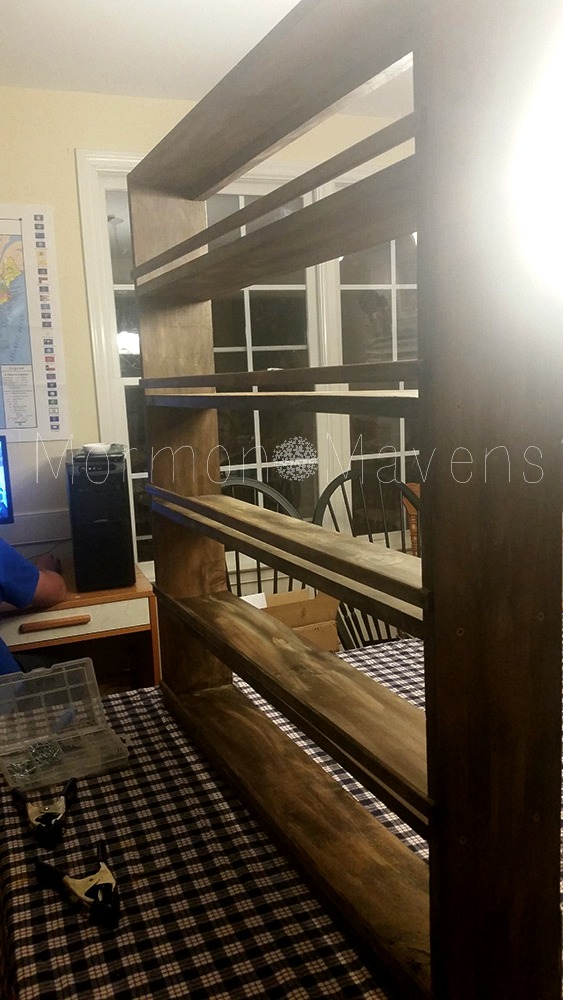
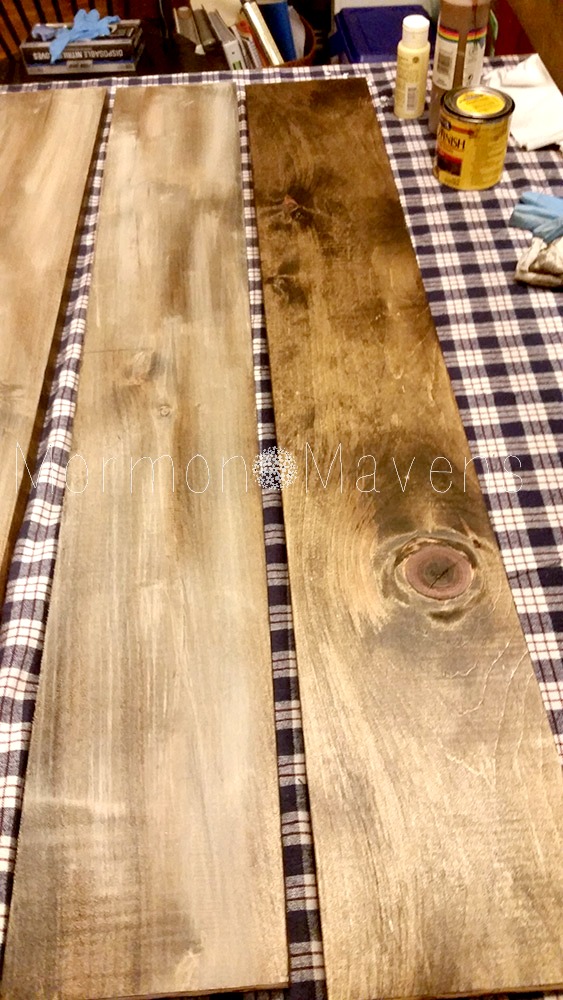
To get the barnwood look, I used a dark stain on the boards. Then when the stain was dry, I dry brushed with some acrylic craft paints (‘cuz that’s what I had on hand!) and used a cloth to wipe and smooth the paint to get the desired look. I found this part to be the most enjoyable! I’d love to dry some green and/or blue on another project to see what kind of look that would give me.

You can see below the board on the right has just the stain (applied with a cloth) and the board on the left has had some acrylic paint dry brushed and wiped on. I didn’t want a perfect look–I wanted it to look worn and aged but not overly distressed. I recommend prepping all the wood BEFORE assembly; it’s just easier.
I just adore my new spice shelf!! It was a real collaboration between my husband and myself. Every time I look at it, I just smile. It is a beautiful piece of art, in my humble opinion, and makes a real statement in my kitchen.
I would LOVE to share detailed instructions with you, but honestly….we made it up as we went along. And that was half the fun!!! But feel free to ask any clarifying questions!
