Ingredients:
1 pack of Oreos
3 quarts of your favorite ice cream
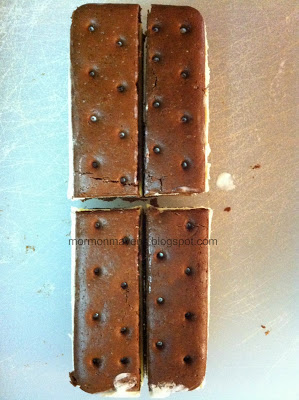
1 box ice cream sandwiches – keep in freezer until ready to use
Cool Whip
Instructions:
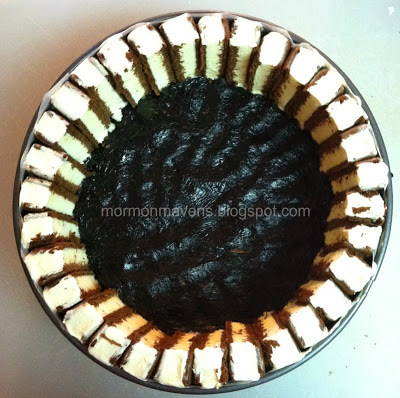
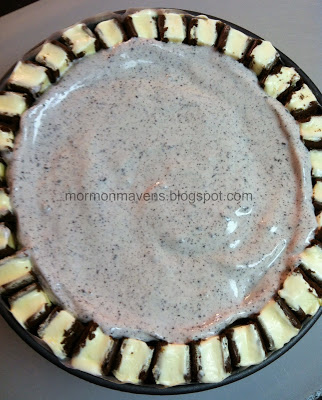
1. You will need a springform pan. Spray the pan with non-stick cooking spray. Cut strips of wax paper to line the pan. The spray will help the wax paper stick to the pan.
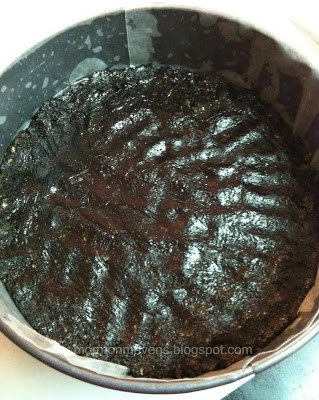
2.. Put about half of the Oreos in a blender and blend to make fine crumbs, or small chunks, whichever you prefer. (You can also put the Oreos in a bowl or zip lock bag and crush with a wooden mallet. Sometimes I use the bottom of a drinking glass and gently tap to break the cookies into small pieces.) Save a tablespoon of crumbs or chunks to sprinkle on top of the final layer. Add a little water to your crushed Oreos so that they stick together a bit and you can press them into the bottom of your springform pan. I used a little too much water by accident and made almost an Oreo brownie. : ) It was good, but I prefer the bottom more crumbly instead of gooey.
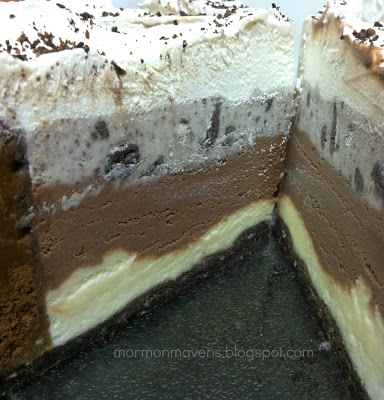
5. Scoop out about 3/4 of the ice cream for your first layer and put into a bowl. The whole quart would be too much. If you have a smaller springform pan, then maybe half of it would do…I have bought the fancy pints of ice cream for making these in a smaller springform pan. Stir the ice cream until soft and smooth. We have been known to add chunks of brownie, nuts, huge Oreo chunks, or whatever we are craving in each layer! Yum! Pour into pan. You may want to put it in the freezer for 15-30 minutes or so to let that layer get firm. if you don’t, your layers will not be straight.
6. Repeat step 5 for the 2nd layer.
7. Repeat step 5 for the 3rd layer.
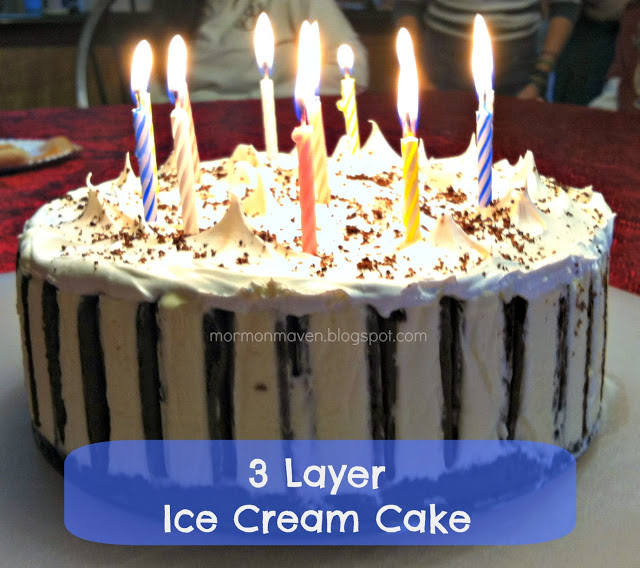
8. Spread Cool Whip over the top. Try to make it look pretty. I make little peaks on mine by using the back of the spoon. I can’t explain that…just try to make it look pretty. : )
9. Sprinkle some Oreo crumbs on the top. This is as creative as I get, but I’m sure you could add some special touches to make it look really pretty.
10. Put it in the freezer and let it freeze hard for 24 hours. Every time I have made it in the morning and tried to serve it that night, it was not frozen enough and it was more of a blob than beautiful layers. Take out of freezer and remove the outside of the springform pan and the wax paper. Cut and serve! Everyone will love it! : )





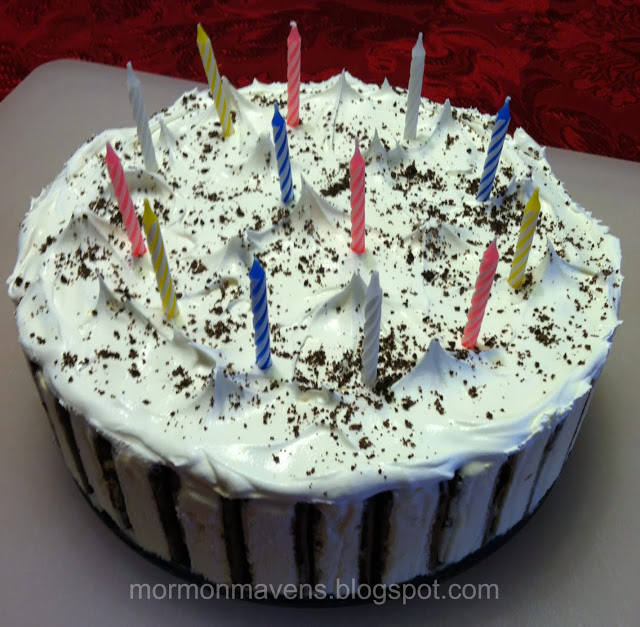
Going on 4 years of this cake for my daughter's birthday. Its a fav
Going on 4 years of this cake for my daughter's birthday. Its a fav
You had me at ice cream sandwiches.
This looks so fun!