Slow Cooker Apple Butter

How often do you use apple butter?  Yeah, I didn’t used to use it that much. Maybe I would buy some at a country store up in the mountains, but it was not a staple in my kitchen.

And then I found this great recipe for bran muffins–moist and sweet and healthy and delicious.  And one of the ingredients is apple butter.  Now, they have some pretty good options at the grocery store but I didn’t see a jar small enough for just a portion for the recipe.  Enter Magnolia Journal and all the tastes.

This is a slow cooker apple butter and it is so good.  Not too sweet, just the right amount of spice.

Go ahead and slather some on a piece of buttered toast–yeah, that good.  We will be eating it more often around here–and it freezes well, so that’s a plus.

Slow Cooker Apple Butter
Write a review
Print
Ingredients
  1. 12 medium cooking apples (I used McIntosh and a few Galas) peeled, cored, and sliced.
  2. 2 cups sugar
  3. 1/2 teaspoon ground cinnamon
  4. 1 1/2 teaspoons ground cloves
  5. 1/2 teaspoon ground nutmeg
  6. 1/4 teaspoon salt
Instructions
  1. Place apples in a 5 or 6-quart slow cooker. Stir in sugar, cinnamon, cloves, nutmeg, and salt.
  2. Cover and cook on high for 4 hours. Uncover and stir. Leave uncovered and cook on high 2-2 1/2 hours more or until apples are very tender and most of the liquid is evaporated, stirring occasionally.
  3. Cool mixture at least 1 hour or cover and chill overnight. Process with an immersion blender.
  4. Spoon apple butter into half-pint freezer containers, leaving a 1/2 inch head space.
  5. Seal and label. Store for 1 week in the refrigerator or up to 1 year in the freezer.
Notes
  1. Note: You can also process this in a blender or food processor, half a batch at a time. It will be slightly lighter in color and have a thinner consistency.
Adapted from Magnolia Journal
Mormon Mavens https://www.mormonmavens.com/

Peach Cider Sorbet

My husband picked up some Peach Cider at South of the Border a couple of weeks ago, probably because we once had a Peach Cider Slushie at an Amish country store that I still think/talk/drool about.  I decided to try making sorbet out of it but couldn’t find a recipe specifically for peach.  So I looked over a few recipes I found on the internet and combined/tweaked/added to come up with this one.  It was a big hit with the family!  It tastes like fall, but since peaches are a summer fruit it’s best in summer.  Of course, you could always try frozen peaches.  Or you can try it with apple cider and apples, maybe add some whole cloves in with the cinnamon stick.  I’m sure that would be great!

Ingredients:
2 cups peach cider
2 large, ripe peaches (peeled, pitted, and cut into bite sized chunks)
1/4 cup white sugar
1 Tbsp. molasses
1 Tbsp. lemon juice
1 cinnamon stick
1/8 tsp. salt.

1.  Place all ingredients in a medium saucepan and bring to boil.  Reduce heat and simmer for 10 minutes.  Peaches should be soft.  Remove from heat and let the mixture cool for a bit.
2.  Remove the cinnamon stick and discard.  Transfer mixture to a blender and puree until smooth.  Strain mixture through a sieve into a bowl.  Allow to cool to room temp, then cover and refrigerate for at least 2 hours.
3.  Pour chilled mixture into ice cream machine and process until frozen and thick.  Transfer sorbet to a freezer container and freeze for at least 2 hours.

Serve and enjoy!


Originally posted on August 11, 2014.

Sausage Pancakes


Originally posted on February 25, 2011.

I hate cooking sausage patties.  Love the flavor, but hate cooking them.  They never seem to get done in the middle unless the outsides are overdone.  Cooking ground sausage, however, is much easier.  (We often mix sausage crumbles with scrambled eggs and shredded cheddar and serve that on toasted English muffins, like a breakfast sandwich.)  If you love the flavor of sausage and maple syrup, you will love these pancakes.  They are very filling.  My pickiest eater requests these all the time.
Sausage-Pancakes


Ingredients:
2 cups flour (white, wheat, or a mixture)
2 tsp. baking powder
1 tsp. salt
1/2 tsp. baking soda
2 eggs (or use egg powder)
2 cups buttermilk or sour milk*
2 Tbsp. oil
1 lb. ground sausage, cooked and drained

1.  Mix dry ingredients together in a large bowl.
2.  Mix eggs, milk, and oil together with a whisk until well blended.
3.  Add wet ingredients to dry ingredients.  Do not over-mix.
4.  Pour on hot, greased griddle and cook on both sides till golden brown.

*Sour milk–place 2 Tbsp. white or apple cider vinegar in a 2-cup measure.  Add milk to the 2-cup measuring line.  Let sit for a few minutes.

To freeze, layer pancakes with wax paper in between them and place them all in a freezer bag or container.

Source:  The Hows and Whys of the Year Supply by Melissa Coombs

Chocolate & Coconut Cashew Bars

cashew-bars-2

If you haven’t met me before, allow me to introduce myself.   I’m the girl who wants dessert after every meal.  Every meal.

And also after snacks.

And also after watching TV commercials about meals and snacks.

And that’s a problem.

But luckily I’ve found a way to combat this.  

And I have to be honest.  I really had no faith in this recipe because I am a dessert snob.  If it’s described as a healthy dessert my mind immediately puts it into the “Yeah, right!” category.  And so I wasn’t expecting much.  

I distinctly remember my first bite.  I think I said something like, “Well, it’s okay, I guess.  But I doubt I would make it again.”  Which was followed by multiple bites that impressed me more and more.

A month later and I’m still making them!  

And you know what I love most about this recipe?  The bars taste so rich to me that it only takes one to satisfy!  So they last a long time!  And this has been so helpful for me in my quest to eat healthier and lose weight.  Vegan if you don’t use the honey.

I did tweak the recipe a bit.  It can be gluten free if you make sure that your oats are as well! 

cashew-bars-1


Chocolate & Coconut Cashew Bars
Yields 25
A healthy bar treat that is rich and satisfying! Great combo of a little sweetness and a little salt and a little chocolate and a little nut!
Write a review
Print
Prep Time
15 min
Prep Time
15 min
Ingredients
  1. 1 1/2 cups lightly roasted cashews (I used Planter's)
  2. 1 cup old fashioned oats
  3. 1/4 cup almond butter
  4. 1/4 cup melted coconut oil
  5. 1/4 cup + 2-3 tsp. liquid sweetener*
Topping
  1. 1/4 cup liquid sweetener
  2. 1/4 cup melted coconut oil
  3. 1/2 cup unsweetened cocoa powder
  4. 2-3 Tbsp. unsweetened coconut flakes
  5. sea salt to taste
Instructions
  1. In a food processor, process the cashews for a couple of minutes. Scrape down the sides if you need to. They will start to clump together a little, and that's good.
  2. Add the oats, almond butter, and sweetener and blend for another couple of minutes, scraping the sides down if necessary. This should form a sort of dough.
  3. Line an 8x8 pan with parchment paper and lightly coat it with some non-stick cooking spray. Make sure the edges of the parchment come out over the edge so you can lift out the bars later.
  4. Spread out the dough and press it evenly to the edges.
  5. Make the chocolate topping by whisking together the liquid sweetener, coconut oil, and cocoa powder until smooth. Pour this over the top of the bars.
  6. Sprinkle with coconut and sea salt.
  7. Freeze for an hour or refrigerate for several. Then lift out the bars and cut them carefully into squares. I did 5 slices in each direction which gave me 25 bars.
  8. Store the bars in an airtight container in the fridge.
Notes
  1. *You can use agave nectar (although not actually healthy), honey, brown rice syrup, or maple syrup. I had some agave to use up and that was tasty, but like I said, not really healthy the way it's made today. I was worried that the maple syrup would be too strong, but it was perfect. Gotta be REAL maple syrup though!
Adapted from Dishing Out Health
Mormon Mavens https://www.mormonmavens.com/

Chicken Satay and Thai Peanut Sauce

For this post, you get two recipes in one! The chicken satay recipe came from here. And the most amazing Thai Peanut Sauce recipe came from here.

Thai Chicken Satay:

2 normal to large sized chicken breasts
1/2 cup coconut milk
1 tablespoon curry powder
1 teaspoon turmeric powder
1 teaspoon sugar
1/2 teaspoon salt
12 wooden skewers
Directions:
1. Soak the skewers in water while prepping your chicken and sauce. This will help keep the skewers from burning when you place them on the grill. 

2. Cut the chicken into thin slices. 

3. Mix all of the ingredients together in a bowl, add the chicken and massage. The chicken does not need to marinate in the sauce for very long, in fact only a few minutes. Place the chicken on skewers and drop them on the grill at medium heat. Flip the skewer just before you start to see grill marks on the chicken. This makes for the perfect “doneness” without drying it out. 
This marinade also goes great with shrimp! 
For the Thai Peanut Sauce:

One 13.5-ounce can of full-fat, unsweetened coconut milk
2 ounces (approximately ¼ cup) of Thai red or Massaman curry paste
¾ cup unsweetened (natural) creamy peanut butter (Do not use regular peanut butter or anything with added emulsifiers. I get mine fresh ground in the bulk section at Winco.)
½ tablespoon salt
¾ cup sugar
2 tablespoons of apple cider vinegar or white vinegar (Do not use white wine, red wine, balsamic, or anything else — not even rice vinegar)
½ cup water
Instructions:
Put everything into a medium heavy-bottomed pot and bring to a very gentle boil over medium heat, whisking constantly.
Let the mixture simmer for 3-5 minutes over low heat; be careful not to let the mixture scorch at the bottom of the pot.
Take the pot off the heat, let the sauce cool down to room temperature (or slightly warmer), and serve the sauce with satay or fried tofu.
Notes
This peanut sauce keeps in a glass container in the refrigerator for weeks. Refrigerated sauce will thicken up considerably. All you have to do is thin it out with a little bit of water to desired consistency, reheat, and serve. The sauce also freezes beautifully.


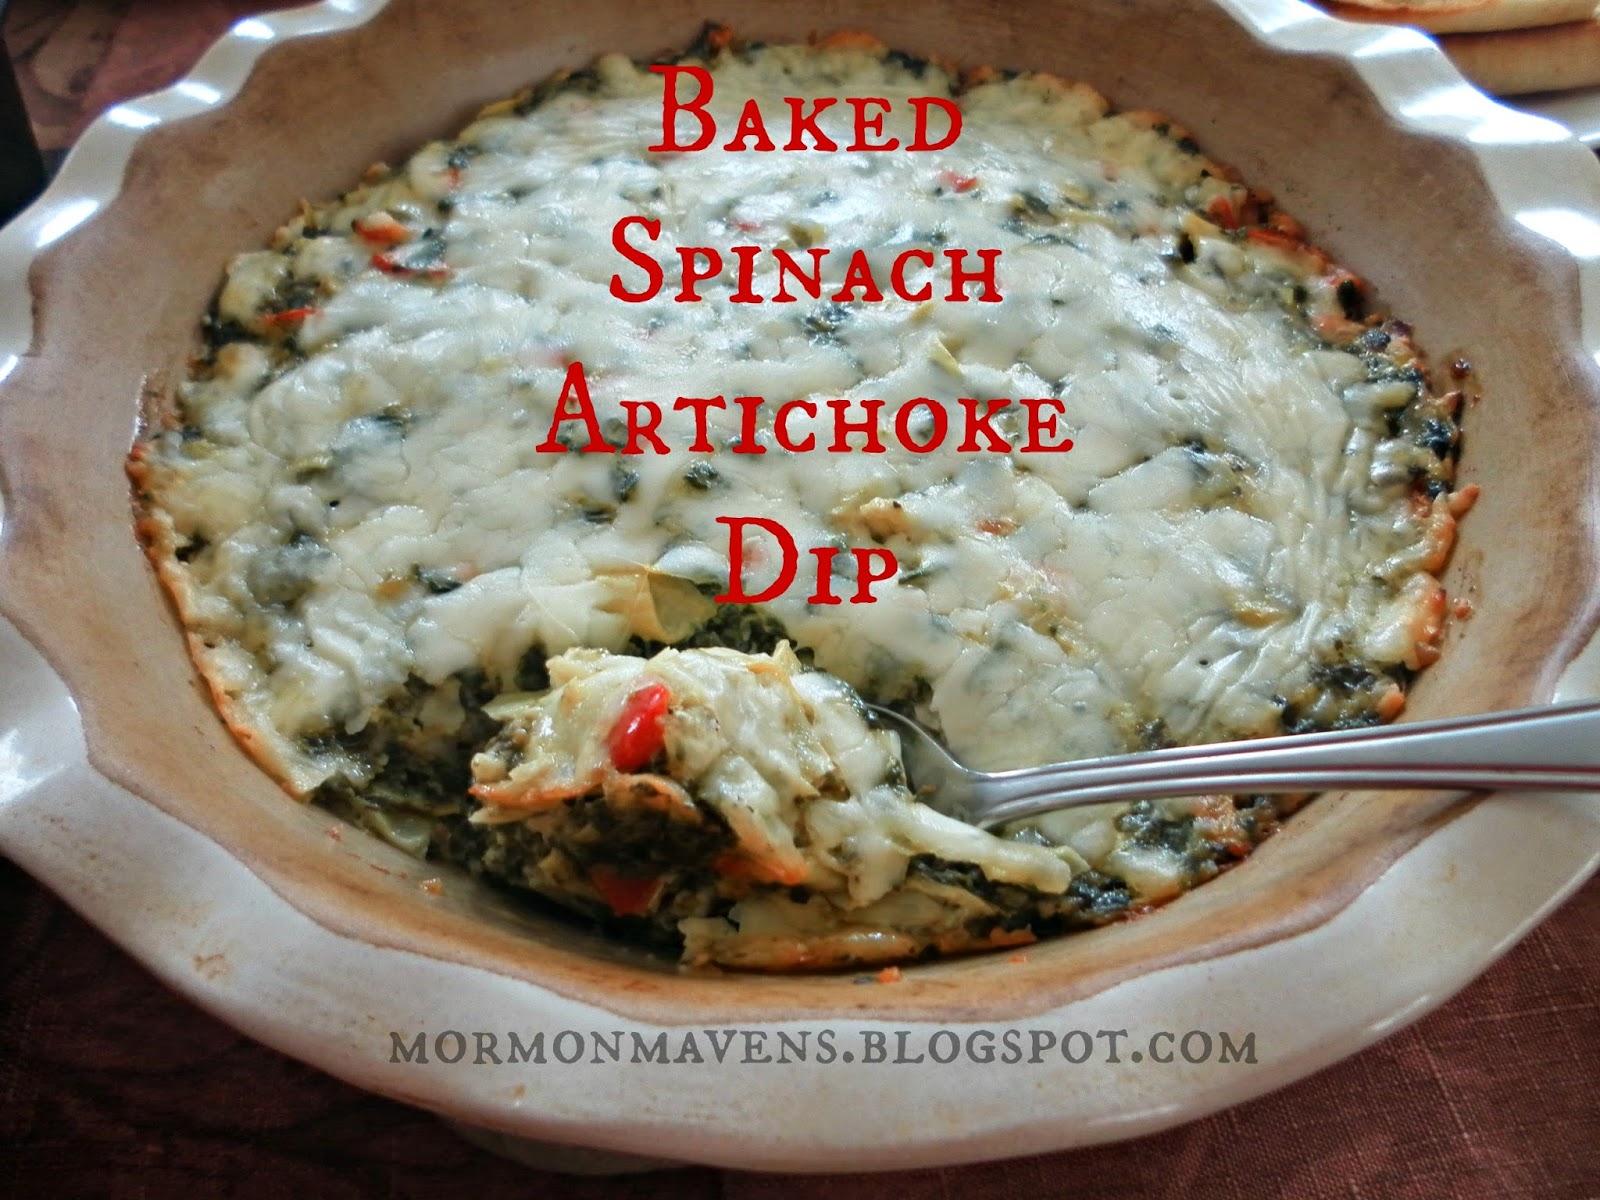
Baked Spinach-Artichoke Dip

This may not look like much, but it is so yummy. It’s from a Betty Crocker quick and easy cookbook that I have. I have been making it for years and it is always a hit. 
Ingredients:
1 C. mayonnaise
1 C. grated Parmesan cheese
1 Can (14 oz) artichoke hearts, drained and coarsely chopped
1 package (10 oz.) spinach
1/2 C. chopped red bell pepper
1/4 C. shredded mozzarella or Monterey Jack cheese
 Toasted baguette slices or assorted crackers (I slice my baguette in half lengthwise, spread with a bit of butter and toast in the oven til just golden on the edges. then I cut it into triangles or simple slices.)
Directions:
Heat oven to 350 degrees. 
Cook spinach by microwaving in a microwave safe bowl with a touch of water until fully wilted, or by steaming in a pot until wilted. Let cool slightly, then squeeze to drain and roughly chop. 
Meanwhile, combine, mayonnaise, Parmesan cheese, artichokes, bell peppers in a bowl. Add the chopped spinach. Mix til fully combined.
Place mixture into a baking dish (I use my deep pie dish) and sprinkle with the mozzarella or Monterey Jack cheese. 
Cover and bake about 20 minutes or until cheese is melted. Serve warm with baguette slices or crackers.

Whole Wheat Sandwich Bread

This recipe comes from my friend’s sister of The Perfect Chocolate Chip Cookie
She basically has it down to a science and it always turns out wonderfully!

Ingredients:
4 c water (room temperature)
8-10 C. (2 lbs 10 oz) whole wheat flour
2 T instant yeast
1/2 c (2 oz) gluten
1/2 c brown sugar
4 t salt
1/4 c vegetable oil

In a large mixer combine the water and whole wheat flour. Blend for 3-4 minutes. It will be sticky. Cover and let sit for at least 30 minutes or up to 12 hours. I often mix the flour and water the night before and finish the bread in the morning.

Add the remaining ingredients and knead 2-3 minutes.  It should be cleaning the sides of the bowl by this point.  If it isn’t, add 2 T wheat flour at a time until it does.
Knead another five minutes and touch test the dough.  Squeeze the top quickly with a few finger tips. The dough should not stick to them. Add flour or water 1-2 tablespoons at a time to get the correct look and feel. Knead an additional 5 minutes.

Cover tightly with plastic wrap and let rise in a warm place for 30 minutes. Punch down dough, knead for a minute or so and then cover tightly again and let rise an additional 45-60 minutes until dough triples in size. 

Grease 3 loaf pans with cooking spray. Punch down dough and separate into 3 equal pieces. Roll each piece into a long, skinny rectangle, making sure to remove any air pockets, roll each rectangle tightly and pinch bottom and side seams to create a loaf shape. Place in greased loaf pans. Cover loosely with plastic wrap and let rise 30-45 minutes. Pre heat oven to 350 degrees F. Uncover loaves and let rise 15 mins more, or until the oven is preheated. Bake 40 minutes. 

Remove immediately from pans and place on a cooling rack. You can eat it warm or cool down to slice and freeze it. 


Tin Foil Dinner

This is easy to make several of (I usually make enough for 5 zip lock bags), and cooks up really fast for when you are in a pinch!

All you need is:

Hamburger
Veggies of choice (I use Zucchini, Carrots, Onions, Potatoes, and Green Beans)
Ketchup
Mustard
Salt
Pepper

Precook the veggies until soft then mix them in with the raw hamburger and add ketchup, mustard, salt and pepper to your liking.  Once combined put it into your frying pan to shape it to fit, then slide into a 1 gallon zip lock bag and lay flat to freeze (as you can see in the picture above it is still frozen but fits nicely in my pan).  When you need it just take it out, pop it in the frying pan you measured it in. Cover and cook until the hamburger is cooked through.  The reason I have not given amounts is you can make it more meaty or veggie depending on your preference.  We usually serve it with a big salad.  Enjoy!

Freezer Meal: Cafe Rio Chicken

A little confession.  I know the food is good at Cafe Rio.  I ate there once or twice on a trip to southern Utah a few years back.  But I don’t go ballistic nuts over it.  Just sayin’.  Maybe because I have had so much authentic Mexican food that I never feel like I have been deprived, you know? (Not sure if this is a copycat recipe or what, but my source is noted at the end of this post). This was really tasty.  I used it in a salad, but there was plenty left over to do burritos or fajitas, tacos…OMGoodness, this would be amazing in Sopa de Pollo!

Ingredients:
2 lbs. boneless, skinless chicken breasts
8 oz.  zesty Italian dressing
1/2 T. minced garlic
1 packet ranch dressing mix, combined with 1/2 cup water
1/2 T. chili powder
1/2 T. ground cumin

1.  Place all ingredients in a zippered freezer bag (gallon size). Close bag and smoosh all the ingredients together.  Place bag in freezer until ready to use.
2. Take out of freezer one hour prior to prep time–this is also a slow cooker recipe–OR run room temperature water over the bag for about 30 seconds.  Then, empty ingredients into a slow cooker.
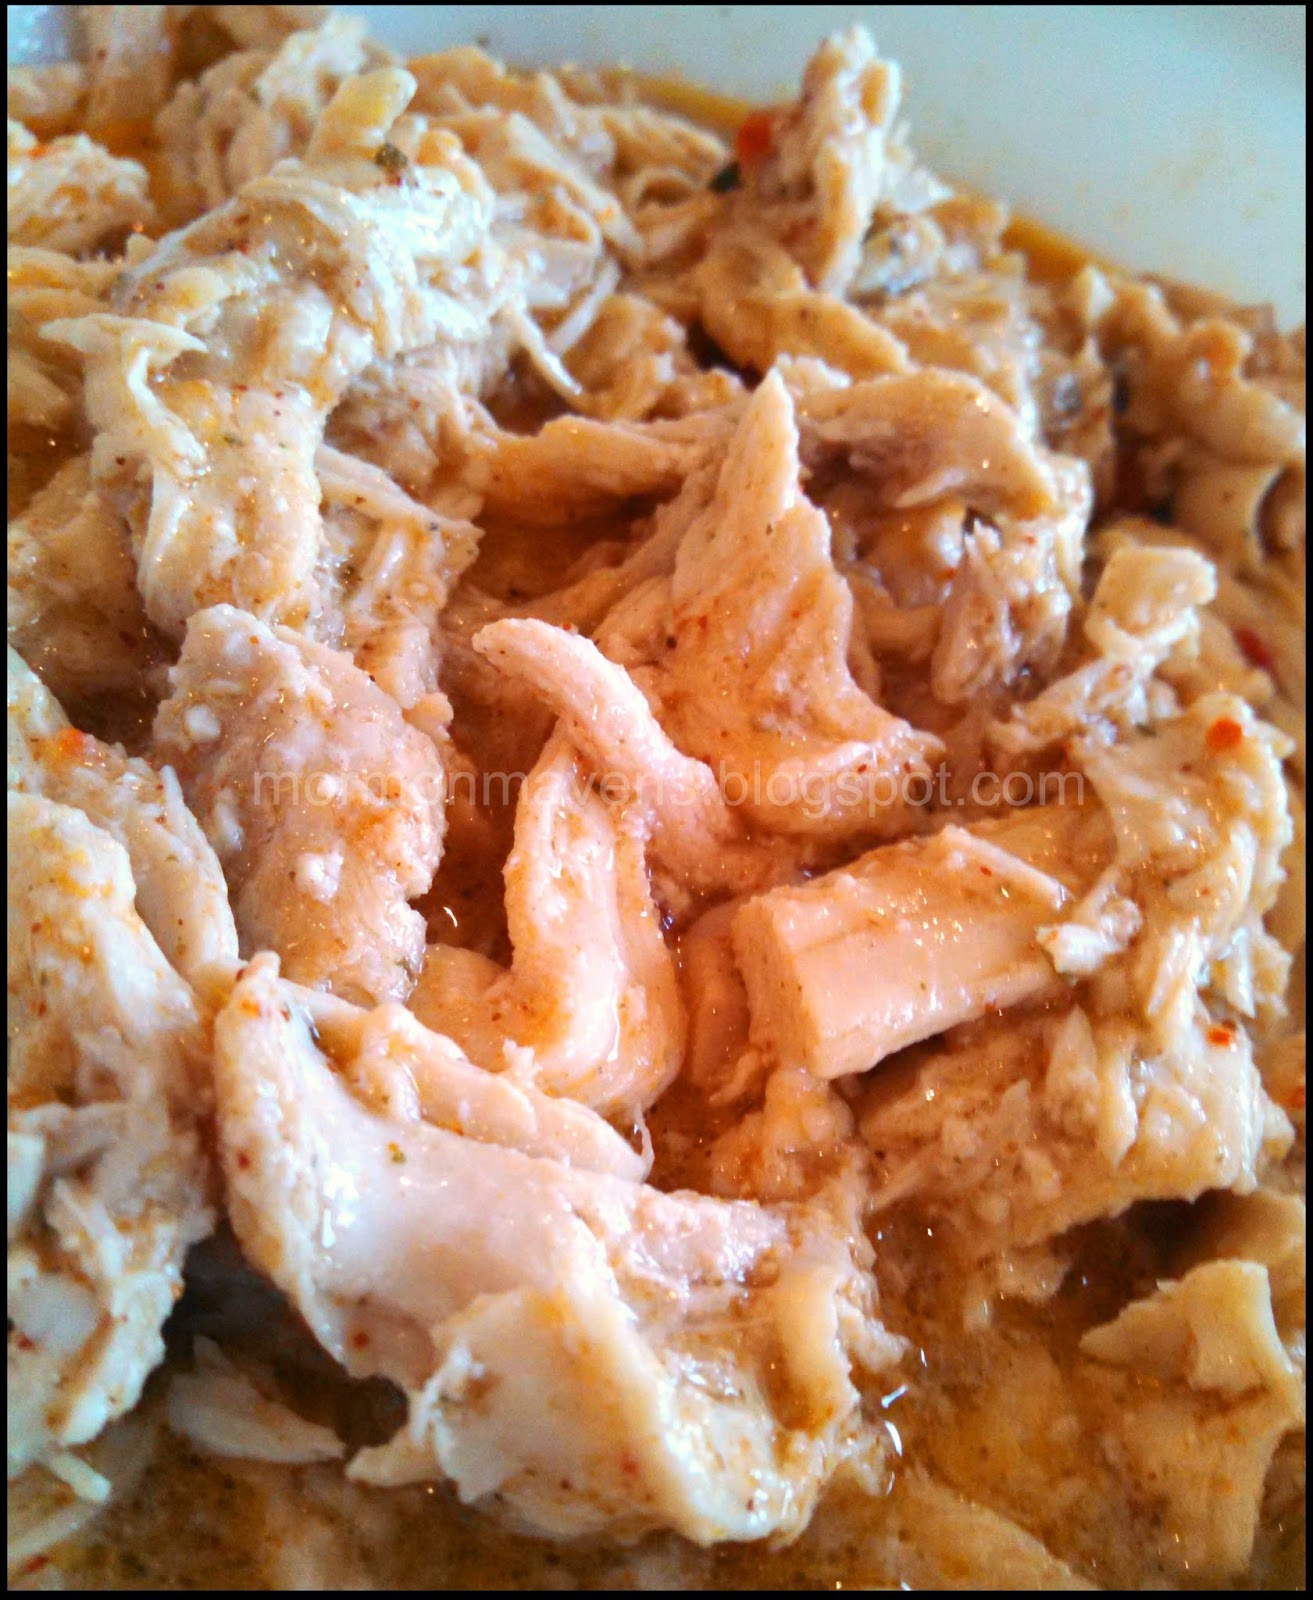
3.  Cook on LOW for 4-6 hours.  Remove from slow cooker and shred with forks.

NOTE:  Great in tacos, salads, burritos, etc.

TIPS:  You might want to put this in two quart-size bags, depending on the size of your slow cooker.  What I have found with these recipes is that however you place them in the freezer is the shape and size you are going to have of your frozen meal.  Hopefully, that fits in your cooker.  Mine barely did on this.  But I tried a different recipe the other day (yuck!!) that I laid out flat to freeze and it wouldn’t fit my smaller cooker and even with my larger oval one I had to chop away at the corners of the food to get them down in order to get the lid on securely.  Good things to know before you start.

Source:  Chef In Training.

Pesto Chicken Stuffed Shells

This is a recipe you can make and freeze and cook at a later time.  These were yummy but I think I would cover them with foil when baking and/or add some sauce to make them juicier.

Ingredients:

12-16 jumbo pasta shells
water for boiling pasta
4 oz. cream cheese, softened
1 c. freshly grated parmesan or asiago cheese + 1/4 c. for topping
3 T. prepared pesto (homemade or store bought)
2 c. shredded cooked chicken
2 cloves garlic, minced
salt and pepper to taste

Directions:

1.  In a large pot over high heat, boil water and prepare pasta shells as directed on package, cook pasta shells only until al dente.  The pasta will finish cooking when the dish is baked.  Drain the pasta shells and set aside.

2.  In a large bowl, combine the rest of the ingredients, except the 1/4 c. of cheese for the topping.  Fill the pasta shells with the filling and place in a baking dish.  Sprinkle the remaining 1/4 c. of cheese over filled shells.

3.  Preheat oven to 350 degrees and bake shells uncovered for 30 minutes or until shells are bubbling hot and cheese melts.

To make ahead/freezer meals:

1.  Prepare as directed but place filled shells in an oven and freezer proof baking dish.  Top with remaining 1/4 c. of cheese over filled shells.  Cover and freeze.

2.  When ready to prepare, defrost, preheat oven to 350 degrees and bake shells uncovered for 35-40 minutes or until shells are bubbling hot and cheese is melted.