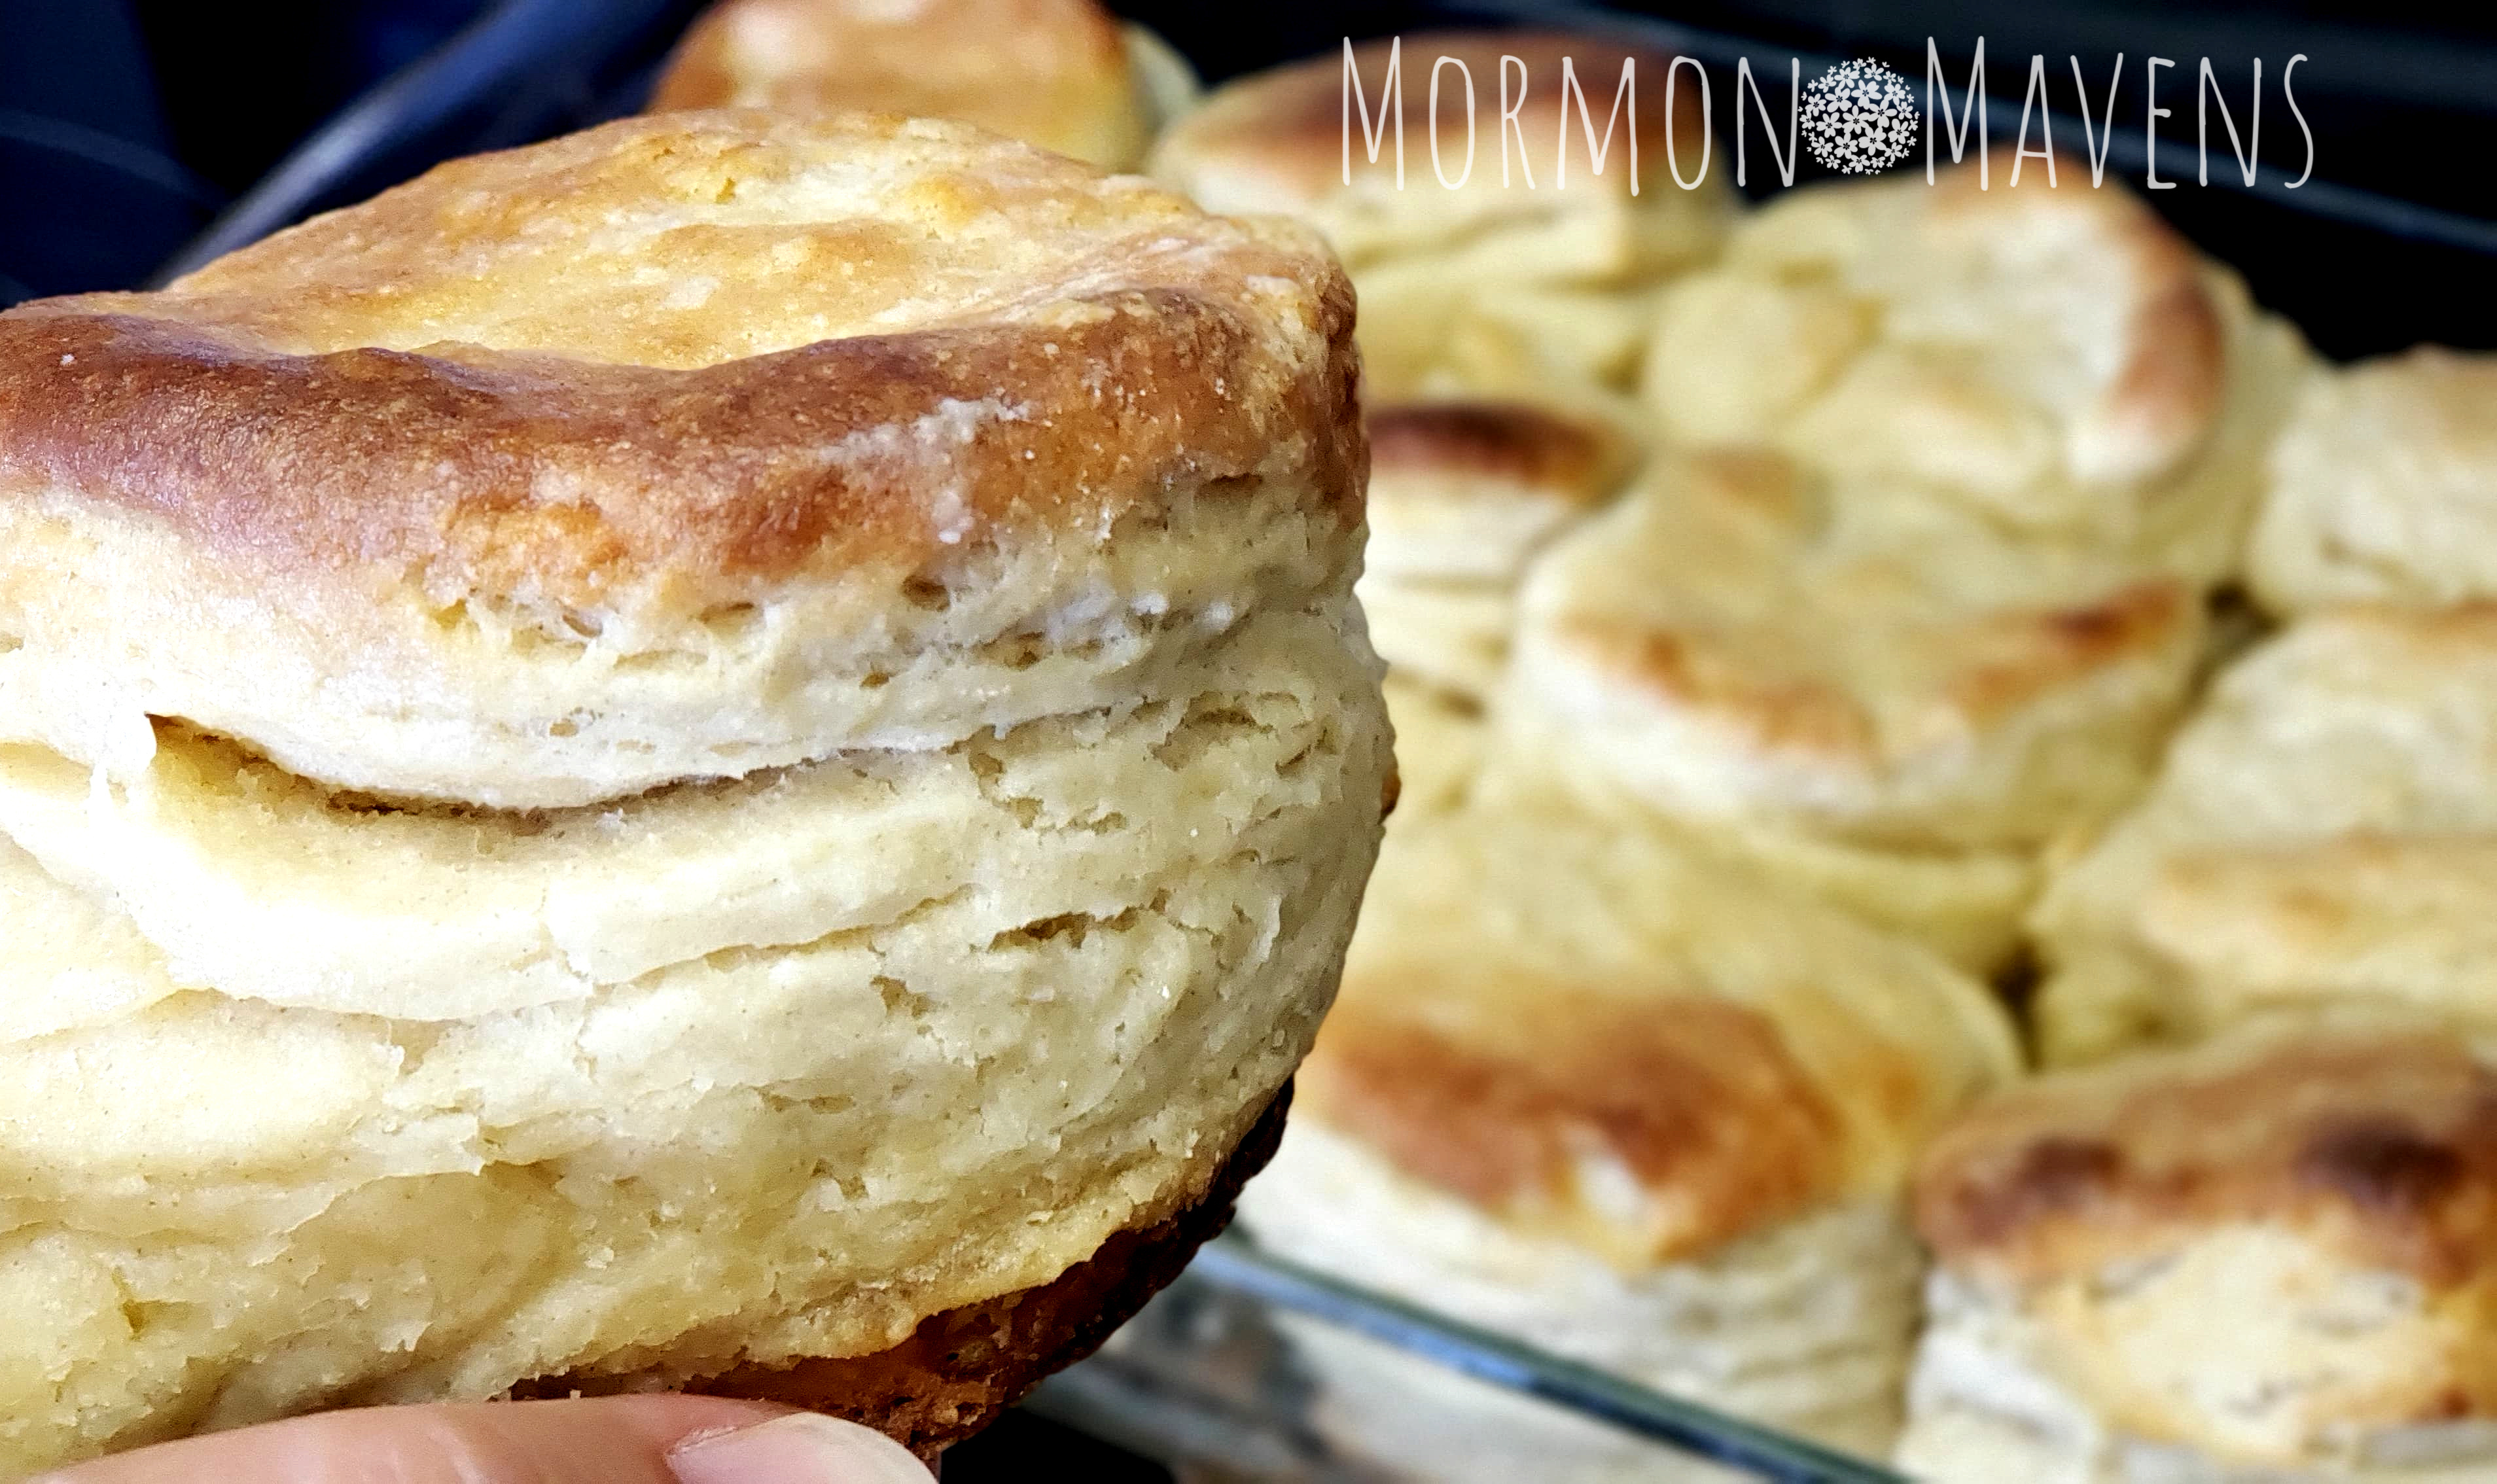
Hawaiian Fried Breakfast Rice


Sometimes I just struggle to find new, tasty ideas for breakfast.  Do you have the same problem?

I grew up on cold cereal, and still love it for Sunday night snacking.  Well, any night would work for me, actually.  But over time I have let go of my cereal tradition in lieu of more healthy options like oatmeal or smoothies.  Once in a while it’s eggs and bacon, but that usually ends up being an early lunch after an hour of yoga followed by an hour of Body Pump.

This fried rice recipe really turned out to be quite delicious.  Thank you to Sara at Our Best Bites, who was the source for this recipe.

Hawaiian Fried Breakfast Rice
Write a review
Print
Ingredients
  1. 4 t. extra virgin olive oil
  2. 1/2 c. chopped red onion
  3. 1 bunch green onions, chopped (chop all but keep the green tops separate)
  4. 1 t. minced garlic
  5. 1 small red bell pepper, minced
  6. 3 cups leftover white rice
  7. 1 c. chopped fresh pineapple
  8. 1 c. chopped Spam (or bacon or ham)
  9. 3 T. low sodium soy sauce
  10. 2 t. brown sugar
  11. 1/2 t. ground ginger
  12. 4 eggs for scrambling
  13. Salt & pepper to taste
Instructions
  1. Heat the olive oil over medium heat in a large skillet. Add the red onion, firm ends of the green onions, garlic and bell pepper. Saute until the onions are fragrant and red peppers are just tender.
  2. While the vegetables are cooking, whisk together the soy sauce, brown sugar, and ginger in a small bowl. Set aside.
  3. Add the rice to the skillet, stirring to combine, until heated through. Add the Spam and cook until that is heated through. Add the soy sauce mixture and stir to combine.
  4. Next add the green parts of the green onions, and the pineapple, stirring to combine. Season to taste with salt & pepper. Cover, turning heat to low to keep warm.
  5. In a separate pan, cook the eggs. Add eggs to rice mixture and serve.
Adapted from Our Best Bites
Mormon Mavens https://www.mormonmavens.com/

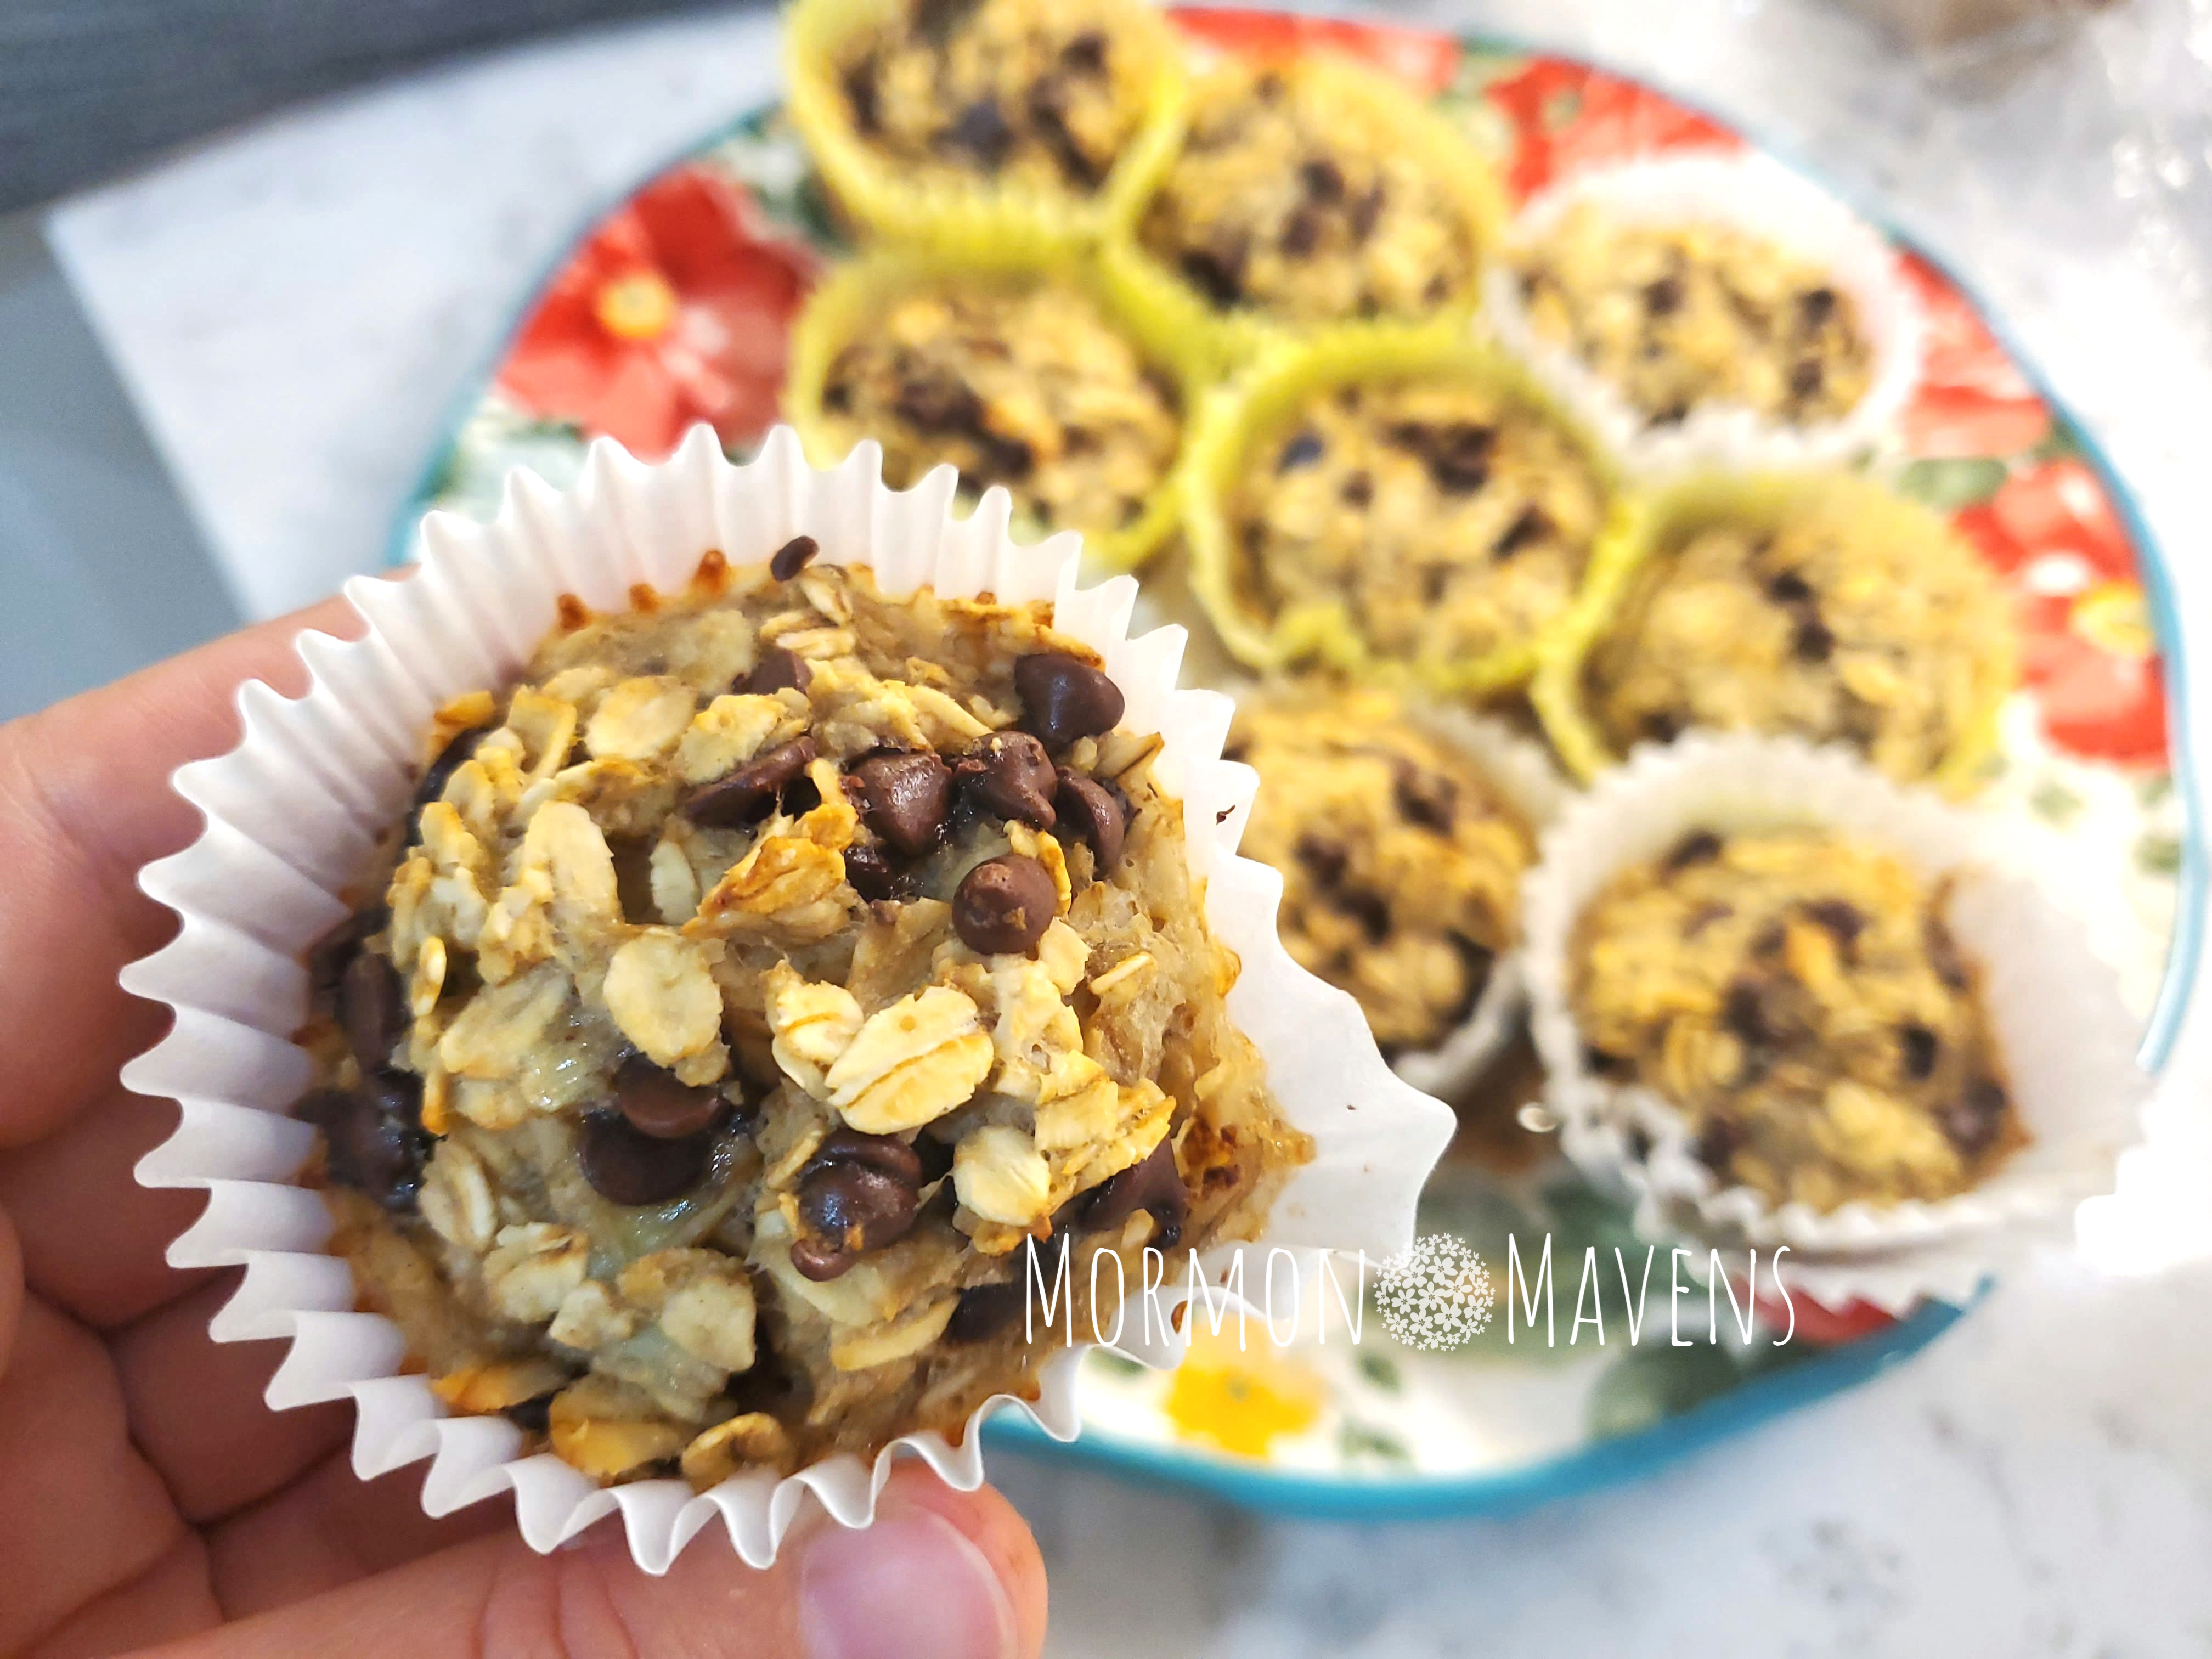
Flourless Banana Chocolate Chip Oatmeal Muffins

flourless banana chocolate chip oatmeal muffins

Muffins don’t have to be off-limits if you are trying to reduce your use of refined flour, as evidenced by these tasty banana-y, chocolate chip-y, oatmeal-y muffins!

This particular recipe was a big hit on our old recipe blog and was originally posted by one of our first blog contributors, Jamie.  So we thought we’d bring it back for a reappearance on this blog.

Keep in mind that this recipe is not meant to be a complete replacement for regular flour muffins.  Because there’s no flour–not even any gluten-free or alternative flours–the consistency is dense and not fluffy.  But I thought they were a great breakfast and snack option to have around, and I snacked on these frequently after making them.

Flourless Banana Chocolate Chip Oatmeal Muffins
Yields 19
Write a review
Print
Ingredients
  1. 3 very ripe bananas, mashed
  2. 1 cup almond milk
  3. 1 Tbsp. melted coconut oil
  4. 2 eggs
  5. 1 Tbsp. baking powder
  6. 3 cups oats (I used old fashioned)
  7. 1 tsp. vanilla
  8. 1 cup mini semisweet chocolate chips (or as much as desired)
Instructions
  1. Preheat your oven to 375 degrees.
  2. Mix together all the ingredients except the chocolate. Set aside for 5 minutes to allow the oats to soften a bit. Add in chocolate chips and stir to combine.
  3. Spray a muffin tin with non-stick spray or use paper liners.
  4. Use a large cookie scoop to put the batter into the muffin pan. (A level scoop made 19 muffins for me.)
  5. Bake for 20-30 minutes. If you're using paper liners, let the muffins cool for a bit or the liners will be hard to take off.
Mormon Mavens https://www.mormonmavens.com/

Orange Zest Scones with Maple-Orange Glaze


I am so happy to share this recipe with you today because I have finally found a way to get myself some orange, glazed scones and won’t have to drive to the next town to get them at Panera Bread!

As I was looking through my Winter 2017 Magnolia Journal, I came across this recipe and almost did a happy dance! They look so much like Panera’s. But honestly, they taste better!  And I had no idea scones would be so easy to make.

And yes.  I did say 2017.  I tore the recipe out of the magazine months later and filed it in my Meal Planning binder under RECIPES TO TRY. I have many more of those. So stay tuned.

Orange Zest Scones with Maple-Orange Glaze
Write a review
Print
Ingredients
  1. 2 c. all-purpose flour
  2. 1 1/2 t. baking powder
  3. 1/2 t. baking soda
  4. 1/2 t. salt
  5. 1 egg
  6. 3/4 c. sour cream
  7. 1/2 c. sugar
  8. 1 t. orange zest
  9. 3/4 c. butter, cut into squares & frozen
  10. 1 recipe Maple-Orange Glaze (recipe below)
Instructions
  1. Preheat oven to 400 degrees F. Line a baking sheet with parchment paper.
  2. Step 2
  3. In a large bowl stir together flour, baking powder, baking soda, and salt. In a small bowl lightly beat the egg, then whisk in sour cream until completely blended.
  4. Step 3
  5. In another small bowl combine sugar and orange zest. Use the back of a spoon to work the zest into the sugar until well mixed, then stir into flour mixture. Add butter to the flour mixture and blend using a pastry blender or your fingers to work it into a pebbly mixture. Stir in the sour cream mixture until dough starts to form a ball. Divide the dough in half.
  6. Step 4
  7. Place one half of the dough on a lightly floured surface and press out to a 6″ circle, about 1 inch thick. Cut circle into six triangles and place 1 inch apart on the baking sheet. Repeat with the second half of the dough.
  8. Step 5
  9. Bake 15 minutes or until golden. Cool on the baking sheet for 5 minutes, then transfer scones to a cooling rack. Make glaze while the scones are cooling.
Notes
  1. Maple-Orange Glaze–In a medium bowl stir together 1 3/4 c. sifted powdered sugar and 1 t. orange zest. Stir in 3 T. melted butter, 3 T. orange juice, 1 t. vanilla, and 1/2 t. pure maple syrup until smooth. Spoon over cooled scones.
Adapted from Magnolia Journal
Mormon Mavens https://www.mormonmavens.com/

Honey-Lemon Cottage Cheese Pancakes


Be sure to make these yummy pancakes for National Pancake Day on September 26th! We have given you a week heads-up so you can go get your cottage cheese.

There are so many pancake recipes out there; which is a good thing because who doesn’t love pancakes?  How many times do you think I can say “pancakes” in this post?

I made these with a garnish of fresh strawberries and Berry Honey in place of maple syrup.

Honey-Lemon Cottage Cheese Pancakes
Serves 4
Write a review
Print
Ingredients
  1. 6 eggs, lightly beaten
  2. 1 16-oz. carton cottage cheese (we used 4% milk fat)
  3. 2 T. honey
  4. 2 T. butter, melted
  5. 2 t. vanilla
  6. 1 t. lemon zest
  7. 1 1/2 c. all-purpose flour
  8. 1 t. baking powder
  9. 1 t. baking soda
  10. 1/2 t. salt
  11. butter, maple syrup and/or berries of your choice
Instructions
  1. In a large bowl, lightly beat eggs then add cottage cheese, honey, butter, vanilla and zest. Stir to combine until just moistened (batter should be lumpy).
  2. Pour about 1/4 c. batter onto a hot, lightly greased griddle or heavy skillet. Cook over medium heat for about 2 minutes, then flip carefully when top is bubbly and edges are slightly dry. Cook another 2 minutes.
Adapted from Better Homes & Gardens magazine
Mormon Mavens https://www.mormonmavens.com/

No Milk Pancakes

Well September is National Breakfast Month and on the 26th it’s National Pancake Day so we are sharing a re-make of this recipe that was originally shared by Niki, a former Maven.  This baby got almost 500,000 views!  And lots of great comments.

If your family is prone to milk allergies, this is a perfect option when they are asking for pancakes for breakfast.  Just remember to go for the oil option rather than butter or margarine.

No Milk Pancakes
Write a review
Print
Ingredients
  1. 2 c. all-purpose flour
  2. 2 T. oil, butter, or margarine
  3. 1/2 t. salt
  4. 4 t. baking powder
  5. 2 T. sugar
  6. 2 cups water
  7. 2 eggs
  8. 1 T. Cream of Coconut (opt. I just added it for kicks)
Instructions
  1. In a large bowl, mix water and eggs. If using butter/margarine let it cool slightly so it doesn’t cook your eggs.
  2. In a separate bowl, mix your dry ingredients, then add to the wet ingredients and stir until combined but do not over mix. Pancake batter should be lumpy.
  3. Using a 1/4 c. measure, drop batter on a hot griddle or skillet. You can use a little coconut oil to grease the griddle,. Cook until bubbles appear and edges look dry. Flip and cook the other side until golden.
Adapted from Niki Lewis
Mormon Mavens https://www.mormonmavens.com/

Fresh Tomato & Basil Pie


This Fresh Tomato & Basil Pie recipe is adapted from a friend’s pie, which she brought to dinner one night before she and her family moved away.  Sad to see her go but glad she shared the recipe with me.

I have always wanted to make tomato pie and this one is scrumptious!  Especially with the addition of the fresh basil.  And the crust?  So flaky and delicious, if I do say so myself.  I promise to share that in another post.

So we put in a garden this year–with the help of friends who are great at growing stuff, and canning, and freezing, and  drying, etc. Our tomatoes and basil have gone crazy!  I even made fried green tomatoes the other night. Never tried those?  Well, then that is something else I need to share later.

Fresh Tomato & Basil Pie
A scrumptious way to use fresh produce from your garden.
Write a review
Print
Ingredients
  1. Pastry for 1-crust 9 inch pie
  2. 2 T. evaporated milk
  3. 4 cups sliced, firm ripe tomatoes
  4. 1 t. salt
  5. 1/8 t. black pepper
  6. 1 T. fresh basil, finely chopped
  7. 1/3 c. mayonnaise
  8. 1/3 c. Parmesan cheese, shredded
  9. 1 large clove garlic, smashed and minced
  10. whole fresh basil leaves for garnish (opt.)
Instructions
  1. Preheat oven to 450 degrees F.
  2. Line pie plate with pastry. Flute the edges. Brush shell with evaporated milk.
  3. Bake shell for 5 minutes. Remove from oven. Reduce oven temperature to 350.
  4. Fill baked shell with layered, sliced tomatoes and sprinkle with salt, pepper, and chopped basil.
  5. Combine mayonnaise, Parmesan, and garlic and spread over the tomatoes.
  6. Bake at 350 degrees for approx 45 minutes, or until pie is golden brown.
Mormon Mavens https://www.mormonmavens.com/

Angel Biscuits

In search of…..the perfect biscuit.

I found recipes.  I tested them.  I made notes on each version of what to tweak next time.  Then I realized that I had no time to keep testing before I posted for today.  I knew I wanted to post a biscuit recipe since it’s National Biscuit Month in September, but how to do that when I was out of time?

And then I thought, “Hey, what about Angel Biscuits like the ones I used to make when Rick and I first got married?”

But crud…..I’m on vacation and my recipe is at home in a recipe box.  Well, let’s go ask the Google.

And, y’all, I literally just clicked on the first recipe that came up.

Trisha Yearwood’s Angel Biscuits.

Sure….okay…let’s try this one.  Bit different than what I remember, but whatever.

(Keep in mind that, at this point, I’m just thinking this recipe will “have to do” for National Biscuit Month until I can find the ultimate recipe through more testing.)

So I make this recipe for my family (and some visiting family) and hope for the best.

And that’s exactly what I got.  THE BEST.

Responses from family members…and I quote:

     Amazing!

     Bojangles has nothing on this biscuit!

     This is the best biscuit I’ve ever had!

     I just found my new happy place!

How serendipitous!  I find the ultimate recipe while thinking I’m just going to “make do” with plain old Angel Biscuits.

Well, these are not like the ones I used to make (although those were mighty good).  These are, well, incredible.  They took a little longer with rise time, but they are SOOOOO worth it!

Try ’em out and let me know what you think.
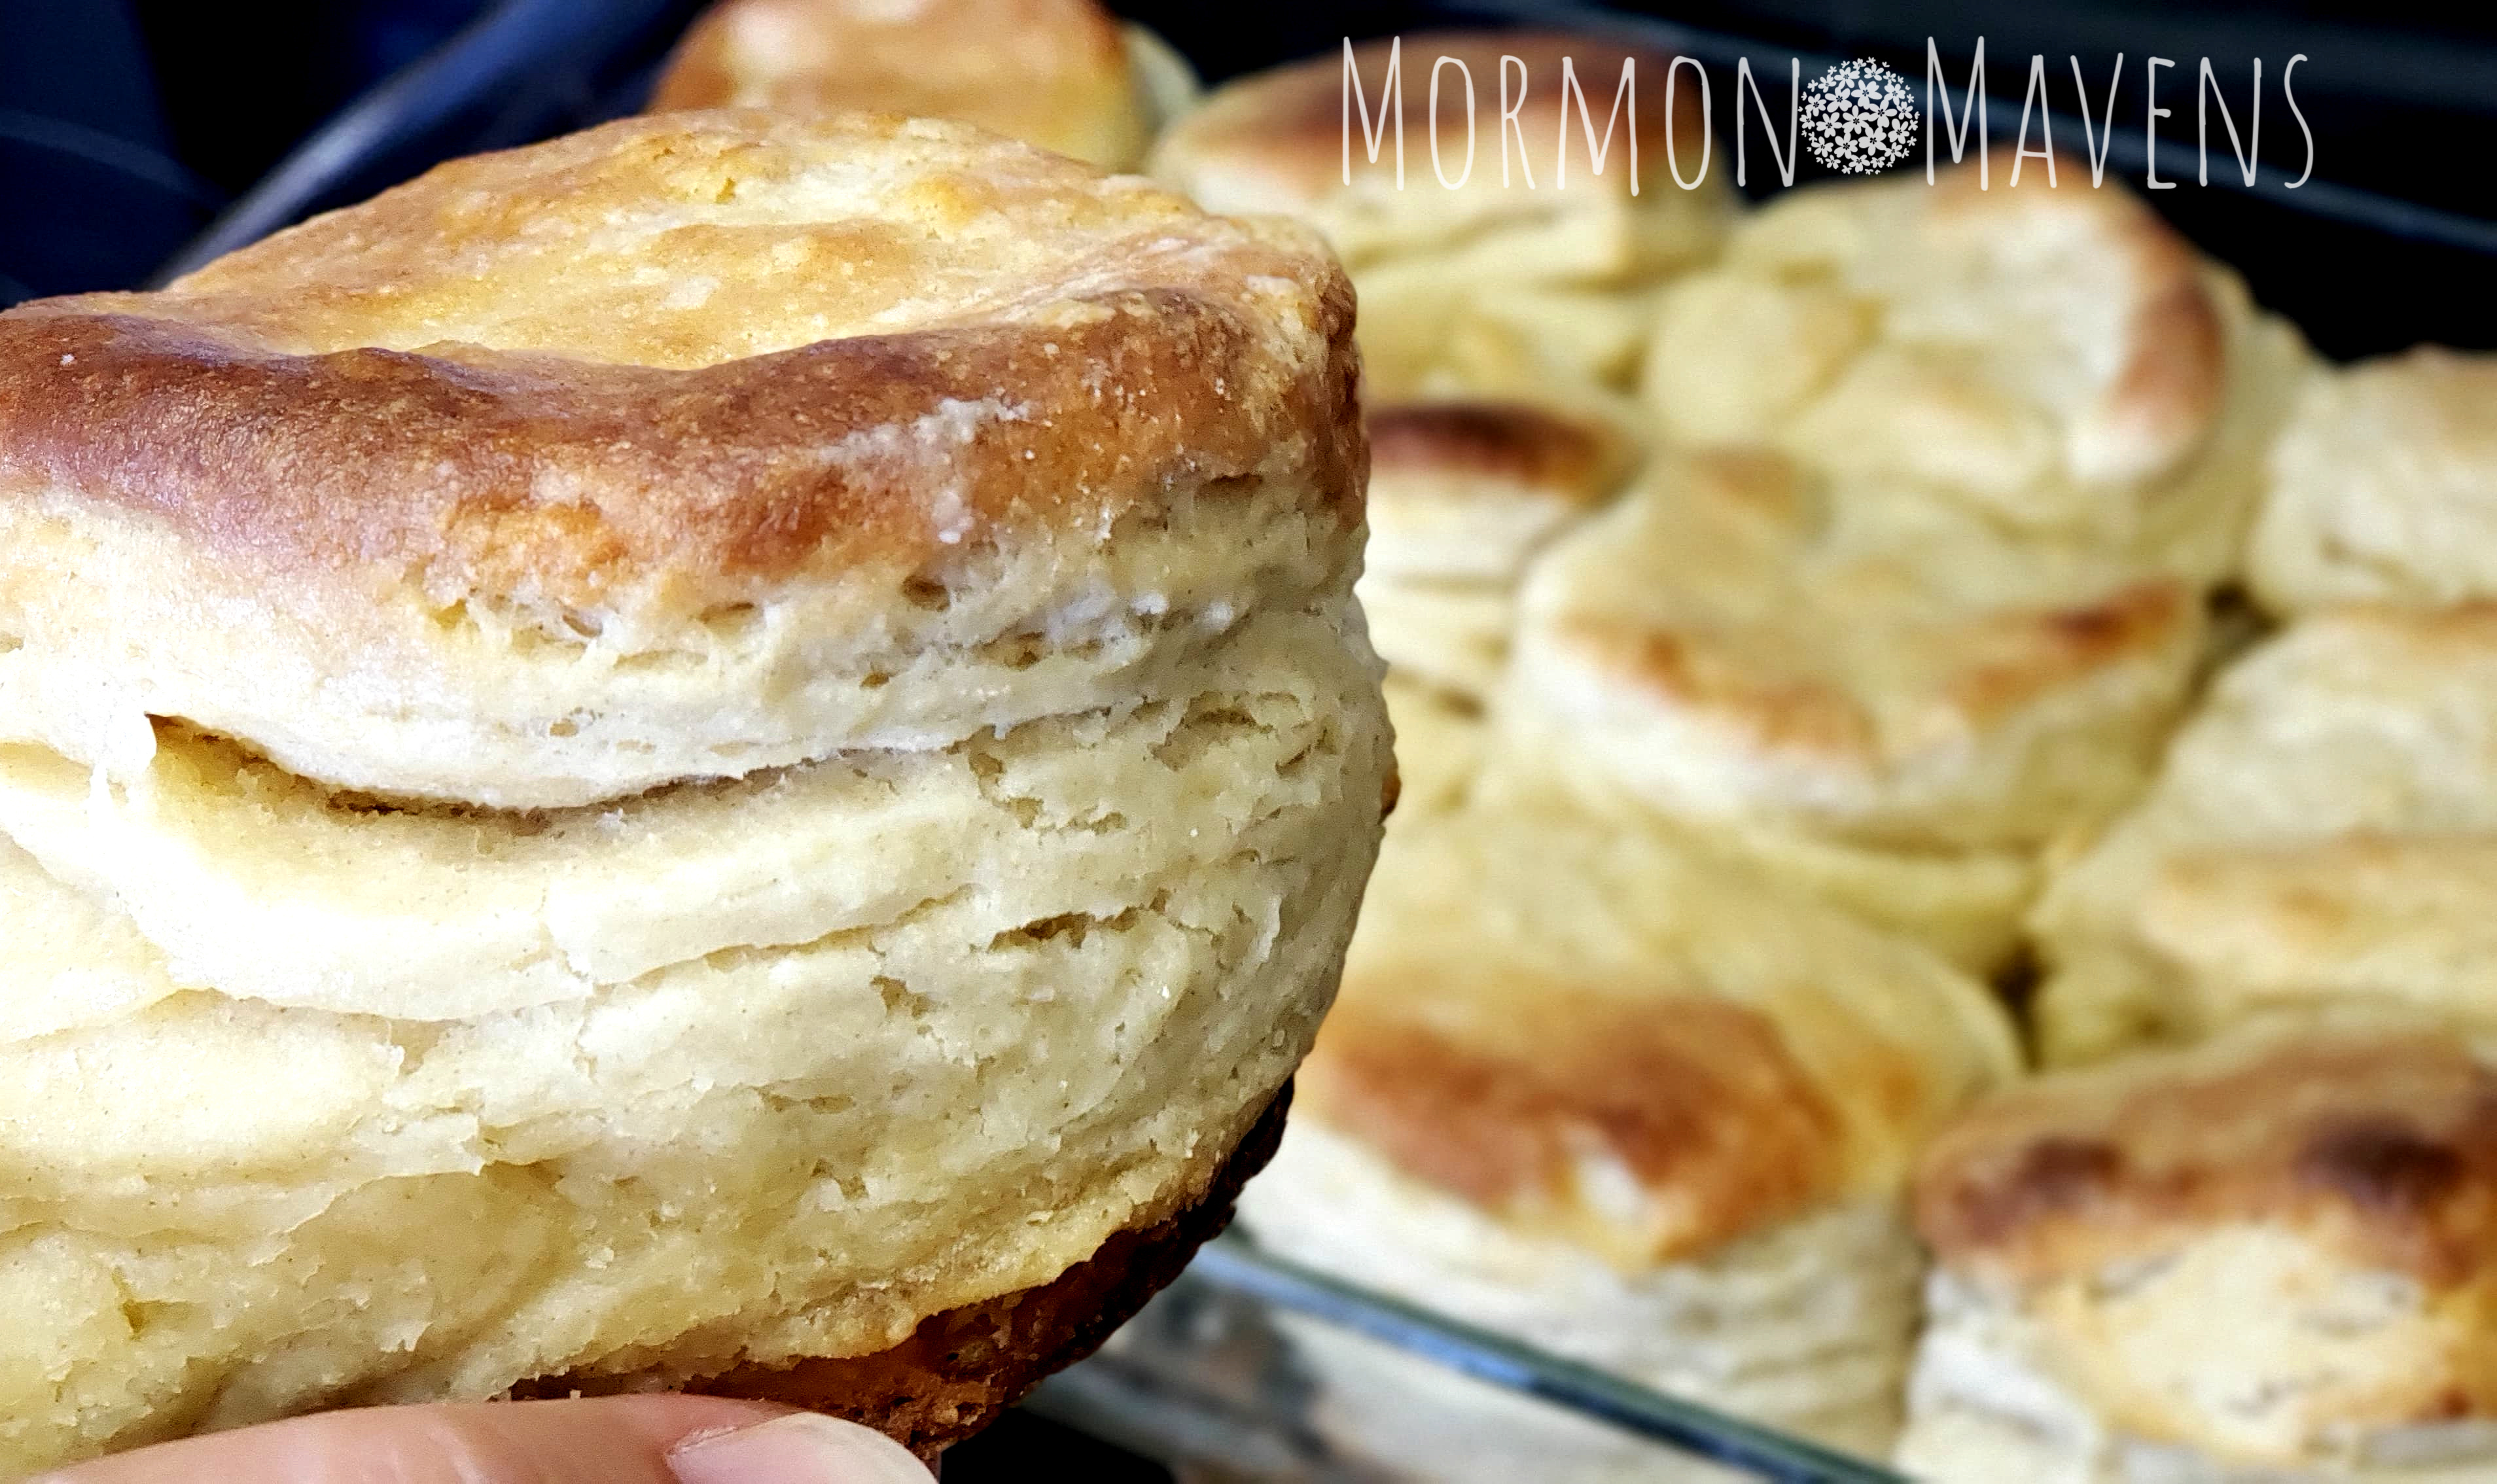
Angel Biscuits
Serves 12
Delicious, layery, buttery Southern goodness.
Write a review
Print
Total Time
2 hr
Total Time
2 hr
Ingredients
  1. 5 cups flour
  2. 1 1/2 tsp. baking powder
  3. 1 tsp. baking soda
  4. 1 tsp. salt
  5. 5 Tbsp. sugar (divided)
  6. 1/4 cup warm water (90-100 degrees F)
  7. 1/2 ounce active dry yeast (2 pkg)
  8. 1 cup salted cold butter, diced (2 sticks)
  9. 2 cups buttermilk
  10. 4 Tbsp. melted butter
Instructions
  1. In a large bowl, whisk together the flour, baking powder, baking soda, salt, and 3 Tbsp of the sugar.
  2. In a small bowl combine the yeast, sugar, and water. Stir this until the yeast dissolves and set it aside. Let stand for a few minutes until bubbles appear.
  3. Add the cold diced butter to the flour mixture and toss with hands. Use a pastry cutter to break up the butter and cut it into the flour. Stop when you have pea-sized chunks of butter mixed in with the flour.
  4. Add the buttermilk and the yeast mixture to the flour/butter mixture. Stir with a wooden spoon until it’s mostly combined. It will probably be pretty crumbly looking.
  5. Turn out onto a very lightly floured surface and knead until the dough comes together (no more than about 15 times). Place back in bowl, cover with plastic wrap or a clean dish towel, and allow to sit and rise for about an hour.
  6. When you’re ready to cut the biscuits, preheat your oven to 425 degrees F.
  7. Dump the dough onto a lightly floured surface again. Press the dough out to about 1-1.5″ thick. Fold over onto itself and press out again. Repeat this technique 3 times. Then press out to desired thickness (I like 1-1.5″).
  8. Using a floured biscuit cutter, cut out your biscuits making sure NOT TO TWIST the cutter. Just go straight down and back up again. Place cut biscuits in a 9×13-inch pan or large cast iron skillet that has been brushed with some of the melted butter.
  9. Do not just smush together the leftover biscuit dough for cutting more biscuits. Repeat the whole press/fold technique each time you need to recut.
  10. Brush the tops of the melted butter (save some for when they come out of the oven).
  11. Bake for 18-22 minutes or until the tops are a golden brown. Brush with melted butter and enjoy!
Mormon Mavens https://www.mormonmavens.com/

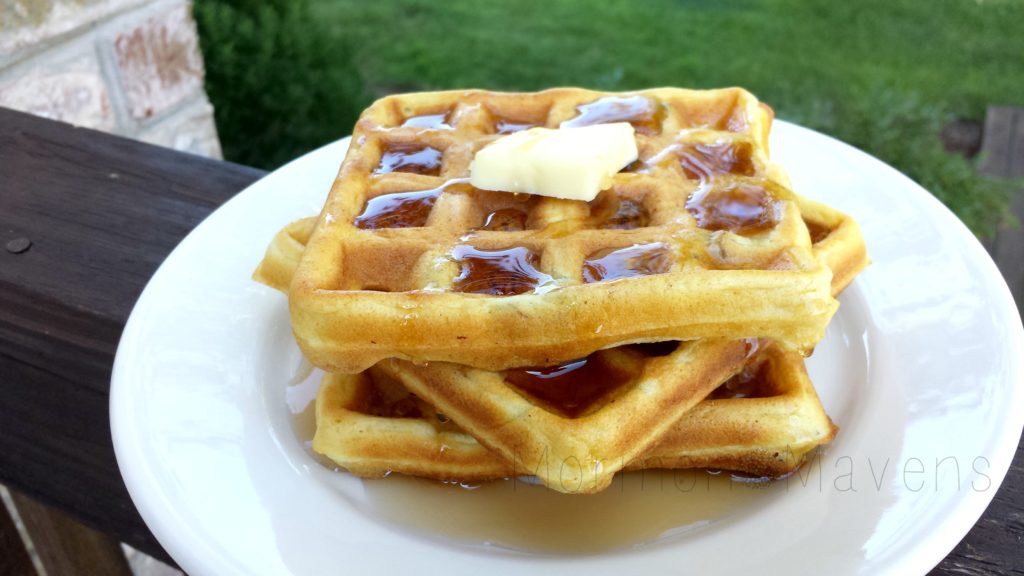
Buttermilk-Pecan Waffles

buttermilk-pecan waffles


I thought I would re-post something from our Breakfast category today and as I was going through some of the older posts, this one caught my eye from August  18, 2016.  I don’t know what it is about waffles but they are magical to me.  And elusive.  I never seem to have the time to make them lately, especially since I am drinking my protein shakes these days while trying to lose weight AGAIN!  Anyway, I do remember these and they were DELISH.  Hope you enjoy…

Good mornin‘!  Today’s breakfast is brought to you by The Hen-Apple Bed & Breakfast in Palmyra, Pennsylvania.  No I am not there, yes I made waffles.  Years ago, when my girls were still little and in elementary school, I would often volunteer in their school library.  This was my favorite place at their school for many reasons–there were the books, of course, but we had an amazing librarian, and those Scholastic Book Fairs!  Loved working those and I always had time to browse the sale, so one day I picked up this cookbook called “Rise & Dine America: Savory Secrets from America’s Bed & Breakfast Inns.” I have often fantasized about running a B & B, haven’t you?  End of story, on with the recipe…

Buttermilk-Pecan Waffles
Breakfast of champions!
Write a review
Print
Ingredients
  1. 2 cups all-purpose flour
  2. 1 T. baking powder
  3. 1 t. baking soda
  4. 1/2 t. salt
  5. 4 eggs
  6. 2 cups buttermilk
  7. 1/2 cup butter, melted
  8. chopped pecans
Instructions
  1. Combine the flour, baking powder, baking soda and salt; set aside.
  2. Beat the eggs until light, add buttermilk and beat until smooth.
  3. Stir in the melted butter and chopped pecans.
  4. Pour about 3/4 cup of batter onto a greased, preheated waffle iron. Cook until done.
Notes
  1. I think this recipe was written for a single waffle application. My waffle iron makes 4 individual waffles. Adjust batter amount as needed for yours.
Adapted from Rise & Dine America
Mormon Mavens https://www.mormonmavens.com/

Grandma’s Biscuits


I really love these biscuits….they’re great with butter and jam, butter and honey, or just butter!  (Can you tell I like butter?)  And they remind my of my Grandma.


Ingredients:
2 1/4 tsp. dry active yeast
1 cup warm water
2 cups buttermilk
3/4 cup vegetable oil
1/4 cup sugar
2 Tbsp. baking powder
1/4 tsp. baking soda
1 1/2 tsp. salt
7 cups all-purpose flour

1.  Heat oven to 450 degrees.  Combine yeast and water and stir till dissolved.
2.  Add remaining ingredients and stir until well blended.
3.  Pat/roll out 3/4″ thick and cut with biscuit cutter OR place in greased bowl and place in fridge until needed (will keep a week in the fridge).
4.  Bake for 15-20 minutes.

Makes about 30, depending on your cutter

Notes:

  • If you buy yeast in the little envelopes, then use one envelope for this recipe.
  • If you don’t have buttermilk, put 2 Tbsp. apple cider vinegar in a 2-cup measure.  Fill to the 2-cup line with milk and allow to sit for 5 minutes.  
  • I like my biscuits tall and thick.  If you like yours thinner, roll or pat them out to the thickness you like.

Source:  my Grandma Davis

Originally posted on May 27, 2013.

Breakfast Tostadas

breakfast tostadas
 

I am currently in a breakfast funk. It’s hard to come up with healthy choices when you are used to just throwing some milk and Cheerios in a bowl.   Anyone else out there grow up with cold cereal for the first meal of the day?  I would bet there are a lot of us.  Nothing against Mom–she did the best she could for her kiddos.  I can even remember a time when she was trying to get creative with some healthier options, but we just didn’t cooperate very well, except with the frozen banana with peanut butter and wheat germ.  That is STILL a winner!  Maybe that should be a future post!  Stay tuned.

Anyway, as I was scouring my Pinterest folders for some ideas for my post this week, I found this gem and thought it would be a great recipe to share, plus maybe I will love breakfast again.  Plus, their picture looked so colorful and amazing.  By the way, this dish is so easy to prepare and you can do it with the messiest of counters. I had just gotten back from work and the store, plus as I was putting food away I noticed how nasty the fridge looked.  Took all the stuff off the shelves and out of the drawers and that was also on my counters, and I was able to make my tostada amidst the chaos.  Score!  And after my tostada, I cleaned/reorganized the fridge.


Ingredients:

1  16-oz. can of refried beans
6 tostada shells
6 eggs
1/4 cup crumbled Queso Fresco
1 avocado, sliced
cilantro
hot sauce

 
1.  Preheat the oven to 325 degrees F.  Place tostada shells in a single layer on baking sheet.  Bake 6-7 minutes or until crisp.
 
2.  Place re-fried beans in a small saucepan.  Heat over medium heat until warmed through. For those using freeze-dried beans, follow the directions on the package/can.  Mine was super easy and I made only as much as I needed.
 
3.  Cook eggs according to preference–I like slightly under cooked.
 

4.  Assemble the tostadas–put equal amounts of re-fried beans on each tostada and spread evenly.  Top each with queso, a few avocado slices.  Place an egg on each one and season with salt and pepper.  You can also use cilantro and some hot sauce or salsa, if you like.  I used hot sauce because, unfortunately, I did not have any fresh salsa ready.  Serve warm.


Source:  Taste and Tell via Pinterest.

Originally posted on September 10, 2015. 
Breakfast Tostadas
Write a review
Print
Ingredients
  1. 1 16-oz. can of re-fried beans
  2. 6 tostada shells
  3. 6 eggs
  4. 1/4 cup crumbled queso fresco
  5. 1 avocado, sliced
  6. cilantro
  7. hot sauce
Instructions
  1. Preheat the oven to 325 degrees F. Place tostada shells in a single layer on baking sheet and bake 6-7 minutes or until crisp.
  2. Place re-fried beans in a small saucepan. Heat over medium heat until warmed through. For those using freeze-dried beans, follow the directions on the package/can. Mine was super easy and I made only as much as I needed.
  3. Cook eggs according to preference–I like fried and slightly under cooked.
  4. Assemble the tostadas–put equal amounts of re-fried beans on each tostada and spread evenly. Top each with queso, a few avocado slices. Place an egg on each one and season with salt and pepper. You can also use cilantro and some hot sauce or salsa, if you like. I used hot sauce because, unfortunately, I did not have any fresh salsa ready. Serve warm.
Adapted from Taste and Tell
Mormon Mavens https://www.mormonmavens.com/