
I am currently in a breakfast funk. It’s hard to come up with healthy choices when you are used to just throwing some milk and Cheerios in a bowl. Anyone else out there grow up with cold cereal for the first meal of the day? I would bet there are a lot of us. Nothing against Mom–she did the best she could for her kiddos. I can even remember a time when she was trying to get creative with some healthier options, but we just didn’t cooperate very well, except with the frozen banana with peanut butter and wheat germ. That is STILL a winner! Maybe that should be a future post! Stay tuned.
Anyway, as I was scouring my Pinterest folders for some ideas for my post this week, I found this gem and thought it would be a great recipe to share, plus maybe I will love breakfast again. Plus, their picture looked so colorful and amazing. By the way, this dish is so easy to prepare and you can do it with the messiest of counters. I had just gotten back from work and the store, plus as I was putting food away I noticed how nasty the fridge looked. Took all the stuff off the shelves and out of the drawers and that was also on my counters, and I was able to make my tostada amidst the chaos. Score! And after my tostada, I cleaned/reorganized the fridge.
Ingredients:
1 16-oz. can of refried beans
6 tostada shells
6 eggs
1/4 cup crumbled Queso Fresco
1 avocado, sliced
cilantro
hot sauce
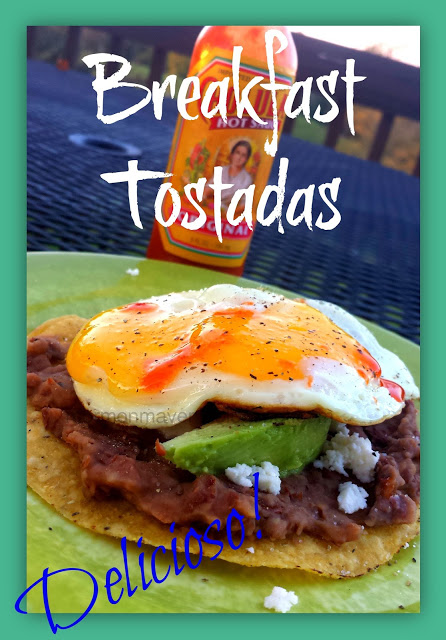
4. Assemble the tostadas–put equal amounts of re-fried beans on each tostada and spread evenly. Top each with queso, a few avocado slices. Place an egg on each one and season with salt and pepper. You can also use cilantro and some hot sauce or salsa, if you like. I used hot sauce because, unfortunately, I did not have any fresh salsa ready. Serve warm.
Source: Taste and Tell via Pinterest.

- 1 16-oz. can of re-fried beans
- 6 tostada shells
- 6 eggs
- 1/4 cup crumbled queso fresco
- 1 avocado, sliced
- cilantro
- hot sauce
- Preheat the oven to 325 degrees F. Place tostada shells in a single layer on baking sheet and bake 6-7 minutes or until crisp.
- Place re-fried beans in a small saucepan. Heat over medium heat until warmed through. For those using freeze-dried beans, follow the directions on the package/can. Mine was super easy and I made only as much as I needed.
- Cook eggs according to preference–I like fried and slightly under cooked.
- Assemble the tostadas–put equal amounts of re-fried beans on each tostada and spread evenly. Top each with queso, a few avocado slices. Place an egg on each one and season with salt and pepper. You can also use cilantro and some hot sauce or salsa, if you like. I used hot sauce because, unfortunately, I did not have any fresh salsa ready. Serve warm.


