Our Traditional Thanksgiving Menu


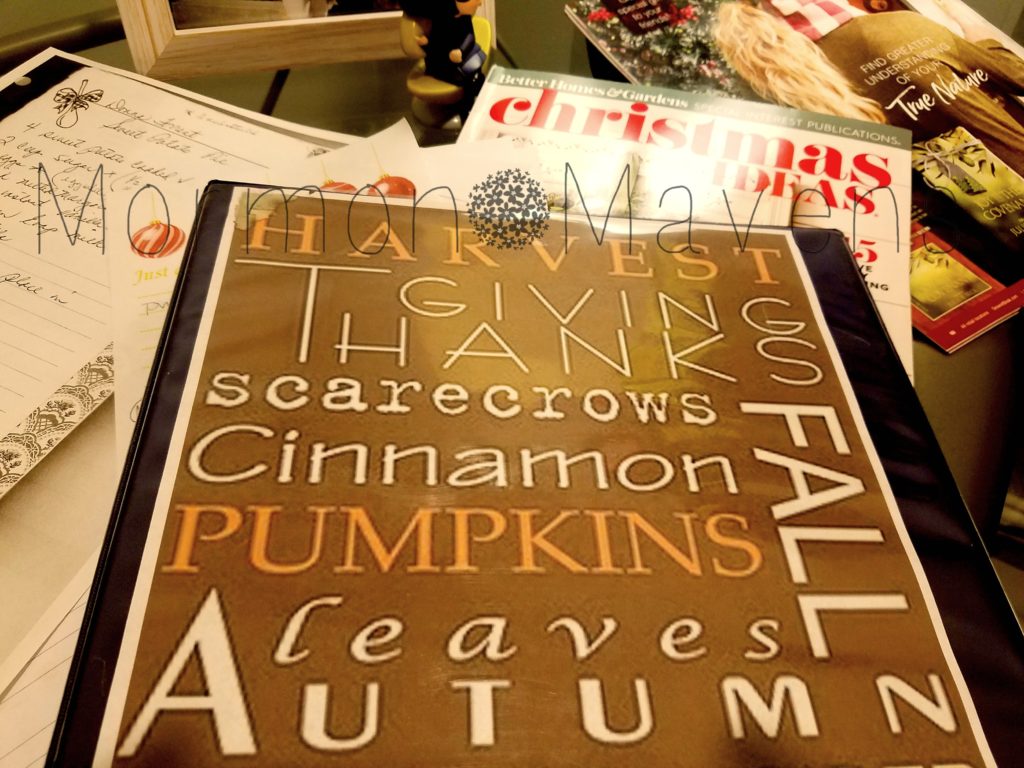
Hi everyone!  I am sitting here at my desk organizing my Holiday Planner.

Every year I tell myself I will be ready earlier than the previous year, and this year is no exception.  We are actually going to be at my youngest daughter’s home for Thanksgiving this year, but I am sure I will be helping out with the meal there.

I will be making a booklet of these recipes, which have been passed down to the cooks in our family, to leave with her so that she has copies of our family’s traditional food.

I thought that I would share this with you a couple of weeks before the big day, just in case you needed some ideas for your feast. You might remember our post from last year, so this is just an updated version.

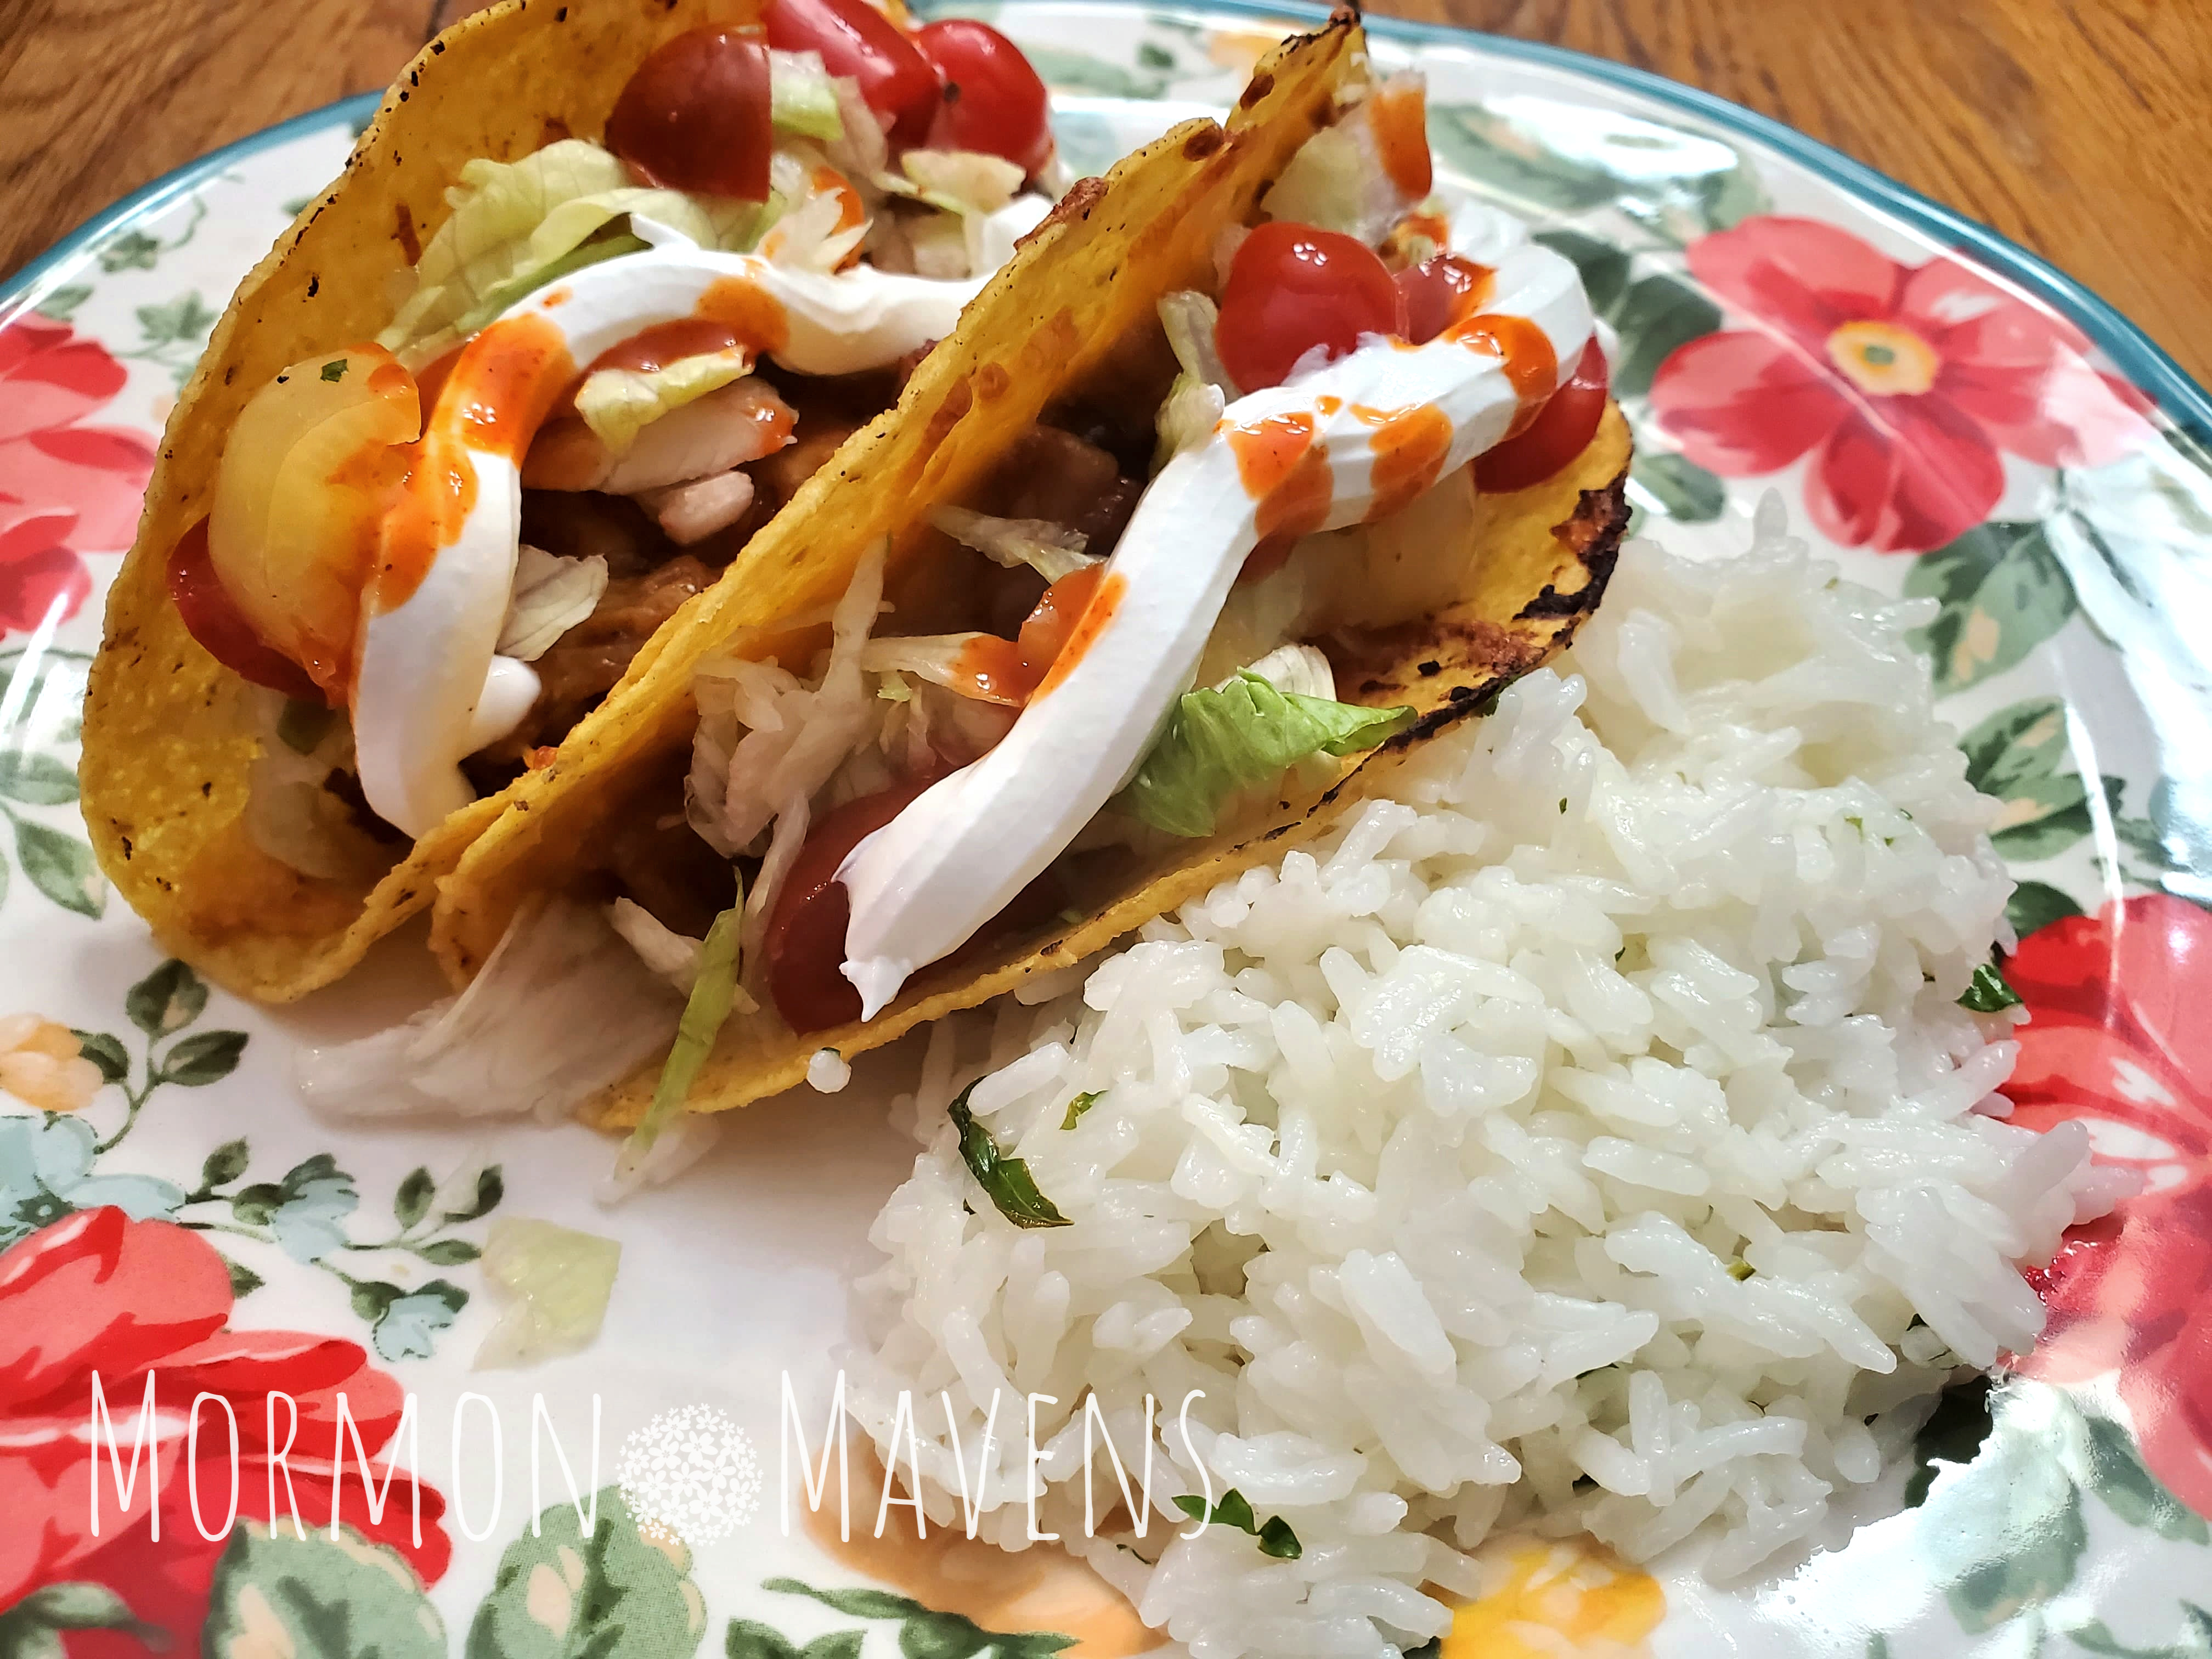
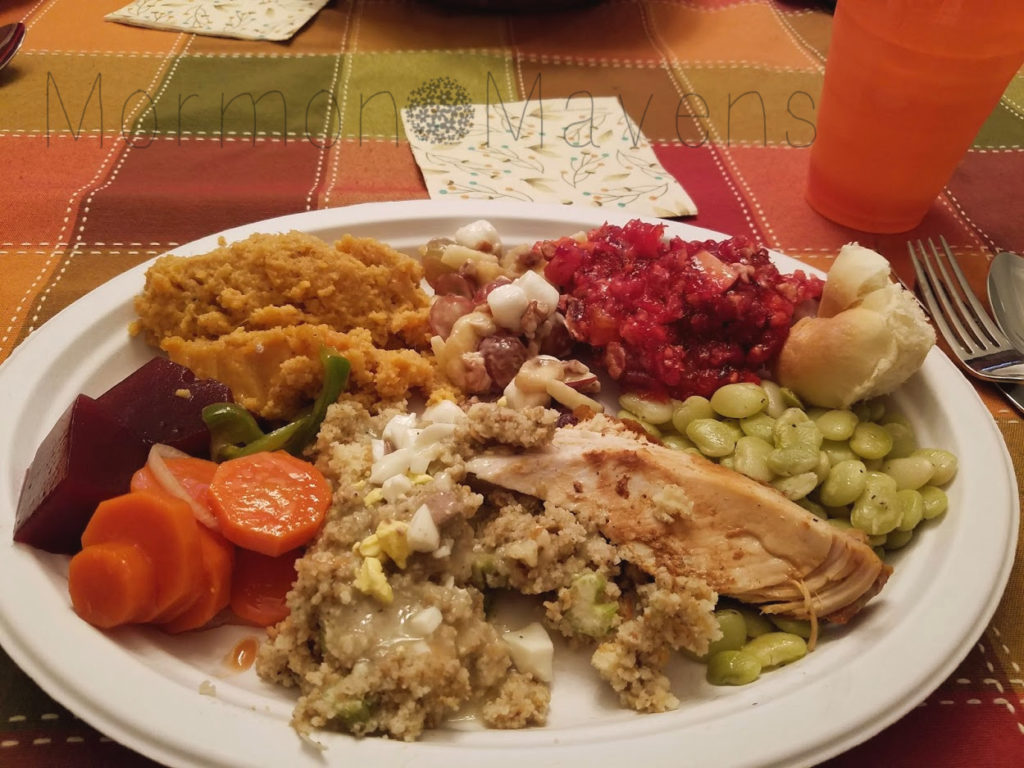
So here it is. I have also provided a link to the dishes that we shared on this blog. Thank goodness I took a picture of my plate last year so that you can see it up close and personal.

If you see another one on the list that you would like to have the recipe for just let me know! For the yeast rolls, we have several recipes to choose from but the one I use is not on the blog yet.


Thanksgiving Menu from Our House to Yours

Deep Fried Turkey
Mother’s Southern Cornbread Dressing
Sweet Potato Pudding
Cranberry Relish
James’ Fruit Salad
Copper Penny Carrots
Seasoned Baby Lima Beans
Giblet Gravy
Homemade Yeast Rolls
Pumpkin Pie with Homemade Whipped Cream


Well, that’s a mouthful–literally. Feel free to share your Thanksgiving favorites in the comments.  We love hearing from you.


Cilantro Citrus Rice

cilantro citrus rice

Cilantro Citrus Rice is the perfect accompaniment to your Mexican-inspired main dishes or even as the base for Hawaiian Haystacks!  Don’t let my boring picture fool you.  The flavors are beautiful and subtle, which is good for people like me who don’t love cilantro; I couldn’t get enough!  If you want more flavor, simply double the cilantro and citrus juices.

Because of its ease of cooking and consistently successful outcome, a pressure cooker is my preferred way to make my rice.  But don’t despair if you don’t have a pressure cooker (and jasmine rice is my preferred rice).  This Cilantro Citrus Rice can be prepared using just about any rice method and type you like.  Your basic set up is the same.

If you use the stove top to prep your rice, you will still follow the same steps after the rice is cooked.  Want to use microwaveable rice?  Same thing.  Just start the recipe after rice prep and adjust the amounts accordingly.  Cilantro Citrus Rice makes 3 cups of rice; next time I think I’ll double it as it is TASTY!!

The original recipe says it’s a copycat for Chipotle’s rice, but my husband said it tastes better than that!  Give it a try and let me know if you agree with him!

Cilantro Citrus Rice
Yummy jasmine rice with lime, lemon, orange, and cilantro flavor
Write a review
Print
Total Time
20 min
Total Time
20 min
Ingredients
  1. 1 cup long-grain jasmine rice
  2. 1 1/2 cups water
  3. 1 Tbsp. butter or oil
  4. 1 bay leaf
  5. 2 tsp. kosher salt
  6. 1 Tbsp. finely chopped fresh cilantro
  7. 1 Tbsp. fresh lime juice
  8. 2 tsp. fresh lemon juice
  9. 1 tsp. orange juice
Instructions
  1. In your pressure cooker, combine the rice, water, butter or oil, and bay leaf. Follow manufacturer's instructions for cooking. For me this is 3 minutes on HIGH pressure then 7 minutes natural pressure release.
  2. While the rice is cooking prep your other ingredients. When the rice is done, remove and discard bay leaf. Fluff the rice with a fork and add the salt, cilantro, and juices. Stir to combine.
Mormon Mavens https://www.mormonmavens.com/

Italian Roasted Potatoes

italian roasted potatoes


You can’t go wrong with a good potato recipe, and if you add Parmesan, garlic, Italian seasoning, and olive oil….well, then, you just have bliss, don’t you?   Seriously, the combo of all these ingredients just makes your kitchen smell heavenly while it’s roasting.  No wonder so many comfort foods contain potatoes!  National Potato Day is coming up on October 27th, so why not celebrate with Italian Roasted Potatoes?!

You could use dried parsley for this, but the fresh cut parsley looks so great and is just so appetizing.  I used powdered Parmesan cheese, but you could opt for freshly grated Parmesan if you prefer.   When you measure out the Italian seasoning, pour it into the palm of your hand and then use the pads of your other hand to crush and rub the seasoning before adding it. In this way, you’re essentially making a kind of a mortar and pestle with your hands.  Crushing the seasoning in this way will allow more flavor to be released.

If you can swing it, use a good, high-quality olive oil as it will make a big flavor difference.  For example, my favorite olive oils come from Beaufort Olive Oil Company.  (And by the way, that’s pronounced “BOW-fert” in North Carolina, as opposed to the South Carolina “BYUU-fert.”)  Using a flavored olive oil might also be a fun thing to experiment with, but I prefer using a medium intensity, all-purpose olive oil such as a Picual or a Frantoio.

Great as a side to your dinner’s main dish, Italian Roasted Potatoes would also make a great addition to a brunch where you could serve it alongside egg dishes or Anna’s Fresh Tomato and Basil Pie.  Whatever food companion you decide to serve this alongside, I’m sure you’ll be happy with result.  I mean, who doesn’t love potatoes?

Italian Roasted Potatoes
Serves 10
Potatoes, garlic, Parmesan cheese, olive oil, and Italian seasonings come together to create this aromatic, delicious side dish.
Write a review
Print
Total Time
1 hr 10 min
Total Time
1 hr 10 min
Ingredients
  1. 4 pounds Russet potatoes, peeled
  2. 1/2 cup extra virgin olive oil, divided
  3. 2 tsp. Italian seasoning
  4. 6 cloves garlic, minced
  5. 2 tsp. salt
  6. 1 tsp. pepper
  7. 1/2 cup grated Parmesan cheese, divided
  8. fresh chopped parsley
Instructions
  1. Preheat oven to 400 degrees. Prepare a 9"x13" baking dish by generously greasing with shortening or cooking spray.
  2. Cut the potatoes in half length-wise. Then lay each half on its cut side and cut in half length-wise again. Cut each of these width-wise into 1/2" chunks. Place the cut potatoes into a large mixing bowl.
  3. Add 4 Tbsp of the olive oil to the potatoes and toss to coat. Then add the Italian seasoning, garlic, salt, pepper, and half the Parmesan cheese. Toss to coat.
  4. Pour this mixture into your prepared pan and sprinkle with half of the remaining Parmesan cheese. Drizzle 2 Tbsp. of olive oil evenly over the top of the potatoes.
  5. Bake for 30 minutes, remove from oven, and carefully toss. Sprinkle with the remaining cheese and olive oil and return to the oven.
  6. Bake for 25 minutes, remove from oven, and toss. Take a taste and make sure it's seasoned with enough salt and pepper.
  7. Sprinkle with parsley before serving.
Mormon Mavens https://www.mormonmavens.com/
at addition to a brunch where you could serve it alongside egg dishes or Anna’s Fresh Tomato and Basil Pie.  Whatever food companion you decide to serve this alongside, I’m sure you’ll be happy with result.  I mean, who doesn’t love potatoes?

Deviled Eggs


Happy 4th of July!! 

I know there are a bazillion recipes for deviled eggs out there, but I hope you try this one for your July 4th festivities or just whenever you want some of these tasty morsels!

Who doesn’t love all things Magnolia? This recipe is adapted from Joanna Gaines’ Magnolia Table cook book. It is the first recipe that I have tried from her and it did not disappoint. I made it for a Linger Longer at church this past Sunday and the platter emptied pretty quickly. Let me add that there were other deviled eggs on the table besides these.

One thing that you will appreciate is that there is BACON on these eggs. Yep. With brown sugar. So, WIN-WIN. Let us proceed…

Deviled Eggs
Serves 8
Write a review
Print
Prep Time
30 min
Cook Time
35 min
Prep Time
30 min
Cook Time
35 min
Ingredients
  1. 12 large eggs
  2. 1/2 lb. bacon
  3. 1/4 c. packed light brown sugar
  4. 1 T. distilled white vinegar
  5. Kosher salt
  6. 1/2 c. mayonnaise (I used Hellmann's because Joanna prefers it)
  7. 2 T. dill weed (if you accidentally pick up sweet instead of DILL relish)
  8. 1 t. dry mustard powder
Instructions
  1. Preheat oven to 375 degrees F and line a rimmed baking sheet with foil. My bacon stuck to the foil so you could also add a cooling rack and lay the bacon on that. I will be doing that next time.
  2. Spread brown sugar on a plate and press both sides of the bacon slices into this to coat them. Lay slices on foil/cooling rack in the pan. Bake until crispy 14-16 minutes. Cool on baking sheet.
  3. While the bacon is cooking, place eggs in a single layer in a large saucepan, cover with water to 2 inches above the eggs. Use whatever trick you know to help the eggs peel easily, like adding baking soda to the water. The recipe uses the vinegar and salt. Bring the water to a full rolling boil, cover the pan, then remove from heat and let stand 10 minutes. The eggs will continue to cook off the heat.
  4. While the eggs are "cooking", prepare a large bowl of ice and water. When the eggs are done, drain them and put them immediately into the ice water. This will stop the cooking process and prevent you from getting egg yolks that are green around the gills. So to speak. Let the eggs stand in the water until completely cooled.
  5. Peel the eggs, rinse, then dry them. Slice in half lengthwise. Gently scoop out the yolks into a medium bowl, setting the whites aside. I put them on a sheet of parchment paper.
  6. Add mayonnaise, dill weed, mustard powder and 1/4 t. salt to the egg yolks. Mix well, mashing the yolks with the back of a fork to completely incorporate them. Use a spoon to gently fill the egg whites. I used a jam spoon which seemed just the right size. You could also place the filling in a small zip-top plastic bag, cut the tip off of one corner and squeeze the filling like a pastry bag, if you like.
  7. Chop the reserved bacon and generously top eggs with it.
  8. Arrange the deviled eggs on a platter, cover lightly, and chill in the refrigerator for at least 1 hour, or up 24 hours before serving.
Notes
  1. If you check out the original recipe you will notice that you can also dust the eggs with paprika or minced fresh dill and chives. I might try that next time myself--because next time I will get DILL relish instead of sweet.
Adapted from Magnolia Table
Mormon Mavens https://www.mormonmavens.com/

Mom’s Potato Salad

 
  I know Easter just happened, but I wanted to share this recipe again because it’s an Easter tradition and I am still enjoying the leftovers!
 
Hey, you know Julie posted a potato salad recipe back here and explained that we grew up in a different potato salad culture.  I, too, am a potato salad snob.  Mom’s recipe trumps all others in my world.  I realize your world may include eggs, or you might like to smash up the spuds.  Whatever floats your boat. 
 
I was feeling nostalgic this Easter and decided to pull out Mom’s recipe, much to the delight of my family.  I had no idea they liked it so much!  Guess I will have to make it more often.  So, Moms’ recipe in Grandma’s retro Pyrex bowl.  Sweet memories.
 
Ingredients:
 
5 lbs. potatoes, boiled in salted water & peeled & cubed (love the cubes–it’s a texture thing)
1 lg. green bell pepper, chopped
1 small onion chopped
1 tsp. celery seed
3 small jars diced pimiento, drained
1 1/4 cup Miracle Whip (no, not mayo, please.  not for this.)
4 tsp. salt
1/2 tsp. pepper
1 T. apple cider vinegar
1 tsp. prepared mustard
 
1.  Peel the potatoes, place in large pot and cover with water.  Bring water to boiling and cook until just tender.  No mushy spuds here!  Let cool, then cut into bite-size cubes.  Place in a large serving bowl.
 
2.  Add the green pepper and pimientos to the cooled spuds (I say spuds a lot.  My first two years in college were spent in Idaho.)
 
3.  Combine the rest of the ingredients.  Mix well.  This is your dressing.  Add to the…wait for it….spuds and friends.  Toss together gently with rubber spatula to make sure the dressing is evenly distributed.


This recipe originally posted on May 8, 2014.

Source: Pat Brew Recipes.

Frog Eye Salad

Although this recipe has been around quite a while, it still seems to be unknown to many.  At a recent church function I was asked two questions about it:  “What is this?” and “Can I have the recipe?”  It makes a lot and is a very satisfying side dish or light dessert.

Ingredients:
1 cup sugar
2 Tbsp. flour
1 tsp. salt
1 3/4 cup pineapple juice (reserved from canned pineapple)
2 eggs, beaten
1 tsp. lemon juice
1 16-ounce package Acini de Pepe pasta
2 11-ounce cans mandarin oranges, drained
1 20-ounce can crushed pineapple, drained and juice reserved
2 20-ounce cans pineapple chunks, drained and juice reserved
1 9-ounce carton non-dairy whipped topping
marshmallows
coconut
maraschino cherries, halved

1.  Combine sugar, flour, pineapple juice, and eggs in a medium saucepan stirring well to combine.  Cook over medium heat until thickened stirring often.  Remove from heat, add lemon juice and stir to combine.  Set aside to cool.
2.  Cook Acini de Pepe pasta according to package directions.  Drain, rinse with cool water, and set aside to cool.  (Unless you have a sieve-type large colander, you may have to line your colander with paper towels like I did…..otherwise the pasta will escape through the holes!)
3.  In a large bowl, combine the cooled egg mixture and the cooled pasta.  Cover tightly with plastic wrap (or lid if you have it) and refrigerate until serving time.
4.  When ready to serve add the fruit, whipped topping, marshmallows, coconut, and cherries.

Notes:

  • The amounts for the marshmallows, coconut, and cherries are up to you.  I like a lot of each, so I added almost a whole bag of mallows, about half a bag of coconut, and a large jar of cherries.
  • This salad keeps well in the fridge after the initial serving but is always best right after the last ingredients are added.  To “freshen” it up a bit after it’s been in the fridge, just add some more whipped topping.
  • Acini dep Pepe pasta is not hard to find in most grocery stores.  It’s just with all the other pastas, not in a special section or anything.  It looks like little balls….it’s the “frog eye” in this salad.
Source:  I got it for the first time from my sister, Amy (fellow Maven known as “Amos”)
 
Originally posted on April 1, 2013.

Baked Broccoli


I like broccoli.  A couple of my kids like broccoli.  My husband likes broccoli.  But now, we LOVE broccoli.  Seriously, we went from buying some once a month or so to buying the BIG bag from Sam’s (we used half that big bag the other day for dinner!).

Ever since trying this recipe (first seen on Pinterest), I crave it.  I have kids asking for thirds, for crying out loud!  I don’t know that I will ever make broccoli any other way again.

Baked Broccoli

Ingredients:
fresh broccoli
olive oil
salt and pepper


1.  Preheat oven to 425 degrees.  Wash broccoli and make sure it is cut into bite-size pieces.  That big ol’ broccoli tree on the right will still be tasty but trust me, you want smaller pieces for cooking time and for taste.  Trust me.  I know we don’t know each other well, but you really can trust me.  Honest.
2.  Spread out in pan and drizzle with olive oil right in the pan.  I don’t measure because I don’t always make the same amount.  I just fill the pan in a single layer of broccoli and then drizzle the oil and toss with salt and pepper.  Right in the pan.  (sorry for the blurry pic…I was my own photographer and “I am not left-handed!”)
3.  At this point, try to look over the broccoli heads to find any dry ones.  Take these dry heads and brush them around on the pan to pick up some olive oil.  As you can see, they are not swimming in it.  Best case scenario, they all have shiny but not drippy heads.
4.  Place in oven for 30 minutes.  When the broccoli comes out, it will have shrunk and have brown crunchy spots (these are mighty tasty!).  Serve immediately.  (You may like your broccoli more tender or more crispy…play with the time till you get it right.  Remember that the more crowded the pan, the longer the broccoli will need to cook.)

Enjoy!

Source:  adapted from several recipe sources found on Pinterest;  some use lemon juice and steak seasoning, but I really enjoy the plain salt and pepper


Originally published on March 19, 2012.

Comfort Potato Salad

comfort potato salad


Originally posted on July 19, 2011.

I admit it.  I am a potato salad snob.  I grew up in a very different potato salad culture than most people, I think. And I have yet to taste a potato salad that is anywhere close to my mother’s recipe.  

Still, growing up, there were things about my mother’s potato salad that I did NOT like.  So, a few years after I got married, I decided to give this family classic a good makeover (although I have included my mother’s ingredients at the end of the recipe in case these foods really float your boat).

 And the result?  One of our family’s favorite dishes.  Simple but so, so good.  SO good, in fact, that my husband and kids cannot resist picking at the bowl before I am even done making it.  I hope you enjoy it.

 And I won’t be offended if your personal potato salad culture makes it impossible for you to like mine!

Ingredients:
5 pounds Yukon Gold potatoes (pictured are gold, purple, and red potatoes from our garden)
1 1/2 c. mayo (NOT Miracle Whip!….wait, that’s a mayonnaise culture thing)
1 tsp. celery seed
4 tsp. salt
1/2 tsp. pepper
1 Tbsp. apple cider vinegar
1 tsp. prepared mustard


1.  Clean potatoes gently in water and place in large pot.  Cover with water to and at least an inch above the potatoes.
2.  Boil potatoes until tender, about 20 minutes depending on the size of the potatoes.
3.  Drain potatoes and place them on a cooling rack set in a cookie sheet.
4.  While potatoes are cooling, make the dressing in a large bowl.
5.  When potatoes are cooled enough to handle (still warm is really yummy!) cut potatoes into bite-size chunks (leave the skin on) and place in the bowl with the dressing.
6.  With a rubber spatula gently toss the cut potatoes until they are evenly “bathed” in the dressing.
7.  Serve warm or at room temperature.


Source:  My Mom

My mother’s recipe differs in that she:

  • adds 1 large green pepper (chopped), 1 small onion (chopped), and 1 large jar of chopped pimento.
  • uses red potatoes only (I find them too water-y).
  • peels the potatoes before cutting them up.

Copper Penny Carrots


Remember that post where I said I could share some of our family’s favorite Thanksgiving recipes? Yes, that one.  

Today I am sharing one of the top requests for Thanksgiving dinner–Copper Penny Carrots.  So delicious and the only complaint I get is that I only make it once a year.  Why is that?  It’s super easy and everyone loves this dish.

Next year when you are planning your feast, think about including this tasty dish.  Or you can make it now.  I guess I am going to have to start making it more often.

If you can’t think like an onion or a carrot or a tomato, you may be a technician, but you won’t understand what you’re doing, and your dish will be flat.

Eric Ripert

Due to technical issues, the recipe is in our older format.


Ingredients:

2 lbs. carrots, 1/4″ slices (4 1/2 cups)3 boiler onions, thinly sliced & separated into rings

1 medium green pepper, cut in thin strips

1 can tomato soup

3/4 cup apple cider vinegar

2/3 cup sugar

1/2 cup vegetable oil

1 t. Worcestershire Sauce

1 t. prepared mustard

1/2 t. salt


Instructions:

1. Cook carrots in small amount of boiling salted water until just tender, about 8-10 minutes. Drain.

2. Combine carrots with the onion and green pepper in a large bowl.

3. Stir together remaining ingredients and pour over vegetables.

4. Cover and marinate in refrigerator for several hours or overnight.

5. When ready to serve drain, reserving marinade.  Serve in lettuce-lined bowl, if desired.

6. Return any leftover vegetables to marinade and keep refrigerated.


NOTE–Once the vegetables are all gone, save the marinade.  Someone in the house will undoubtedly want to dip bread in it.  Seriously, this happens at my house. I am married to a “sopper”.

SOURCE–Brew Family Cookbook, Vol. 1.

Thanksgiving Menu Share


Hi everyone!  I am sitting here at my desk organizing my Christmas and Thanksgiving planners–I like to have everything for each of these holidays in 1-inch binders so I can grab them and go when I have time to prep.  

Every year I tell myself I will be ready earlier than the previous year, and this year is no exception.  We will have Thanksgiving at our place this year with a couple of extra family members driving in from down east. 

I love a houseful for holidays, don’t you?  

I thought that I would share our traditional Thanksgiving Menu, just so you can see what I will be doing over the next week..wait WHAT?!  Yes, it’s a week away. 

OMGracious. (see what I did there?  Because “thanks” giving…)

Where does the time go? Seriously.  So here is that menu–got a little sidetracked–and I have provided a link to the dishes that we already have recipes for here on the blog. 

If you see another one on the list that you would like to have the recipe for just let me know! For the yeast rolls, we have several recipes to choose from but the one I use is not on the blog yet.

I will be glad to post an extra recipe this week to help out with your big feast. It might not have a photo because I really won’t be making it until next week, but I can add that later, right?


Thanksgiving Menu from Our House to Yours

Deep Fried Turkey
Mother’s Southern Cornbread Dressing
Sweet Potato Pudding/Souffle
Cranberry Relish
James’ Fruit Salad
Copper Penny Carrots
Seasoned Baby Lima Beans
Giblet Gravy
Homemade Yeast Rolls
Pumpkin Pie with Homemade Whipped Cream


Well, that’s a mouthful–which is why I am using Chinet Platters this year.

Feel free to share your Thanksgiving favorites in the comments!  We love hearing from you.