How to Make Coconut Oil Popcorn on the Stovetop

finished coconut oil popcorn

Ever since we found this way to make popcorn, I don’t think we’ve bothered to every buy microwave popcorn again!  My kids and I watched an episode of Good Eats (the original series….can’t wait to see what Alton Brown has in store with his newest episodes…so glad it’s back!) and were intrigued with the idea of making popcorn on the stovetop.  I grew up having popcorn made this way but with vegetable oil and in a heavy saucepan.  This way is much better, tastier, and yields a LOT more popcorn per batch if you have a big bowl.

So, first of all, you are going to need a stainless steel bowl.  Don’t know if your bowl is stainless?  Read more here about how to tell. I happen to have a hand-me-down bowl from my mother that holds about 11 quarts.  But the size here doesn’t matter, it’s the method you need to know.  The amounts can adjust easily to the size of your bowl.  Just tonight, I used my big bowl but didn’t use as much coconut oil and popcorn, so it made a small batch.  With this large bowl, I have the option of going big or small.

Here’s how you do it…..and sorry I don’t have pics of every step, but it’s very simple.  And, I do have a video at the end that my daughter recorded that should be very helpful for you!

What you need:  stainless steel bowl, coconut oil, popcorn kernels, aluminum foil (heavy duty is best), small paring knife or ice pick, oven mitts of hot pads

Step 1–Lay out your aluminum foil.  For my bowl I need two sheets several inches wider than my bowl is across.  I overlap these two sheets on their long sides and fold that overlap over twice.  This will cover the bowl during popping.

Step 2–Set the stainless steel bowl on the appropriate sized burner.  The bottom of the bowl is what is making contact with the stovetop, so don’t pick a burner that’s bigger than the bowl bottom.  Turn the burner on low.  Immediately spoon in some coconut oil.  For a full bowl of popcorn, I melt enough coconut oil to completely cover the bottom of my bowl to a depth of about a popcorn kernel.

coconut oil in the bowl

Step 3–Once the coconut oil is almost completely melted, pour in your popcorn kernels until all the coconut oil is taken up by kernels.  You know, no puddling of extra oil.

coconut oil and kernels in the bowl

Step 4–Immediately lay the foil sheets (that have been folded together in the middle) over the top of the bowl and scrunch the foil around the edges of the bowl to secure it well.  Use your paring knife or ice pick to carefully cut 6-8 holes across the surface of the foil to allow some steam to escape.  Don’t make these too big as some oil splattering can occur.

Step 5–Turn the heat up to medium.  With oven mitts on (or holding hot pads) grasp the sides of the bowl and shimmy it back and forth over the burner.  Turn the bowl a quarter turn every so often and continue shimmying it until all the kernels have popped or till the popping sounds have slowed down a lot.  Turn off burn and move bowl to another spot on the stovetop.

Step 6–Carefully remove the foil covering (steam will escape) and set it aside.  Salt the popcorn, then use a wooden spoon or heat-proof scraper to turn the popcorn to distribute the salt evenly.  Repeat if necessary until it’s salted to your liking.  Serve!  Just remember that the bowl stays hot for a while so be careful.

Vanilla Fondant

Originally posted on March 17, 2014.

When I was looking for a fun recipe to re-post for today, I realized that next month (can’t believe it’s almost September!), among other things is National Breakfast Month.  Okay. Didn’t know that was a thing, but let’s go with it.  Don’t you love this cake?  Yes, it’s a cake and why not make it for your family next month in honor of Breakfast? This is one of my favorite cakes that Julie has made.  I mean, seriously.  How much fun is this?

When I first began decorating cakes in earnest I wanted to try my hand at fondant.  But I had always heard that store-bought fondant tasted, well, icky.  Plus, it was expensive.  So I checked out cakecentral.com to see if I could find a fondant recipe.  I was a little intimidated, but decided to forge ahead anyway.  Well, I hit the jackpot with this recipe because it has turned out every single time and I always get compliments on it’s flavor and texture.  Many people try the popular marshmallow fondant recipe that’s floating around but, to me, that thing is just a messy headache.  This recipe may take longer and have more ingredients but I find it far superior to the marshmallow fondant.  Once you’ve made it a couple of times, it’s a piece of cake!  Get it?

Yes, the pancakes, butter, egg, and bacon are all made out of fondant.  I made this cake for one of my sons’ birthdays.  One of my favorite cakes to date!  So much fun.

Ingredients:
1/2 cup milk
3 pkg. plain gelatin (6 tsp.)
1 cup light corn syrup
3 Tbsp. salted butter
3 Tbsp. glycerin
2 tsp. vanilla
dash salt
3-4 pounds powdered sugar

1.  Combine the milk and gelatin in a double boiler and allow to set until firm.  Then simmer the water and cook gelatin until it is dissolved.
2.  Add the corn syrup, butter, glycerin, vanilla, and salt and cook until the butter is almost completely melted, stirring frequently.  Set aside to cool.
3.  Put TWO pounds of powdered sugar in large mixer bowl.  Strain the gelatin mixture into the powdered sugar.  Mix slowly with a batter blade until just combined.
4.  Change to the dough hook attachment.  Slowly add 1-2 pounds powdered sugar.  The amount will depend on the humidity where you live.  I never get to 2 pounds.  You want the fondant to be firm and barely sticky.
5.  Scrape fondant onto a heavily-powdered-sugared surface and knead it for a few minutes.
6.  Take two pieces of plastic wrap, about 2 feet each, perpendicular to each other.  Spray lightly with nonstick spray.  Place fondant in center and fold wrap over fondant.  Store this in a large Ziploc bag or large airtight container.  Allow to set for 24 hours before using.

Source:  cakecentral.com

Sew, Have You Tried This?


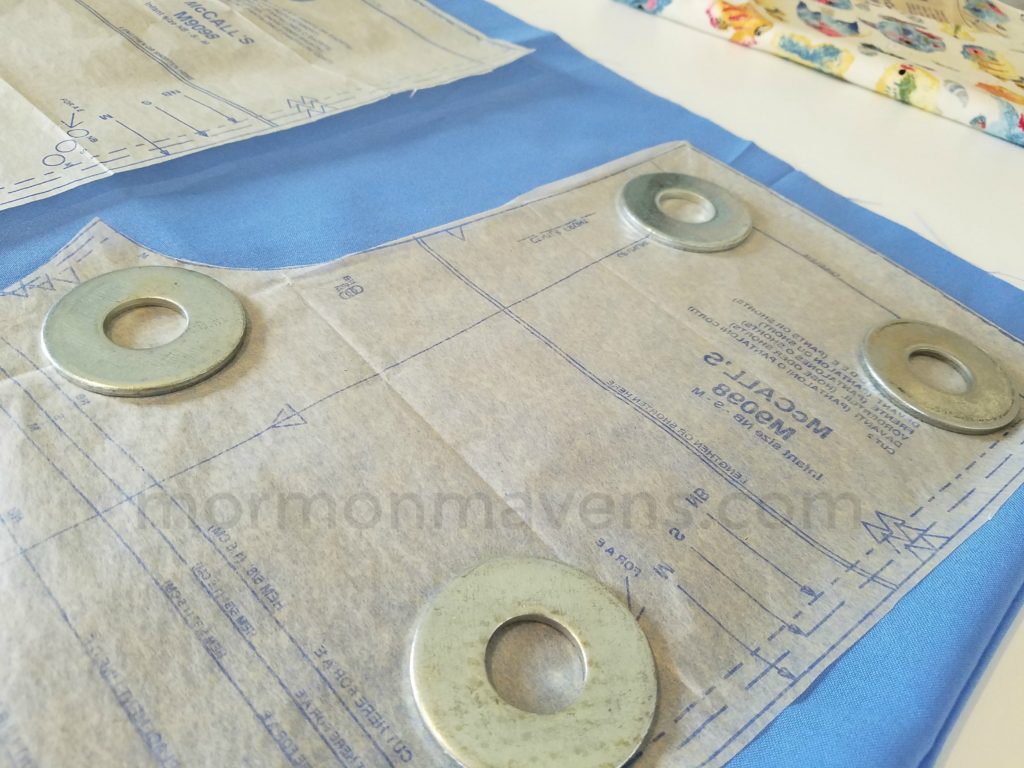
Guess what is better than straight pins for laying out and cutting a pattern?  WASHERS!!  For real.  

Way back in time, like maybe 2000, I was asked to help make costumes for a regional youth dance festival that our church was putting on as part of their annual Youth Conference.  The lady in charge had us meet at the stake center to lay out and cut the pattern pieces that we would then take home and sew.

The costumes were very simple, but the coolest thing about this experience was that I learned a great sewing trick that I continue to use to this day.  Get you some 2-inch stainless (I think) washers.  The middle hole is about 7/8 inch.  I have about 20 or so in a little plastic container that I found at home somewhere.


It is so great to lay these washers (sometimes you might want to stack 2 of them together) right on top of the pattern piece.  It saves a lot of time/fingers/stress.  

Removing Burnt-on Food from Ceramic Cook Top

??????????????

You will have to trust me on this one.  I had a yucky, stubborn black, burnt blob–well, in the shape of a blob but by now it just looked like a stain– on my ceramic cook top.  I have been trying everything to remove that.  Needless to say, the “Ceramic Cook Top Cleaner” didn’t do the trick.  Where do you turn to find everything you need to know about everything?  I mean besides Pinterest.  GOOGLE!!  I found a list of possibilities so clicked on one and watched the YouTube video. Yeah, not too crazy about that one.  Clicked on the next one and BINGO. Tried it out. NAILED IT!!!  For real, with stuff I already had at home.  Sure wish I could have thought to take a BEFORE shot, but who knew this would work so well that I would want to share it with the world?

Removing Burnt-on Food from Ceramic Cook Top
Great way to remove those pesky burnt on food stains from your cook top!
Write a review
Print
Ingredients
  1. Small Dish
  2. Baking soda
  3. Lemon juice
  4. Microfiber cloth
Instructions
  1. Mix a paste of baking soda and water in a small dish. It should be the consistency of toothpaste.
  2. Spread the paste over the burnt area and allow it to set for about 12 minutes. Do not allow to sit too long or it will dry out. Really it will.
  3. Pour a little lemon juice (bottled worked for me!) over the paste and let it fizz to help release tougher stains.
  4. After 12 minutes, gently scrub the area with a soft cloth or plastic scrubber. Do not use anything abrasive or it will scratch the surface. Found that out the hard way one time.
  5. Repeat as necessary until food is gone. GONE I tell you! So happy right now.
  6. Clean off surface with a wet cloth or paper towel.
Notes
  1. Once I can find my source again I will include a link where you can get complete instructions. I only included the portion that applied in my situation. You're welcome.
Adapted from from How to Clean Stuff
Mormon Mavens https://www.mormonmavens.com/

Non-Alcoholic Substitutions

I don’t know about you, but as a cook who doesn’t partake of alcoholic beverages, I have a hard time figuring out what to substitute in recipes that call for wine and liquor.  I was looking through a cookbook the other day to figure out my next blog post and found this list of substitutions that seem to be pretty good.  It’s a little lengthy, but comprehensive.

DESSERTS:

  • Liquor/Liqueurs–sub an equal amount of fruit juice
  • Wine–sub equal amount of fruit juice plus 1 T. vinegar

SAVORY DISHES:

  • Liquor/Wine–sub equal amount of liquid: chicken, beef or vegetable broth, or even water.  Add 1 T. of red wine vinegar or white vinegar for a little zing.  Also consider available non-alcoholic wines, but still add a vinegar to balance their sweetness.

SPECIFIC SUGGESTIONS:

  • 2 T. Grand Marnier or other orange-flavored liqueur–sub 2 T. unsweetened orange juice concentrate.
  • 2 T. Rum/Brandy–sub water, white grape juice, or apple juice.
  • 1/4 c.or more White Wine–sub equal measure of chicken broth, vegetable broth, or clam juice (If      using non-alcoholic wine, add 1 T. vinegar to cut the sweetness.
  • 1/4 c. or more Red Wine–sub equal amount of chicken broth, beef broth, vegetable broth, clam juice, flavored vinegar, fruit juices, apples cider, and non-alcoholic wines (remember the vinegar trick).

SUBSTITUTIONS THAT INCLUDE EXTRACTS:

  • 2 T. Grand Marnier or other orange-flavored liqueur–sub 2 T. orange juice and 1/2 t. orange extract.
  • 2 T. Rum/Brandy–sub 1/2 to 1 t. rum or brandy extract for recipes in which liquid amount is not crucial.  Add water, white grape juice, or apple juice, if necessary, to get the right amount of liquid.
  • 2 T. Amaretto–sub 1/4 to 1/2 t. almond extract.
  • 2 T. Sherry or Bourbon–sub 1 to 2 t. vanilla extract.
  • 2 T. Chocolate Liqueur–sub 1/2 to 1 t. chocolate extract plus 1/2 to 1 t. coffee granules dissolved in 2 T. water (I don’t drink coffee either, so if you know of another way, let me know)
  • For 1/4 c. or more port wine/sweet sherry/rum/ brandy/fruit-flavored liqueur–sub equal measure of orange juice or apples juice plus 1 t. of corresponding flavored extract or vanilla extract.
Source: Just a list stuck in my cookbook.
Image courtesy of FreeDigitalPhotos.net

Play Dough

Ingredients:
2 C. Flour
1 C. Table Salt
2 Tbsp. Cream of Tartar
2 Tbsp. oil
2 C. water

Combine all ingredients in a sauce pot. Cook and stir over medium heat til it comes together and clears the sides of the pot. It will get tough to stir. Remove from heat, knead the play dough and add food coloring or essential oils for colored/scented dough. Mix til smooth.

Store cooled play dough in a ziploc bag. It should last for several weeks or a couple months.

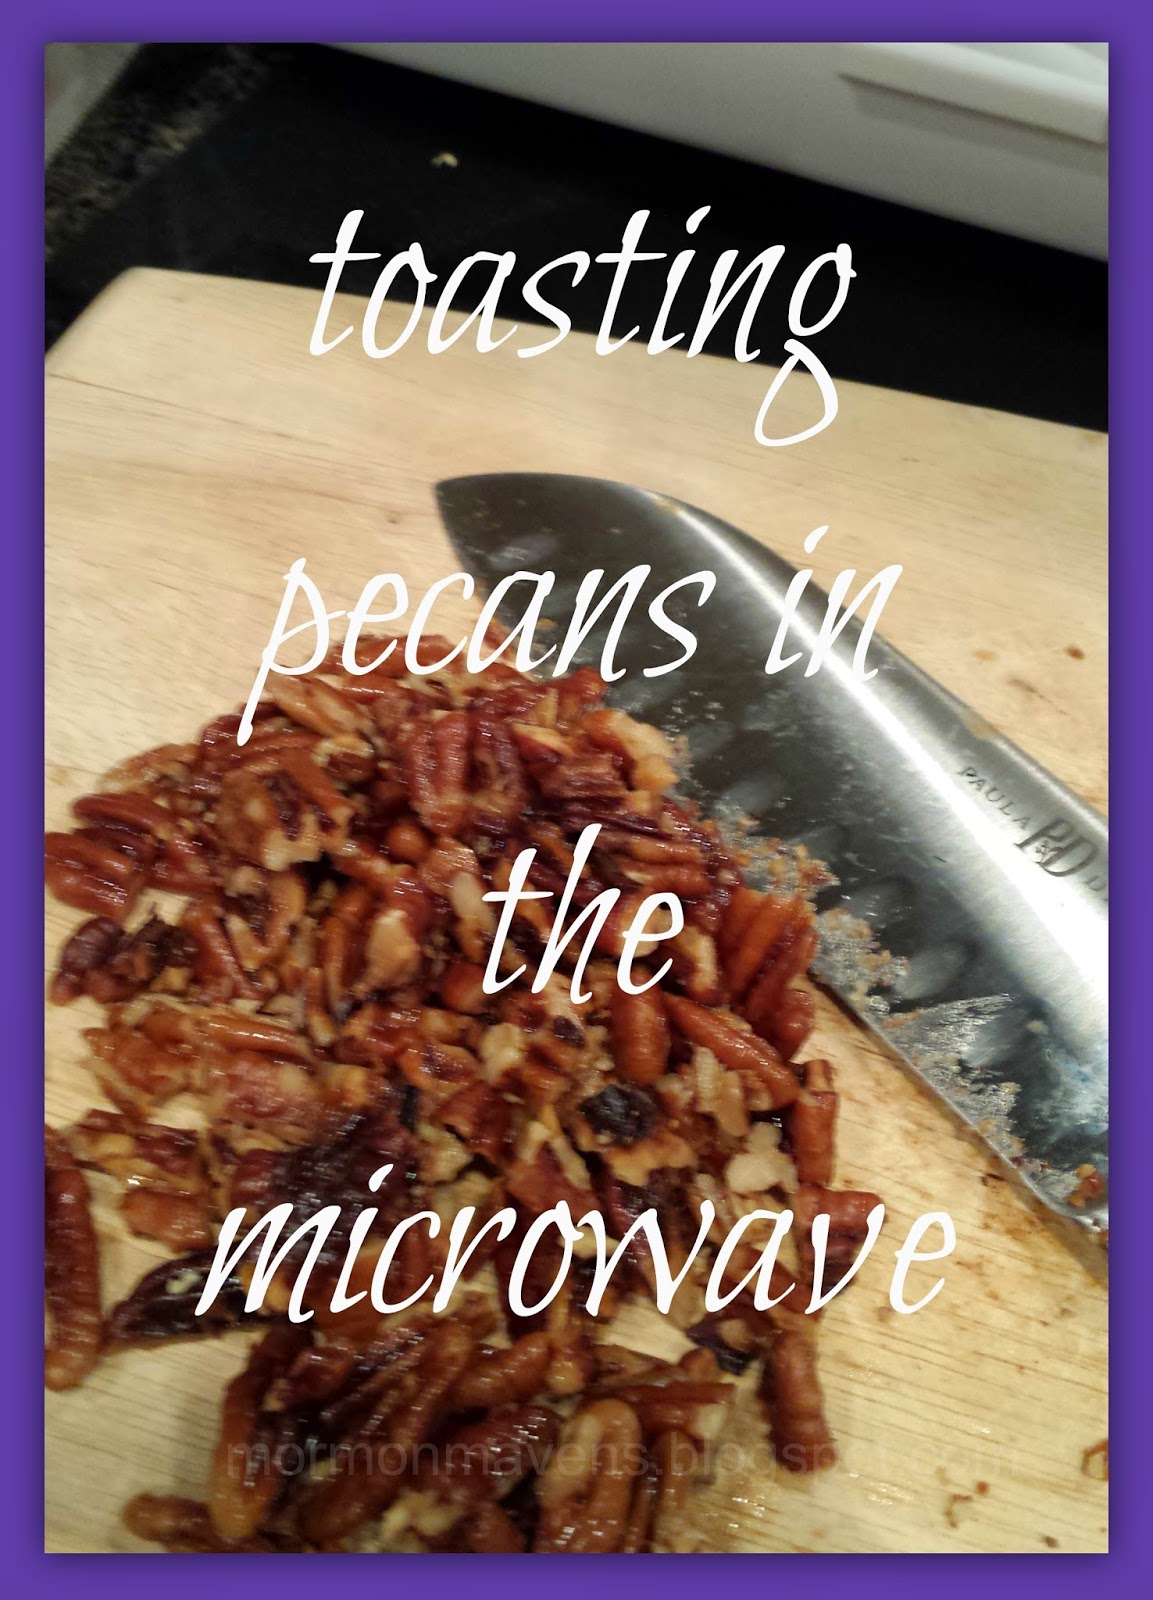
Toasting Pecans in the Microwave

Yes, I toasted my pecans in the dang microwave.  Does that sound like cheating?  Perhaps, but if time is an issue, this is a great alternative to the standard oven procedure.  Here it is, in a nutshell.  
Ingredients:
4 cups pecans, shelled
1/4 cup butter
sea salt

1.  Place the pecans in a microwave-proof pie plate.  Add the butter, then salt to taste.
2.  Microwave on high for 3 minutes, then stir to distribute the butter.
3.  Microwave on high for another 3 minutes.  You can certainly check on the pecans and make sure they are not getting too done.
4.  Taste immediately, or wait until they have cooled a little.  These suckers are yum!
5.  Coarsely chop or not.  Add to whatever recipe needs them.
Source:  Food.com

How to Cook Spaghetti Squash

Okay, I admit it.  I’ve never tried spaghetti squash before this.  But I’ve always wanted to.  It always looks so cool….all those little curly fibers.  But I never had motivation to try it until I had to go wheat-free.  You know, rice pasta is nice and all, but it’s a little bland.  So I was really hoping for something interesting here.  I got it, and it’s pretty versatile to boot.  You can serve it with a sauce like you would pasta or just top it with Parmesan cheese and chopped basil, or serve it as a side with salt, pepper, and butter or ghee.

And it’s just so stinkin’ fun to scrape all those little fibers!!!  Seriously, I giggled.

How to Cook Spaghetti Squash

Preheat oven to 350 degrees.  Cut a spaghetti squash in half lengthwise.  Scoop out seeds and loose flesh and discard.  Place cut-side down on a foil-lined baking sheet.  Bake for one hour.

Remove from oven and carefully turn the squash halves over to cool.

When it has cooled enough for you to handle it, take a fork and scrape the squash flesh towards the middle.  (This would be so fun for kids to help with!)

You just made spaghetti!!  Now wasn’t that fun?!

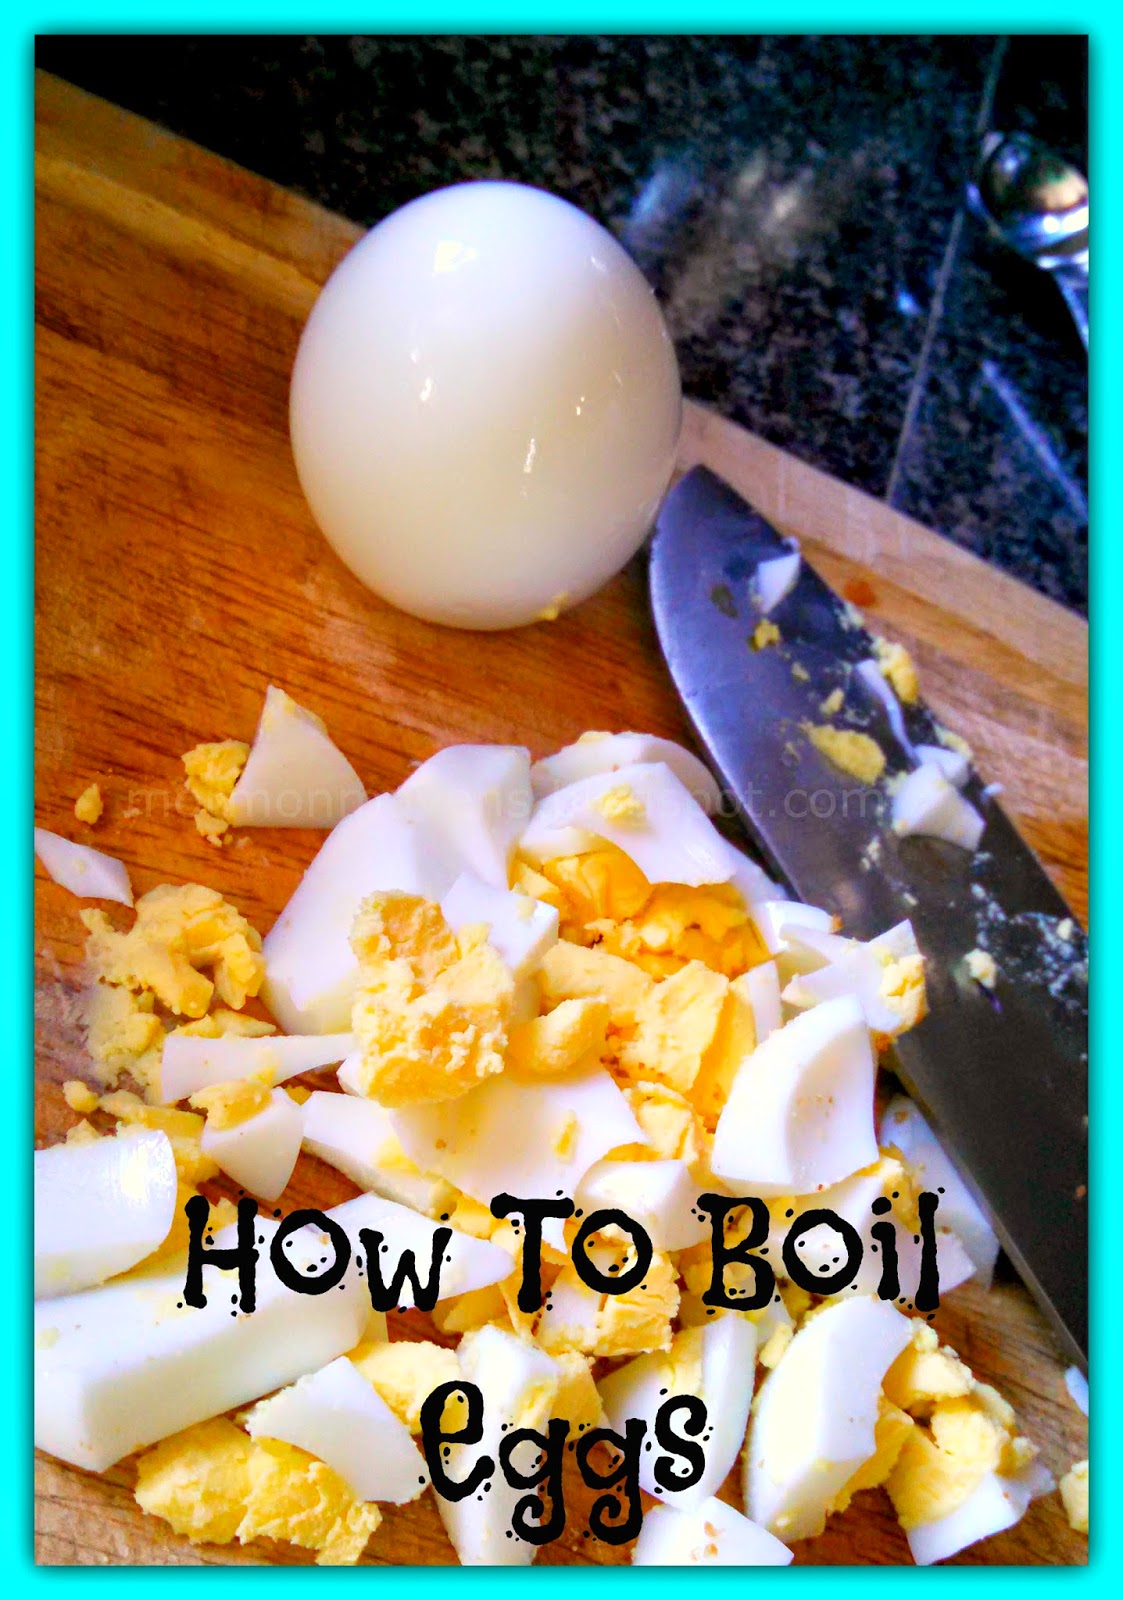
How to Boil Eggs (and avoid the Green Yolks)


How many times have you boiled eggs for egg salad or Deviled Eggs or just to have some yummy hard-boiled eggs, and when you cut into the egg the yolk has that yucky green outer layer?  Ewww. Nasty. Well Mom taught me how to boil eggs so that doesn’t happen and it works every time.  Here are Mom’s instructions for No More Green (unless you are celebrating Dr. Seuss’ birthday, and then, by all means, green it up!).  Also, you will notice the baking soda listed.  I recently tried that trick while boiling eggs to help with the peeling process and it has worked, so far.
 
Ingredients:
water
eggs
baking soda
 
1.  Placed desired number of eggs in a saucepan.  Do not crowd them.  They need their space. 
 
2.  Put in enough tap water to cover the eggs.   I would start from cool water, not hot.  Don’t ask me why.  I read it somewhere. Add a tablespoon or so of baking soda.
 
3.  Bring water to a rolling boil over high heat.  Once you reach a full, rolling boil, put a lid on the pan and remove pan from the heat .  Set a timer for 15 minutes and step away from the eggs.  Do not even lift the lid.  They are cooking away in the pan as we speak. Go do something else.
 
4.  After 15 minutes, drain off the hot water and immediately put eggs in a bowl of ice water.  This will stop the cooking process.  Let them chill out for a few minutes and then you can go in and start peeling away.  Cut the egg open and you will see beautiful, golden yellowness.  Proceed to use those babies any way you desire.  These went into a scrumptious, Fresh Spinach Salad. 

Cuke Check


How many times have you stabbed your fork into a scrumptious salad, laden with fresh cucumbers from the garden (or your grocer’s produce aisle–and I always buy the pickling cucumbers because they taste so much better), popped that bite into your mouth and bitten into the most bitter mess you can imagine?  Yeah.  Me, too.  So to remedy that situation, each time I put cucumbers into anything that I make, I do a Cuke Check.  I take one bite out of each cucumber as I am preparing them to make sure they are not bitter.  There is nothing worse in a salad.  It is worth the extra step and, let’s be honest, we are going to eat some while we are preparing our food, anyway.  You know you are.  Who can resist?