Scuderi Fast Fake-Baked Ziti

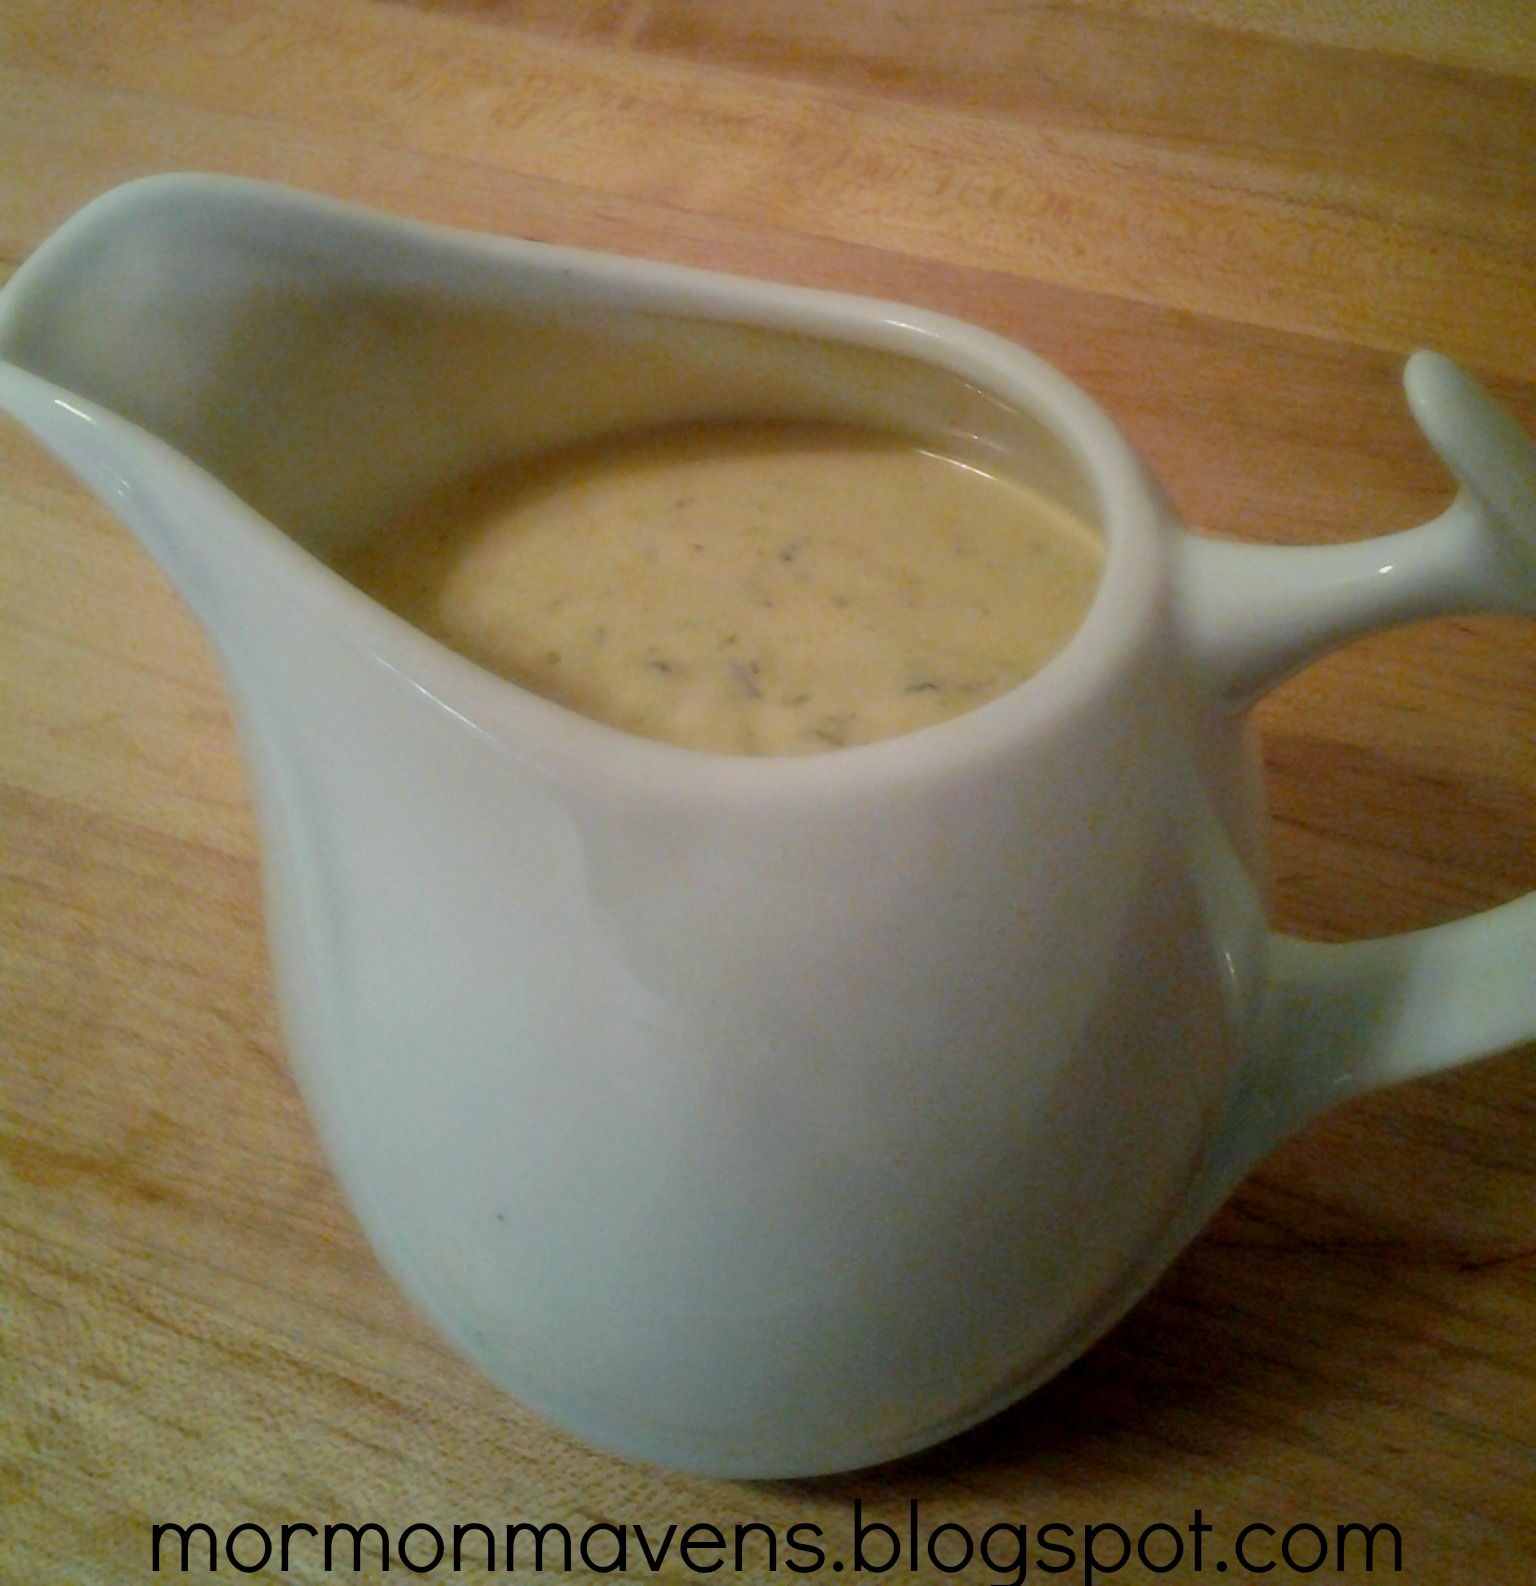
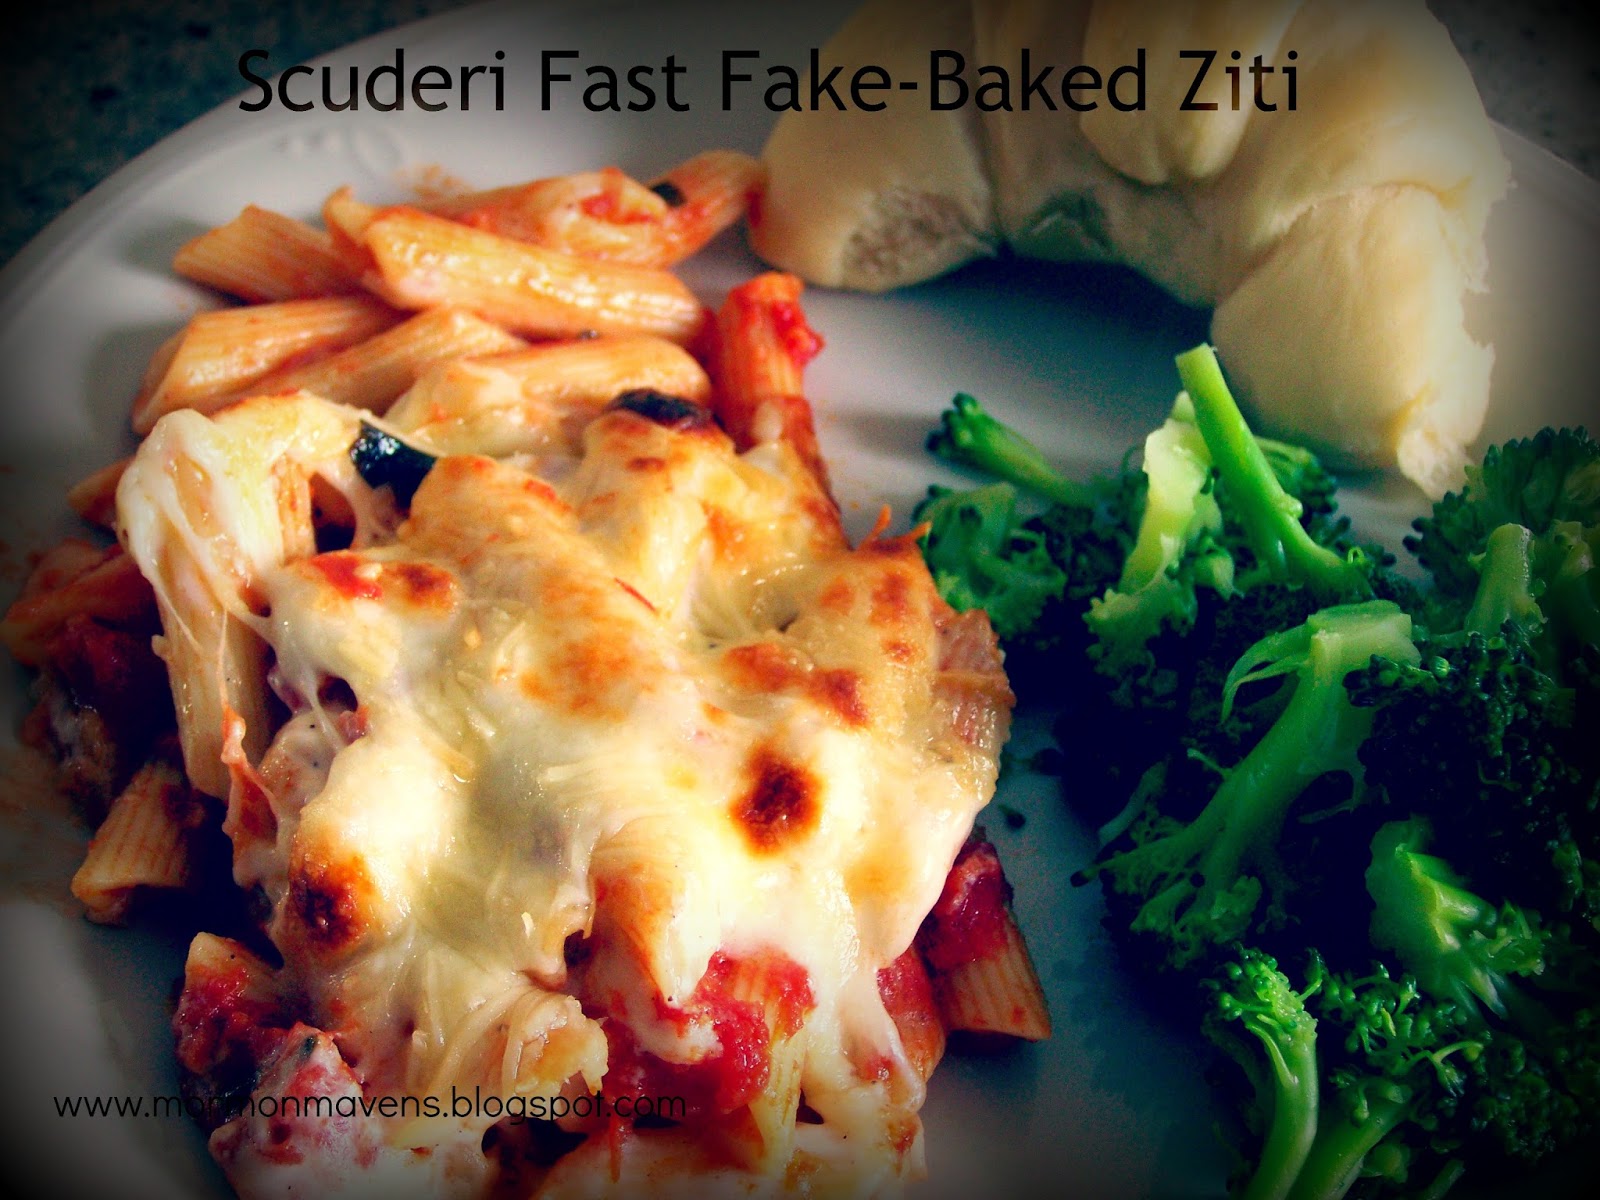
      If your family is anything like mine, you will always appreciate a good pasta recipe. It appeals to adults and kids alike. This one is a gem. I think my hubby saw it on Rachael Ray and wanted me to give it a try. Are we glad we did! It is so fresh and springy, which is unusual for a baked pasta dish.  There is something magical about the combination of fresh basil, tomatoes, and fresh mozarella. 
Scuderi Fast Fake-Baked Ziti
Ingredients:
3 Tbsp Extra Virgin Olive Oil
3 cloves finely chopped garlic
28 oz. can whole tomatoes
14 oz. can crushed tomatoes
1 tsp sugar
Coarse salt
Handful of fresh basil leaves, rinsed, patted dry, and torn
1 lb. box of ziti rigate or penne pasta
2 Tbsp butter
2 Tbsp flour
Freshly ground black pepper
Generous grating of nutmeg
2 cups whole milk
1/2 C. Asiago cheese, grated
1/2 C. Parmesano-Reggiano cheese, grated
1 C. sliced fresh mozarella
Note: I never spend the money for all of the cheeses, I buy the grated parmesan blend and the fresh mozarella, and it is wonderful.
Directions:
Boil pasta water.
Chop whole tomatoes. Heat oil in medium saucepan, add garlic and saute for about 1 minute, watch it carefully, or it will burn. Add chopped tomatoes, crushed tomatoes, and salt to pan. Simmer for 10 minutes. Add basil and simmer 10 minutes more.
Cook pasta according to directions, until Al Dente.
Bechamel Sauce:
While pasta is cooking, melt butter in medium saucepan. Whisk in flour and stir to cook for one minute, adding salt, pepper, and nutmeg. Whisk in milk. Cook until bubbly and reduce for about 5 minutes until thick.
Drain pasta. Put in 9 x 13 casserole dish. Pour tomato sauce over pasta and turn to coat. Pour bechamel over already coated pasta. Top with Grated cheeses, then sliced mozarella. Place under hot broiler until cheese is browning and bubbly, 3-5 minutes. 
Adapted from: Rachael Ray

Oreo Puddin’ Poke Cake


Ingredients:

1 box chocolate cake mix
Ingredients needed to make cake (usually eggs, oil and water)
2 (4 oz.) packages of Instant Oreo pudding
4 cups milk (2 % or higher)
crushed Oreo cookies

Directions:

1.  Make cake mix according to directions and bake in a well-greased 9×13 pan.
2.  Just before cake is done, start making pudding.  In a medium bowl, begin to add milk to pudding mix and continue to whisk until most of the lumps are removed.  Let pudding mixture sit for about 2 minutes.  You want it to thicken slightly so it isn’t runny but not fully thickened into pudding.

3.  When cake is finished, while still warm, poke holes all over cake (about 1 inch) intervals using a wooden spoon handle or a straw.  Pour pudding mixture over warm cake.  Spread it out with a spoon, gently pushing the pudding down into the holes.

4.  Put cake in the refrigerator and allow it to cool completely, about an hour.  Once it is set, top with crushed Oreo cookies.  The cake needs to be refrigerated.

Source:  www.thecountrycook.net

Homemade Playdough


I love this recipe! It makes the BEST playdough! And it’s is safe for little ones, has a nice texture to play with, and it comes out of clothes and carpet with just a moist rag. Such a fun, cheap easy activity for kids! 

Homemade Playdough

Ingredients:
1 cup all purpose flour
2 tsp cream of tartar
1 cup water
1/2 cup salt
1 TBSP oil
food coloring (I have used liquid drops and gel. Either one works great!)

Directions:
1. Mix flour, cream of tartar and salt together in a saucepot (no heat yet!). Add water, oil and food coloring. 

2. Stir mixture together. Make sure you have the right amount of food coloring so that it is the color you want. This is the only chance you have to add more coloring!

3. Turn heat on high and stir constantly until it forms a ball. This happens really fast! 

4. As soon as it has formed a ball and most of the wetness is gone, dump playdough onto a counter or cutting board. Let cool for a few minutes, and knead to until smooth. If you overcook it, the dough will be a little dry. I like to take it off the heat with a little wetness still showing in the dough, and then knead it until smooth. (See picture and explanation below.)

5. Store in a plastic bag. Have fun! (I put it in a plastic bag while still warm, so it keeps the moisture and does not dry out.)

Note: I always make a double batch, or a few batches with different colors. One batch will not be quite enough to share happily with 2 or 3 children. More is better!

Source: Adapted from Cookin’ With Home Storage by Vicki Tate

This is what it looks like as it starts forming a ball. See how it is still wet? At this stage, I would flip the dough over and let the wet part touch the hot pan and then take it out with just a few wet spots on the dough. Once you make your first batch, you’ll understand how fast it forms a ball, and when to take it out of the pan! 

Practice What You Preach

Photo Courtesy of  LDS.org


I was driving down Valley Road in My Town recently and saw this quote on the marquee of the local Catholic Church:
 
                     “PREACH THE GOSPEL EVERY DAY.  USE WORDS WHEN NECESSARY.”
 
Such a profound little statement!  We all know that others watch our actions much more than they listen to what we say.  Back in the day, the statement would have been “practice what you preach.”
 
It’s important for us to be sure that all of our actions reflect our values, beliefs, and standards.  We are being examples in many ways—some we may not even realize.  
 
Who out there doesn’t just LOVE Pinterest?  I know, right?  Well, I “re-pin” frequently, and for those who aren’t familiar with the website, it is an online kind of “someday I want to have/do/ try this really cool craft/recipe/outfit/ home décor trick– kind of like a bulletin board or file.  Even more exciting is that it is all in photos that you can click on and eventually get back to the original source for more information and directions.  You go on the site and look at all these photos and “re-pin” them to your “boards.”  One thing I started noticing was that people I know who have high standards of modesty, were re-pinning immodest, revealing clothing–strapless, backless, super short dresses, etc.  I wonder if they even realize what they are saying by re-pinning these items?  There are others out there who also know their standards, and they are confused by the mixed message that is being sent.  We can all take a lesson from this:  Every action we make, every word we say, can preach the gospel or preach something else.  Remember that we are emissaries for the Lord and we need to make sure that all we do reflects that.

Marshmallow Buttercream Icing

I recently had a birthday and my sweet mom made me an out-of-this-world cake. (Thanks, Mom!)

Looks pretty tasty, right? Thank goodness I married a New Englander who introduced me to the lovely Whoopie Pie years ago (which did you know were originally called hucklebucks?!). This icing when paired with a dark chocolate cake is pretty much an inverted whoopie pie. Whoopie!

Marshmallow Buttercream Icing
1 C. Butter, at room temperature
7 oz. Marshmallow fluff (my preferred brand… Fluff)
2 C. Powdered Sugar
1-2 tsp. Vanilla, according to taste

1. In a mixer (or using a hand mixer), cream the butter until fluffy.
2. Add the marshmallow fluff and beat until fluffy, aprox. 2 minutes.
3. Add powdered sugar, beat for 2 minutes then add vanilla, beat for 1 minute.

This should make enough to frost a two layer 9-inch circle cake.

Halibut Burgers

 So, part of my life was spent in Alaska and my parents still live there. One of the perks to having them there is having an abundance of wild caught halibut, salmon, rock fish, etc. So delicious! Here is one of our favorite and simple recipes for halibut.

Halibut Burgers (or HALIBURGERS)
Ingredients
1-2 lbs. halibut
Salt and Pepper
Montreal Steak Seasoning
Olive oil 
Butter 
Sesame buns (or buns of your choice)
Mayonnaise
Tomato
Lettuce 
Avocado 
1. Cut your halibut into pieces (butterfly them if necessary) Season with salt, pepper and a bit of Montreal steak seasoning 
2. In a frying pan, add a little bit of olive oil and a little bit of butter (about 1 Tbsp each) Cook the fish on both sides, til cooked through.
3. Toast your hamburger buns. You can pop them under the broiler (or if you have an obnoxious broiler that has to heat up for 20 minutes like mine, you can cheat and toast them over your gas burner.)
 4. Then build your burger. Mayo, lettuce, tomato, avocado and halibut. Enjoy!

Cheeseburger Macaroni

I love recipes that I have all the ingredients to at all times, and this is one of those. This is definitely one of our family’s favorite meals. There is never any leftovers! It is an as “easy as it gets” recipe and so delicious!

2 lbs. lean ground beef
1 pkg. taco seasoning
1 -14.5 oz. can of petite diced tomatoes
3 cups beef broth
1 -3/4 cup water
1 box of elbow macaroni

Cheese Sauce:
4 TBSP. butter
4 TBSP. a.p. flour
1 -1/2 cups of milk
2 cups shredded cheddar cheese
1 tsp. salt
1 tsp. pepper

Brown the ground beef and then drain off the grease. Stir in taco seasoning, tomatoes, beef broth, water, macaroni and stir well. Cooking on medium high heat. Continue to stir until it starts to bubble.  Then reduce the heat to simmer and cover the dish, cooking for about 12 minutes or until the macaroni noodles are done to your liking. 

Just as soon as you cover the macaroni, start your cheese sauce. Melt the butter in a saucepan over medium heat and then just before its completely melted add in your flour. Stir for about 2-3 minutes and then add the milk. Bring this to a boil, continuing to whisk the whole time. Remove from the heat and add the cheese and stir until melted. Salt and pepper.

When the macaroni mixture is ready, pour in the cheese sauce and stir well to incorporate it.

adapted from Kevinandamanda.com 

Blueberry Cobbler

I love summertime–not for the heat and humidity, but for the produce!  And summer is when we have all sorts of blueberry treats.  This recipe for Blueberry Cobbler is one I have used for several years.  I saw it first on Mennonite Girls Can Cook, a favorite recipe blog of mine.  Their blog inspired me to start Mormon Mavens, so I have a special affinity for that particular site.

Ingredients:
5 cups fresh or frozen blueberries
2/3 cup sugar
3 Tbsp. cornstarch
1 cup flour
1/3 cup sugar
2 tsp. baking powder
1/2 tsp. salt
3 Tbsp. cold butter
1/2 cup buttermilk

1.  Combine berries, 2/3 cup sugar, and cornstarch in a large microwave safe bowl.  Gently turn the berries around in the bowl to cover evenly with the sugar and cornstarch.  Microwave for 3 minutes, stirring at the halfway point.  Gently stir, then pour the berry mixture into a greased 8″ pan.
2.  In another bowl, combine the remaining dry ingredients.  Using a pastry cutter or two knives, cut in the butter until the mixture resembles coarse crumbs.  Add buttermilk and stir just until moistened.  Drop batter by spoonfuls over the hot berry mixture.
3.  Bake at 425 degrees for 20-25 minutes.  Allow to cool for half an hour so that the blueberry juices can thicken a bit.  Serve with whipped cream or ice cream.

I usually double this recipe and use a 9″x13″ pan.

Source:  Mennonite Girls Can Cook

Family Vacations to Church History Sites


In fall of 2010, and then again in 2011, we took a family vacation to Nauvoo, Illinois and had some of the most memorable times of our lives.  We toured by covered wagon and on foot the beautifully restored city of Nauvoo. We enjoyed the homes that had been restored. The Red Brick Store that was owned by Joseph Smith where the Relief Society was organized. We saw Brigham Young’s home, and others. We toured the Dance Hall/ Cultural Hall, where the original wood floors were still intact.  On that very floor Joseph Smith had taken a piece of chalk and drawn out map of the trail west to the Salt Lake Valley, which he had received in a vision, for Brigham Young to follow with the Saints. We dressed up in pioneer clothing, played pioneer games, learned how to make candles, and rope, and barrels. There were so many things to see and do, and it was wonderful! We did it all, and most importantly we felt the Holy Ghost testify to us of the truthfulness of the gospel of Jesus Christ.
 
We also visited Carthage Jail. Upstairs in the room where Joseph and Hyrum Smith were  held as prisoner, we felt very intensely the Holy Ghost. We listened to a soloist sing “A Poor Wayfaring Man of Grief”, which John Taylor sang to Joseph just before the mob rushed into the jail and killed Joseph and Hyrum Smith, and fatally wounding John Taylor and Willard Richards. To see the bullet hole in the door made by the bullet that killed Hyrum Smith, and how its been worn perfectly smooth over the years from saints who have touched it and inserted their finger into the hole to make real the story of Hyrum’s and Joseph’s deaths.
 
 
Maggie and Wyatt on the stairs of the Smith family cabin in Palmyra, New York, where Joseph Smith Jr. was visited by the Angel Moroni.
 
This summer we went north to Palmyra, New York. We visited the Joseph Smith Sr. family farm, their cabin, their barns, their other home, the “Alvin Tree”, the Sacred Grove; where Joseph Smith Jr. prayed to Heavenly Father and was then visited by Heavenly Father and Jesus Christ, the Hill Cumorah; where Joseph Smith Jr. was shown the Golden Plates by the Angel Moroni, and the Pageant; (which by the way is fantastic!), the Witmer Farm, where the Church of Jesus Christ was organized in 1830. We also visited the Grandon building where the Book of Mormon was first published.  We had a wonderful time!  We felt the Holy Ghost testify of the truthfulness of the Book of Mormon and also that Joseph Smith is truly a prophet of God.

Sophi and Abi with members if the cast of the Palmyra Pageant. Joseph Smith and a Nephite woman. (real life husband and wife)
 
I think as Latter Day Saints we sometimes think, “if I ever get to the sacred grove I am going to have a powerful witness of the truth.”  The truth is this, at peak tourist season quiet time in the grove can be hard to come by. But, I myself was able to have a couple of unexpected moments where I was reminded that my Heavenly Father is indeed mindful of me and that he loves me. I am thankful for my own special time there.
 
So, why go to these places? Why pick these places over other obvious vacation sites for our family?The answer is simple. We desire to impress upon our children that all of the stories we share and tell them about the coming forth of the Book of Mormon, Joseph Smith and the early pioneers are real! These are not fictional stories, these things really happened. There are so many wonderful opportunities at these Church History Sites where the Holy Ghost can teach truth and enlighten our minds and strengthen our testimonies.  We count ourselves very blessed to have been able to go to these places and have a sensory experience of the stories of our church’s history.
 
I hope you all will find and opportunity to visit these places or any of the Church’s Historical Sites! If you are interested in these sites you can go to www.lds.org and see actual pictures of the beautiful sites and lists of things you can do when visiting. All of these pageants and locations are completely free!  (which is a plus for a big family) 
 

Sweet Tomatillo Dressing

This is a recipe I got from my cousin, who got it from Pinterest.  The recipe is for chicken enchiladas of sorts but we found that we like the sauce so much that we have it on had for salad, quesadillas, beans, rice, and veggies.  It kind of is our new ranch.  In her recipe she just called it the sauce, but I will name it Sweet Tomatillo Dressing.  You can find the original recipe here:
http://ourrecipeclub.blogspot.com/2011/01/callis-burrito-chicken-enchiladas.html?m=1

1 Cup Salsa Verde
1 pkg Buttermilk Ranch (I just use ranch seasonings so I can avoid MSG)
1/3 cup fresh Cilantro (I add a bit more because I love it)
1/3 cup Sour Cream
1/3 cup Mayonnaise
1 tsp mince Garlic
1/2 tsp coarse Salt
1 Tbsp fresh Lime Juice (I usually to help with the flavor and to maintain freshness, probably a whole lime)
1/4 tsp Cumin
1/4 cup Sugar (I use honey and it works great but honey is sweeter so I just add it to taste)

Put all ingredients in blender and blend until smooth.