Sweet Potato and Turkey Chili

 This is chalk full of healthy veggies and protein.   It’s perfect for a cold day.  It was our favorite chili this winter.  The chili has a unique flavor and the sweet potatoes are the best part!  It makes a big batch and freezes well so it’s ideal for when you need to take a meal to someone else or are having guests over.


1 tablespoon olive oil 
1 diced large onion 
4 cloves minced garlic 
1 diced green bell pepper 
1 minced jalapeño
20 ounces ground turkey breast
2 teaspoons cumin
2  teaspoons kosher salt
½  teaspoon pepper
1  teaspoon oregano
1  teaspoon chili powder
2  teaspoons paprika
2 large sweet potatoes, peeled and diced into 1/2 inch cubes
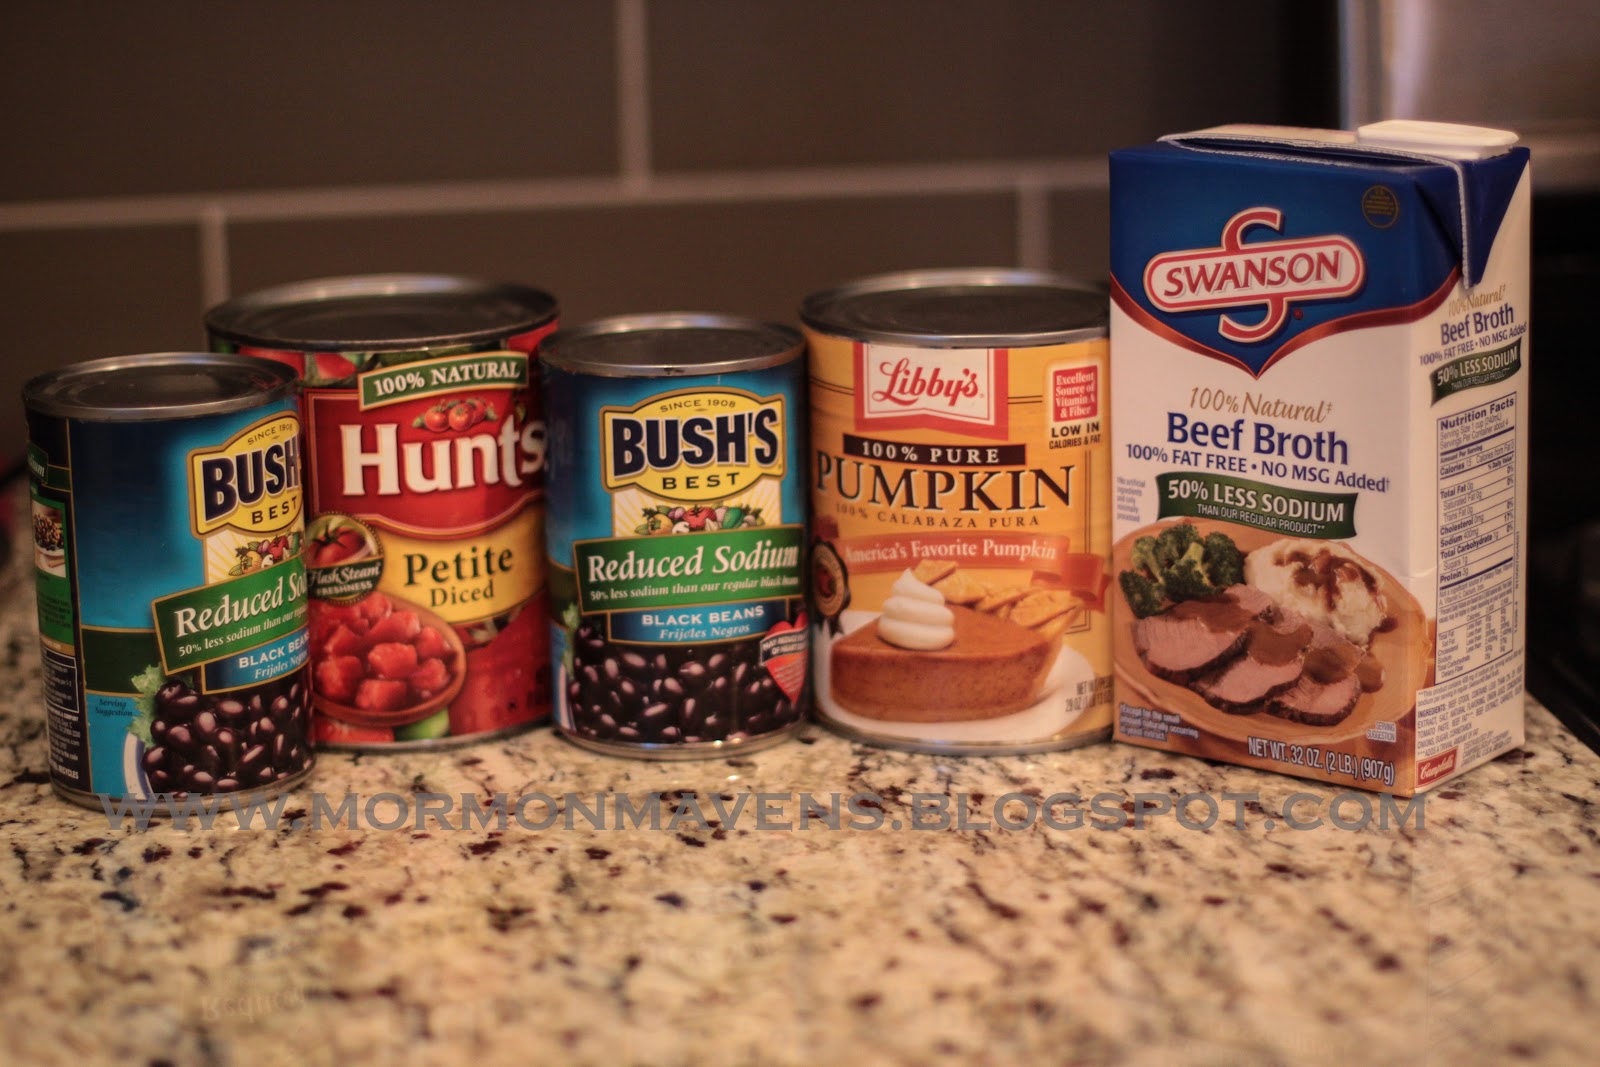
1 28 ounce can tomatoes (not drained)
3 15 ounce can black beans, drained and rinced
32 ounces beef broth (one box/carton)
1 28 ounce can pumpkin puree (make sure you’re not using pumpkin pie filling 
1/2 tsp cinnamon
1 tablespoons unsweetened cocoa powder


Heat a large skillet to medium-high heat.  Add olive oil and saute onion, garlic, bell pepper, and jalapeno for 5-10 minutes, until veggies are tender and fragrant.   Add turkey and cook until no longer pink.  Sprinkle in cumin, salt, pepper, oregano, chili powder and smoked paprika.   Add turkey mixture to slow cooker.


Add sweet potatoes, tomatoes, beans, broth, pumpkin and stir.  


Then add the cinnamon, and cocoa powder to slow cooker and mix it all together well.  Place lid on pot and cook for  4-6 hours on high, or 8-10 on low.   The chili is done when the sweet potatoes are soft.


When done, turn off heat and let chili sit with lid off for 10-15 minutes to thicken.  


Recipe adapted from Our Best Bites

Cheese & Garlic Wedge Biscuits

I LOVE THESE!  They are quick, easy, and taste good with almost anything!
2 cups all-purpose flour
1 tbsp baking powder
1/4 tsp salt
5 tbsp butter
2/3 cup milk
1/2 cup grated cheddar cheese
3 tbsp melted butter
1/4 tsp garlic powder
Preheat oven to 450 degrees.  Combine flour, baking powder, and salt in food processor.  Add butter in chunks and blend until mixture resembles small peas.  Add the milk and cheese and mix until soft dough forms. Turn the dough out onto a lightly floured surface and knead for 1 min. Pat into round 9-inch pie plate and cut into wedges.  Bake for 15 min. or until golden brown.  Mix melted butter and garlic powder and brush over wedges.  Serve warm.
Source: Kym Wood

Fresh Strawberry Yogurt Cake

I found this recipe on Pinterest and thought it looked yummy.  I was correct.  My cake, however, did not look as pretty as the one I re-pinned.  I need to find out how she baked her cake without it browning on the outside. Either way, it tastes great.  If  you like the recipe and try it yourself and can get a “blonde” cake like the one I am talking about, please let me know how you pulled that off.

Ingredients:
1 cup butter, softened
2 cups sugar
3 eggs
3 T. lemon juice, divided
Zest of 1 lemon
2 1/2 cups all-purpose flour, divided
1/2 t. baking soda
1/2 t. salt
8 oz. plain or vanilla Greek yogurt (I used vanilla)
12 oz. fresh strawberries, diced
1 cup powdered sugar

1.  Preheat oven to 325 F.  Grease and flour a 10-inch Bundt pan (10-15 cup)–I used baking spray that includes flour because it gets better coverage in all those little creases in the Bundt pan.

2.  Sift together 2 1/4 cups of the flour along with the baking soda and the salt.  Mix in the lemon zest and set aside.

3.  With an electric mixer, cream the butter and sugar together until light and fluffy.  Beat in the eggs one at a time, then stir in 1 T. of the lemon juice.

4.  Alternate beating in the flour mixture and the yogurt, mixing until just incorporated.

5.  Toss the strawberries with the remaining 1/4 cup of flour.  Gently mix them into the batter. 

6.  Pour the batter into the pan.  Bake for 60 minutes, or until a toothpick inserted into the center comes out clean.

7.  Allow the cake to cool at least 20 minutes in the pan–I would go 30-35 minutes.  Turn out onto a wire rack and cool completely.  Whisk together the remaining lemon juice and 1 cup powdered sugar and drizzle over cake.


Source:  Baking With Blondie, who sites a re-pin from A Spicy Perspective.

Knock You Naked Bars

Ingredients:

2 1/4 c. flour
1 t. baking soda
1 t. salt
1 c. butter, softened
3/4 c. sugar
3/4 c. packed brown sugar
1 t. vanilla
2 eggs
2 c. semi-sweet chocolate chips
5 oz. evaporated milk
1 (14 oz.) bag caramels
1/2 c. peanut butter

Directions:

1.  Preheat oven to 375 degrees.  Grease a 9 x 13 pan.

2.  Combine flour, baking soda and salt in a small bowl.  Beat butter, sugar, brown sugar and vanilla in a large mixing bowl until creamy.  Add eggs, one at a time, beating well after each addition.  Gradually mix in flour mixture.   Stir in chocolate chips.

3.  Spread half of cookie dough into the prepared pan.  Bake for 8-10 minutes.  Remove from oven.

4.  While the cookie dough is baking, melt caramels and evaporated milk in a double boiler.  Add peanut butter after caramels are melted.  Melt thoroughly.  Spread over baked cookie dough base.

5.  With the remaining cookie dough, drop by spoonfuls on top of the caramel mixture.

6.  Bake for 15-20 minutes or until light golden brown.

Source:  Julie’s Eats and Treats

Trials and Tribulations

Source: Yours truly. Please, feel free to print for personal use.

I came across this quote a little while ago. Since seeing this I’ve had it marinating in my mind. Lately I’ve witnessed my family go through a myriad of trials. I know it’s important for us to go through these hardships so that we can learn and grow. But man, trials are no fun to go through! This quote seemed to help it click a little better in my mind why we are given trials and why they are so important.

“Trials and tribulations SQUEEZE the ARTIFICIALITY out of us, leaving the ESSENCE of what we REALLY are and CLARIFYING what we really YEARN for.” (emphasis added)

What and amazingly thorough sentence. While in the midst of hardships we really do feel like we are being twisted, stretched, and squeezed. Little do we realize that through that twisting and squeezing that the unneeded artificial things that cloud our view are being removed, then we are more easily able to see, feel, know what we want. To live with our Father in Heaven and become more like Him.

I don’t know about you – but I need to read this quote daily!

Bacon Wrapped Asparagus

With Easter around the corner, I thought that this would be a great time to share my favorite way to cook and serve asparagus. Although this asparagus is wrapped in [turkey] bacon, it has a very light taste and fits easily into a healthy diet.

Bacon Wrapped Asparagus
Serves four. (I usually double this!)

Ingredients:
1 bunch of asparagus, about 20-25 spears, stems removed
4 slices turkey bacon (you could also use pork bacon)
1 1/2 tablespoons olive oil
1/2 tablespoon toasted sesame oil
1 1/2 tablespoon brown sugar
1 garlic clove, minced
1/2 tablespoon toasted sesame seeds

Directions:
1. Preheat oven to 400 degrees F. Line a baking sheet with foil and place a wire rack on top (I used a cooling rack). Spray the rack with cooking spray.
2. In a small bowl, whisk together oils, brown sugar and garlic. Set aside.
3. Bunch together 5-6 asparagus spears and tightly wrap a piece of bacon around the bundle. Place on the wire rack seam-side down and repeat.
4. Using a brush, a spoon or hands ;-), brush the spears thoroughly with the oil/sugar mixture. Give each bundle a hefty sprinkle of sesame seeds. Roast for 35-40 minutes, or until bacon is crispy. Serve warm.

Source

Cookie Dough Brownies

If you love brownies and sneaking bites of chocolate chip cookie dough….yadda, yadda, yadda…..

Brownie Layer
Ingredients:
4 ounces unsweetened chocolate
1 cup butter, melted
2 cups packed light brown sugar
4 eggs
2 tsp. vanilla
1 cup all-purpose flour
1/2 cup mini semisweet chocolate chips

1.  Preheat oven to 325 degrees.  Spray a 9×13-inch pan with cooking spray.  In a microwaveable bowl, melt the chocolate for 30 seconds at a time, stirring in between, until chocolate is melted and smooth (if you use block chocolate you should chop it finely first….mine is in flat disk form so it doesn’t need chopping).  Set aside to cool while you prep the rest of the brownie mixture.
2.  In a large mixing bowl, combine the butter and brown sugar and whisk well.  Whisk in the eggs and vanilla, then add in the melted chocolate and continue to whisk well to thoroughly combine.  Add the flour and stir together just until the flour is incorporated.  In fact, it’s better to leave a little flour “showing”.  Add in the chocolate chips and stir just until the chips are evenly distributed into the batter.
3.  Spread evenly into the prepared pan and bake for 30-45 minutes (yeah, i know that’s quite a spread…but the original recipe said 25-35 and it took mine 45 to be done in the middle).  Test with a toothpick in the center and if it comes out with a couple of tiny crumbs it’s probably done enough.  Set aside to cool completely.

Cookie Dough Layer
Ingredients:
3/4 cup butter, softened
3/4 cup packed light brown sugar
3/4 cup white sugar
1 Tbsp. milk
1/2 cup peanut butter
1 1/2 tsp. vanilla
1 1/2 cups mini semisweet chocolate chips
Drizzle:
1/2 cup semisweet chocolate + 1 tsp. shortening

1.  In a mixing bowl, cream together the butter and sugars.  Stir in the milk, peanut butter, and vanilla until well combined.  Stir in the chocolate chips.
2.  Spread evenly over the cooled brownies.
3.  Melt the semisweet chocolate and shortening together in a microwaveable bowl and stir until smooth.  Drizzle over the cookie dough layer.  (I did this by pouring the mixture into a ziploc bag, sealing the bag, and then cutting off one corner to make a piping bag for drizzling.)
4.  Refrigerate until drizzle is set and dough layer is firm enough to cut.

I think next time I would cut the amounts on the cookie dough layer by 1/3 because it was just a bit too rich.  In a house full of brownie lovers, it’s pretty unusual for us to not be able to finish off a second brownie!

Source:  Recipe Girl

Food Storage Chili

I always have the supplies for this on hand!  It is a great throw together meal, people like it, and it feeds a lot of people!

Add the following to a large pot (you can add straight from the can or drain some of the cans whichever you prefer, I usually add straight from the can).

2 cans chili
2 cans sweet corn
2 cans pinto beans
2 cans black beans
2 cans red kidney beans
2 cans green chilies
2 quarts diced tomatoes
1 Tbl. dried onions
Taco seasoning to taste or cumin and chili powder to taste.

Cook on medium heat until heated through (stir often) then simmer for 30 min.  Top with grated cheese, sour cream etc.  It tastes great with corn bread or biscuits.  Enjoy!

Recipe Source: My amazing mother, Sheryl Lewis.

Six Layer Casserole

This is one of the recipes that I got from my Mom years ago and I pulled it out of my family cookbook the other day to fix sometime soon.  Sometime soon is today, but we will be eating a late supper.  This has to cook an hour and a half. I really like it because it is simple, good food.  I also took this as an opportunity to use some of my food storage items–the celery and the bell pepper.  I have both of these in my pantry in dehydrated form, so after re-hydrating according to the package directions, I was able to use them in my casserole.  I substituted Mixed Bell Peppers for the minced green pepper.  I will just give you the basic ingredient list so that you can make this the first time from fresh vegetables.


Ingredients:
2 cups sliced raw potatoes (I used red potatoes, unpeeled, to save time)
2 cups chopped celery 
1 lb. lean ground beef, browned
1/2 cup sliced onion
1 cup minced green pepper
2 cups cooked tomatoes, drained
2 tsp. salt
  pepper, to taste


1.  Grease a 2 quart casserole dish.
2.  Layer potatoes, celery, beef, onion, and green pepper.
3.  Combine tomatoes, salt, and pepper and spoon over top.
4.  Cover and bake about 1 1/2 hours at 350 F.

Source: Pat Brew, Greenville, NC.