Stuffed Mushrooms

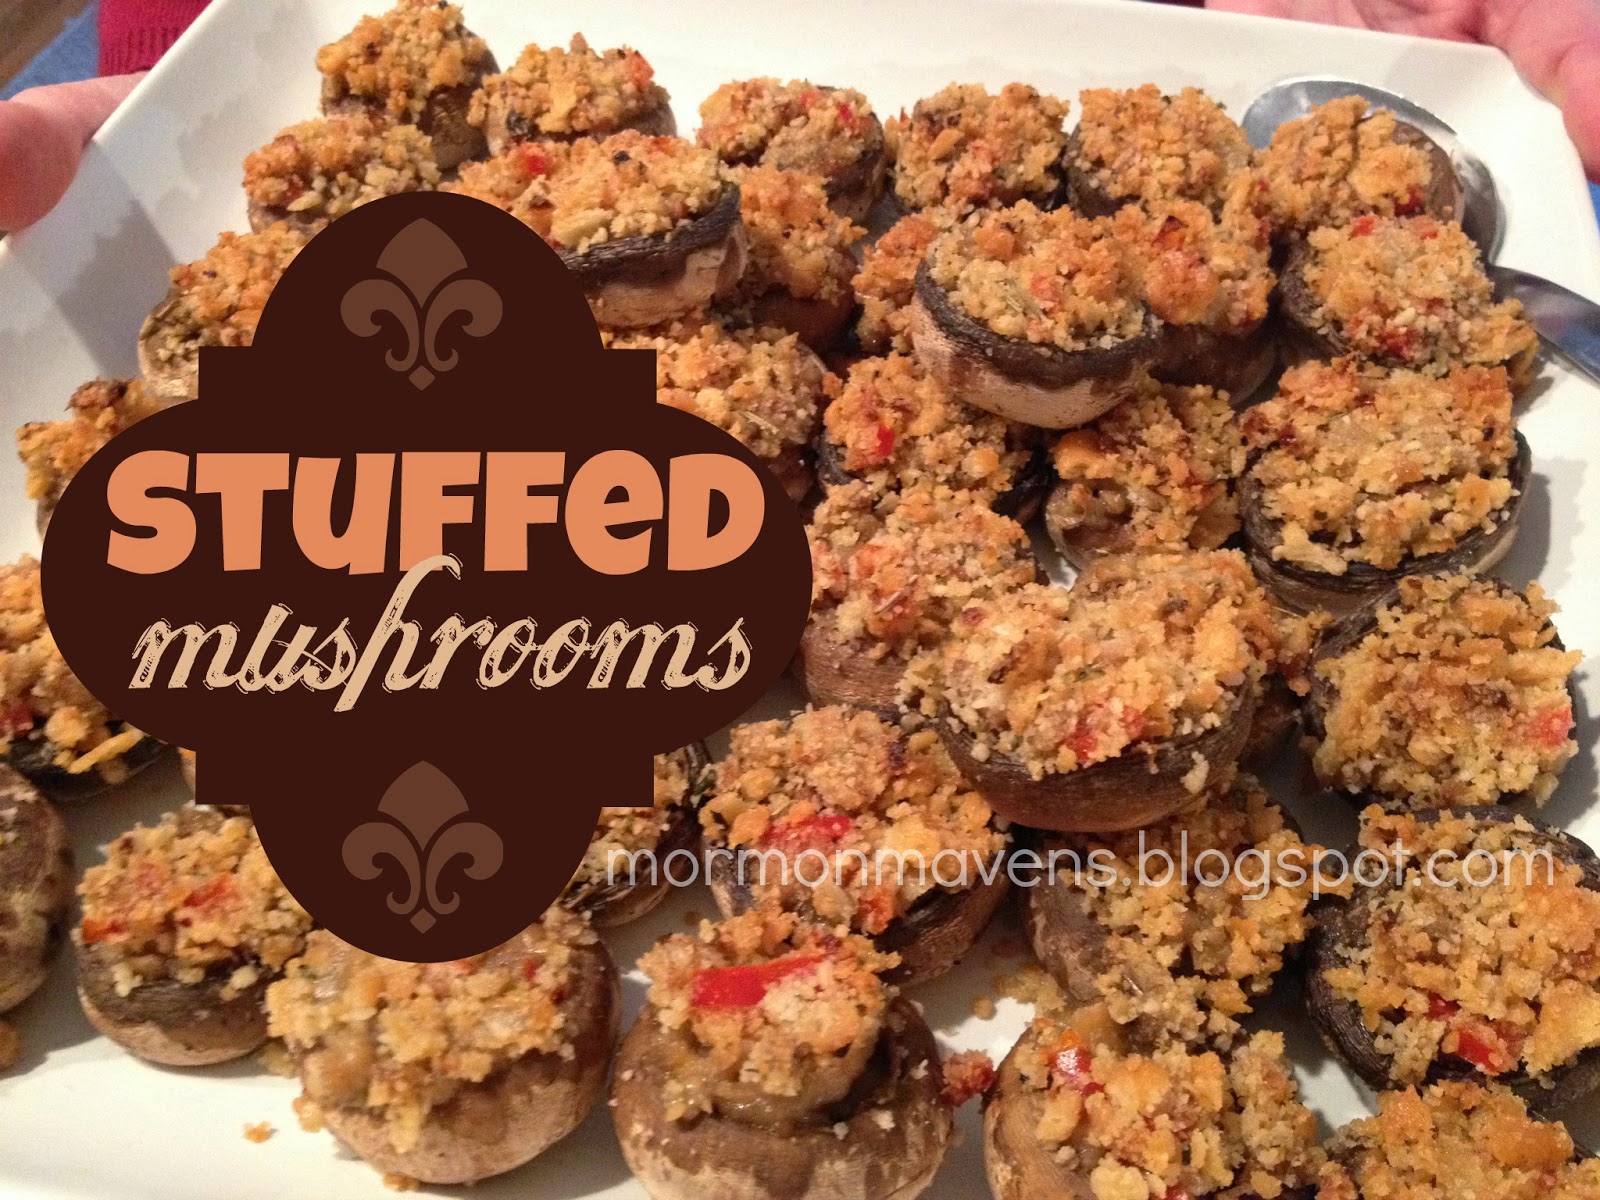
This is a great party recipe and is really easy.  I served these at a baby shower and was really happy with the result.  Next time I make these I will listen to the original recipe’s advice and scoop out a little mushroom flesh with a melon baller instead of just popping out the stems so there’s more room for the stuffing.

Ingredients:
20 fresh mushrooms
3 Tbsp. butter
2 Tbsp. very finely chopped onion
2 Tbsp. very finely chopped red pepper
14 Ritz crackers, finely crushed (about 1/2 cup)
2 Tbsp. grated Parmesan cheese
1/2 tsp. Italian seasoning

1.  Heat oven to 400 degrees.  Remove stems from mushrooms and finely chop enough of the stems to measure 1/4 cup.  Discard the rest or save for something else.  Use a melon baller to remove a bit more of the flesh to make room for the stuffing.
2.  Melt the butter in a large skillet on medium heat.  Saute the chopped mushroom stems, onions, and peppers until they are tender.  Remove from heat and add the cracker crumbs, cheese, and seasoning.
3.  Spoon this mixture into the mushroom caps.  Place on baking sheet and bake for 15 minutes.  Serve immediately.

You can stuff these in advance and just refrigerate until you’re ready.  Bake them for 20 minutes though (or until warmed through).

Mushrooms that are 1 1/4″ to 1 1/2″ wide are best.  Itty bitty mushrooms will just be frustrating to stuff!

Source:  Kraft Recipes

Marriage

I was fortunate enough to attend the wedding of my lovely niece this weekend.  Witnessing a blessed event like this always causes me to pause and think about weddings, receptions, dresses, cakes, centerpieces, honeymoons, children, and life in general!

Marriage is so much more than flowers and themes.  It truly is a partnership with God to cultivate a little bit of heaven on earth.  Has my home always felt like a heaven every day since my marriage 23 years ago?  I wish I could say so.  I often think how nice it would be to go back to my wedding day and start over knowing everything I know now.  Oh, I would still make mistakes, but my perspective has changed so much that I feel that I could “do it better” if only I could begin again.

But really, these covenants are not static.  One choice on one day does not a marriage make.  Well, legally I guess it does.  But marriage is a series of choices made every day to love and honor, support and sustain, cherish and nurture.  This covenant is renewed in spirit every time we choose to exercise patience when it would be understandable not to or when we sacrifice our wants to fulfill our spouse’s needs or in a hundred other ways when we make deliberate choices to uphold the commitment we made on that one special day.

The choice is ours, in each moment, to continue to say “I Will/Yes/I Do.”

Cranberry Punch

I recently threw a baby shower for a dear friend of mine and wanted to try a new punch recipe for it.  After stumbling across this one, I decided to give it a try but I have to admit to you that I really didn’t expect much.  I mean, punch is punch, right?  WRONG!  One sip of this punch and I was in love….this, this would be my new go-to punch recipe!!  And I got so many compliments on it that I just knew I had to share it with you.  Hope you enjoy it!

Ingredients:
4 cups cranberry juice cocktail
4 cups pineapple juice
1/2 cup orange juice
1 1/2 cups sugar
1 Tbsp. almond extract
2 quarts ginger ale, chilled

1.  Combine all ingredients except the ginger ale.  Stir until all the sugar has dissolved.  Refrigerate until ready to serve.
2.  Combine juice mixture and ginger ale in punch bowl or beverage dispenser.  Garnish with orange slices if desired (you could freeze these in advance to keep the punch cold).  Serve and get ready for the compliments!

Source:   adapted from the recipe I got on Pinterest (but I think it linked to DrinkedIn)

Dairy-Free Chocolate Sauce

My last recipe was for Coconut Sorbet which I have enjoyed pairing with this non-dairy chocolate sauce.  Yes, you can buy plain old chocolate syrup with no dairy, but I really love to make things myself if I can.  And, I had all the ingredients anyway!

Ingredients:
1 (14 oz) can coconut milk
1/4 cup cocoa powder
1 cup sugar
1/8 tsp. salt

1.  Bring all to boil in a saucepan over high heat.
2.  Reduce heat and simmer for 5 minutes.

Store in fridge.

Source:  Speed Bump Kitchen

Coconut Sorbet

After being nagged by annoying health problems, I finally found out through some testing that I have some temporary (hopefully) food sensitivities.  The biggies among them are wheat, dairy, and vanilla.  For 90 days I am to go without a big ol’ long list of foods.  This has been a big challenge, especially when it comes to dessert.

A little research on Pinterest quickly unearthed this easy recipe for Coconut Sorbet.  My only complaint with this recipe is that it doesn’t scoop well and that it makes more than my ice cream freezer can handle in one batch.  But the taste is great!  It was a real treat to be able to enjoy a real dessert for a change!

Ingredients:
2 (13.5 oz.) cans coconut milk
1 (15 oz.) can cream of coconut
1 1/2 cup. water
1/2 cup shredded coconut

1.  Combine coconut milk and cream of coconut in a blender.  Blend for 1 minute.
2.  Combine blended mixture, water, and coconut in a container and stir together.  Refrigerate to chill until very cold.
3.  Process in ice cream/sorbet freezer according to your freezer’s directions.  Store in freezer.

Source: Goya

LDS Media

Today a friend of mine posted something on Facebook that said it was sponsored by the LDS church.  It was crude and inappropriate.  It made me so sad.  I really hope that people can tell the difference between the things made by others to make us look bad and what our church really endorses. 

Over the past few years I have loved all of the material the church has put out.  The Mormon Messages are particularly inspiring.  That is what I love about this church, that all the messages are inspiring, not degrading. 

So in response to my friend’s post I would like to post one of my favorite Mormon Messages…after watching it one cannot feel anything but sweetness in their hearts.  I hope you all enjoy it as much as I do.

Grilled Honey Mustard Chicken

A couple years ago, I found this recipe on my friend‘s health blog. I have probably made it like 100 times since then. It is a favorite around here.

I usually double the recipe so that I have plenty of marinade to coat the chicken while grilling. And so that I have some in the fridge.

Ingredients:
1/2 C. whole grain ground mustard
1/2 C. honey
Juice from half a lemon
1 garlic clove, minced
1/2 tsp. salt
1/4 tsp. cayenne pepper (less or more to desired heat)
1/2 tsp. paprika (I like to used smoked paprika)

3-4 Chicken breasts.

Combine all the marinade ingredients and whisk til’ combined. 

Place the chicken and about three quarters of the marinade in a resealable bag and marinate an hour or two. 

Grill the chicken on a hot grill and baste with the reserved sauce. Cook until the internal temperature reads about 162. Remove from heat, cover and let rest for 5-10 minutes. Serve.

Serious Buttercream Frosting

Serious….because I got it from a great cake and frosting YouTuber by the name of SeriousCakes.  I remember the first time I found her on YouTube…..I was a nursing mom and would watch her tutorials in the middle of the night on my phone while I nursed my fifth child.  Good memories, albeit sleepy ones.  I love this recipe.  It’s easy and it always turns out great for me.

I used this recipe to frost and decorate this cake I made for my mom a few years ago.

Ingredients:
22 Tbsp. salted butter, softened
2/3 cup Crisco shortening
5-7 Tbsp. heavy cream
2 tsp. clear vanilla
2 pounds powdered sugar
1-3 Tbsp. light corn syrup

1.  Cream the butter and shortening together in a mixer with the blade attachment.  You want the mixture to be pale yellow, almost white.
2.  Slowly add the cream while the mixer is going on a low speed.  Add in the vanilla and mix until blended.
3.  Very slowly (or you will be overtaken by a cloud of sugar dust) add the powdered sugar.  Be patient; this takes a while.
4.  Add the corn syrup slowly while the mixer is on low speed.
5.  Cover immediately with plastic wrap or transfer to an airtight container.

Notes:

  • If you don’t have clear vanilla, you can use regular.  It does affect the color slightly but I often use regular vanilla and it’s fine.
  • It’s great for decorating with bags and tips.
  • Makes enough for me to frost a layer cake plus 4-5 disposable icing bags (of course, this depends on how thick you apply frosting to your cake).
Source:  SeriousCakes on YouTube, you really should check out her tutorials!

Eczema fighting lotion

This is a super moisturizing lotion. My sister first gave me a sample of some that she made and after I ran out of that, I made a batch of my own. I love it. After leaving the humid environment of Florida, my skin suffered. I use this at night and my hands and knuckles have improved a lot.
 

1/4 C. Avocado Oil
1/2 C. Coconut Oil
1/2 C. Beeswax pastilles
1/3 C. Shea Butter
1/2 tsp. Vitamin E oil (about 5 capsules, cut open and squeezed out.)
20 drops of essential oils (optional)

1. Melt the avocado oil, coconut oil, beeswax and shea butter in a double boiler, or a glass mixing bowl over simmering water in a pot. 
2. Remove from heat and let cool to room temperature.
3. Add the vitamin E oil and essential oils (if using). Stir to combine. Let cool completely.
4. Place the cooled lotion in a mixer or beat with a hand mixer until smooth (this is optional.)

Lion House Rolls

On a recent trip to Utah, I stumbled upon a package of rolls in, of all places, a bookstore in downtown Salt Lake City.  Now, I’ve been to the Lion House once for a wedding reception and I remember it was very tasty; but I don’t remember the rolls.  Well, after taking one bite of the rolls I bought at the bookstore, I was hooked.  I found a recipe online through a Google search and although mine weren’t as good as the original, they were pretty dang tasty and a big hit at my house.

Ingredients:
2 cups warm water
2/3 cup nonfat dry milk
2 Tbsp. yeast
1/4 cup sugar
2 tsp. salt
1/3 cup butter, softened
1 egg
5-6 cups all-purpose flour
melted butter

1.  In a large bowl combine the water and dry milk powder; stir well until milk is dissolved.  Then whisk in  yeast, sugar, salt, butter, egg, and 2 cups of the flour.  Whisk well.
2.  Add another 2 cups of flour and whisk well.  Add 1 more cup, stirring well (here’s where I get out my big wooden spoon).  Add remaining flour a bit at a time just to the point where your dough is no longer really sticky but isn’t dry and stiff.
3.  Dump dough onto a floured surface and pour a Tablespoon of vegetable oil on the sides of the mixing bowl.  Return the dough to the bowl, flip it over to coat the surface.  Cover bowl with plastic wrap and let rise in a warm place until the dough has doubled in size (1 to 1 1/2 hours).
4. Punch dough down and turn onto floured surface.  Either roll out and cut or form into roll shapes by hand.  (I divide the dough in half, then half again, half again, etc. until I end up with 2 dozen blobs of dough.  I shape these by hand into rounds).  Place in a greased pan (I used two 9×13 greased pans), cover, and allow to rise for 1 to 1 1/2 hours.
5.  Bake at 375 degrees for 15-20 minutes or until golden on top.  Brush with melted butter as soon as they come out of the oven.

Source:  LDS Living