Did you know that today is National Candy Cane Day? Yeah, me neither. I found out when I was thinking of something to post for today and looked up a list of holidays. I took one of my favorite candy recipes and added a little peppermint sparkle for a family Christmas party.
I can’t really remember the year that I got the original recipe. I think maybe the first Christmas that we flew home from El Paso, Texas–maybe 1996 or 1997.
Anyway, we were at my mother-in-law’s house and I was trying to find something sweet to eat. There were some holiday cookies and stuff over on top of her chest freezer and so I picked up something chocolate. I thought it tasted pretty good, although it was dry from sitting out all day. I asked Verna where they came from and she said her sister, Gertie Sutton, had brought them over. I contacted Aunt Gertie and she sent me the recipe.
The first time I made them I thought I was in Chocolate Heaven! These have wowed my friends and family for years.
This recipe, from Mary Anne Tyndall of North Carolina, won $50,000 in the 1994 Pillsbury Bake-Off.
WARNING: Side effects of this product include addiction and sheer pleasure!
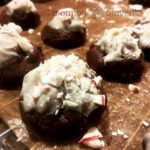
Fudgy Bonbons with Candy Cane Sprinkles
2019-12-25 14:40:03
A delectable combination of semi-sweet and white chocolate, with a touch of peppermint sparkle.
Ingredients
- 60 milk chocolate Hershey’s Hugs, unwrapped
- 1 (12-oz.) pkg. semi-sweet chocolate chips
- 1/4 cup butter or margarine
- 1 (14-oz.) can sweetened condensed milk
- 2 cups all-purpose flour
- 1 teaspoon vanilla extract
- 1/3 cup white chocolate chips
- crushed candy canes (opt.)
Instructions
- Heat oven to 350 degrees F.
- In medium saucepan combine Hugs and butter. Cook and stir over very low heat until chips are melted and smooth.
- Add sweetened condensed milk to chocolate mixture and mix well. Remove from heat.
- Lightly spoon flour into measuring cup and level off before putting in stand mixer bowl. Add chocolate mixture and vanilla. Mix well on medium speed.
- Shape 1 tablespoon of dough around each Hug, covering completely. Place bonbons 1 inch apart on UNGREASED cookie sheet (I use parchment for ease of release from pan for cooling).
- Bake for 6-8 minutes. DO NOT OVER BAKE. Cookies will be soft and shiny but will become firm as they cool.
- Cool bonbons completely on cooling racks.
- Melt the white chocolate chips in the microwave according to package directions. You can add a little shortening to thin, if necessary.
- Dip the tip of each bonbon into the white chocolate or drizzle over.
- Sprinkle tops with candy cane pieces.
Notes
- You can get really creative with the basic bonbon recipe by tinting the color of your white chocolate topping/drizzle or by using a completely different topping.
- The basic recipe was originally published in September, 2011.
Adapted from Mary Anne Tyndall
Adapted from Mary Anne Tyndall
Mormon Mavens https://www.mormonmavens.com/


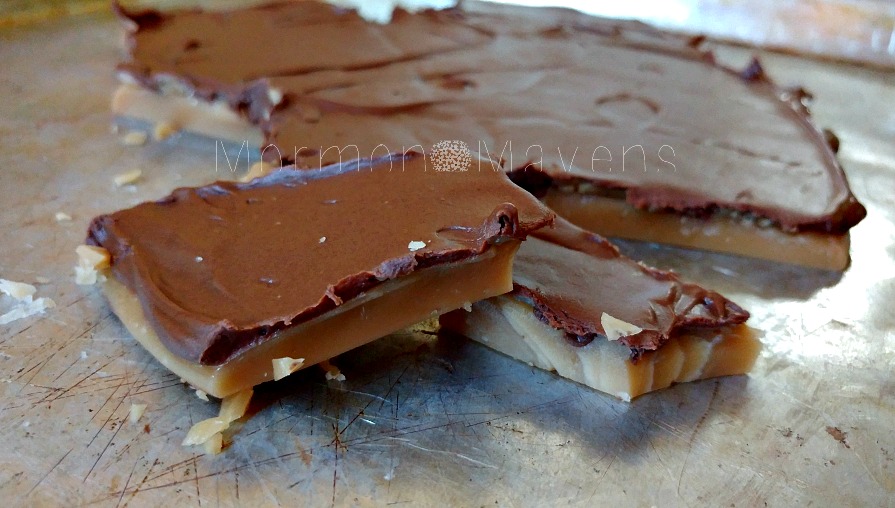 I have a friend who makes THE most amazing toffee.