When I was young, one of my best friends was the 6th child in a family of 12 kids. I thought their house was joy personified. The best part was that sometimes I would spend the night and at breakfast, one [or both] of her parents would be like, “Oh, Aubrey, I didn’t know you were here.”
At the time I never thought much of it, but now as a mom myself, I am stumped at how my friend’s mom managed to feed all those people (plus the extras that were always hanging around). It’s a mystery I still don’t have an answer for, but I do know she had some yummy recipes. This was one of my favorites, so she passed it on to my mom who passed it down to me.
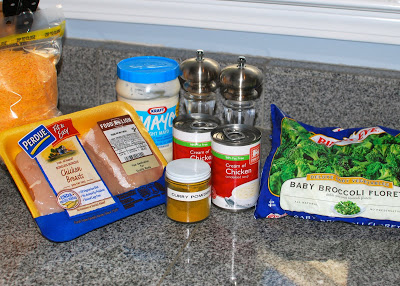
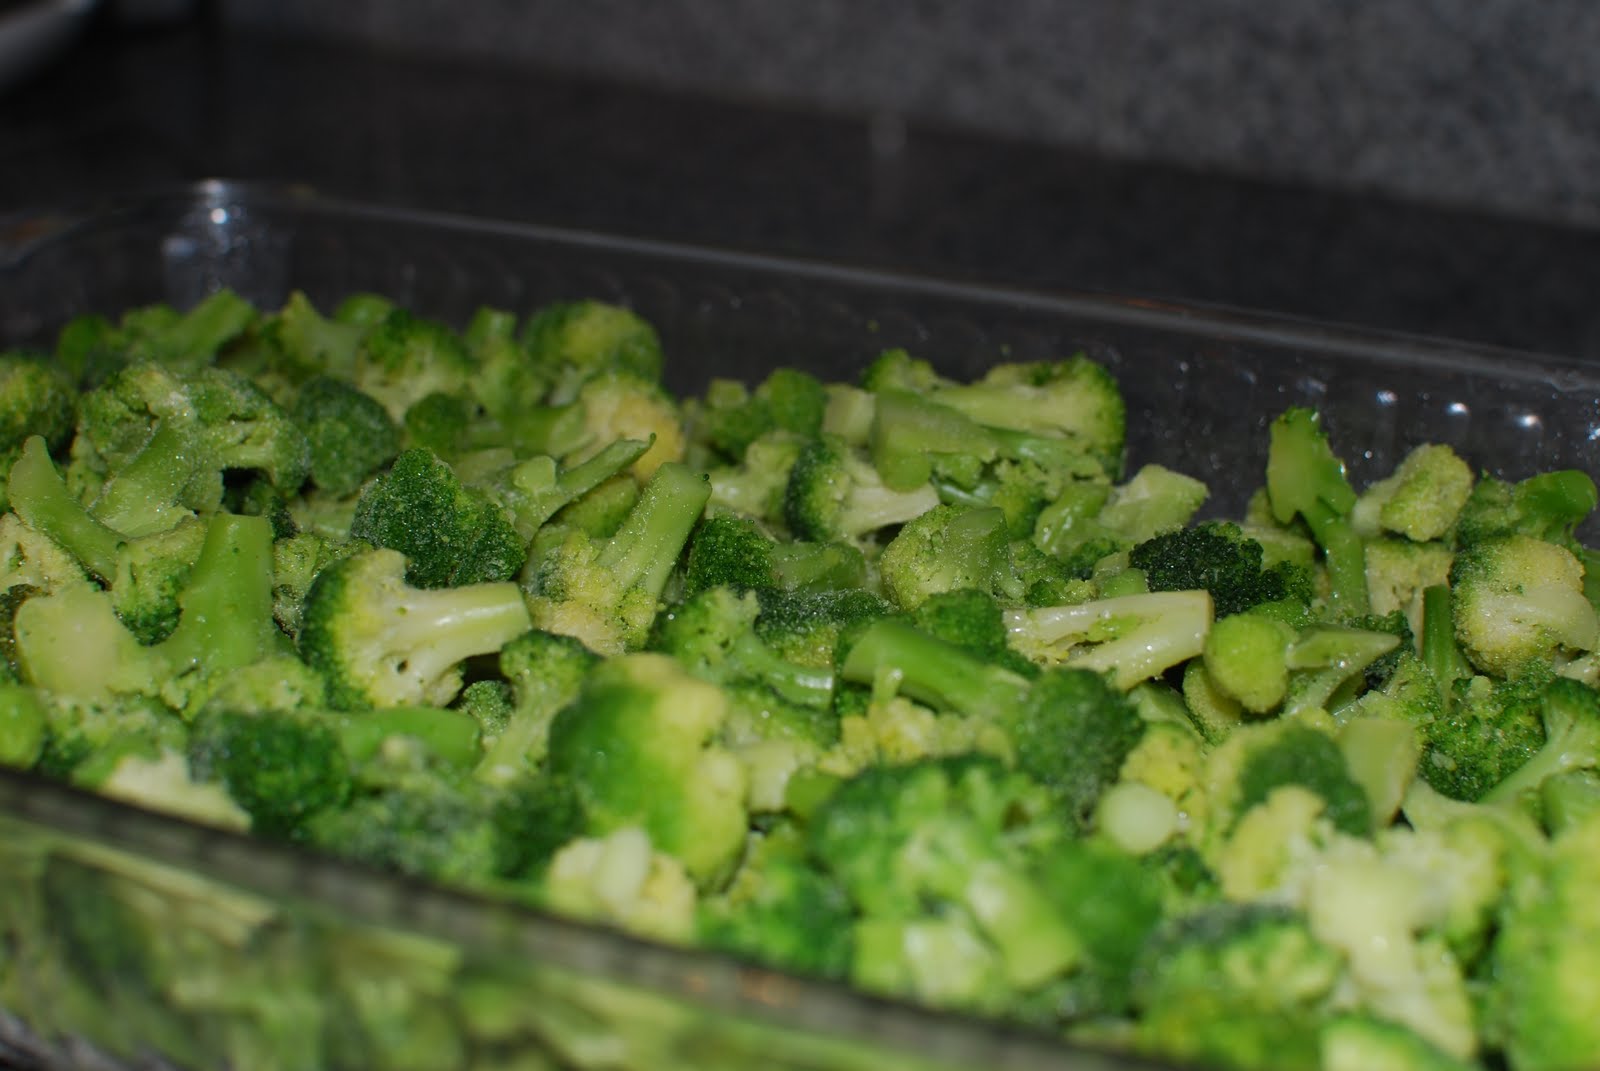
2, 14 oz. packages frozen broccoli florets
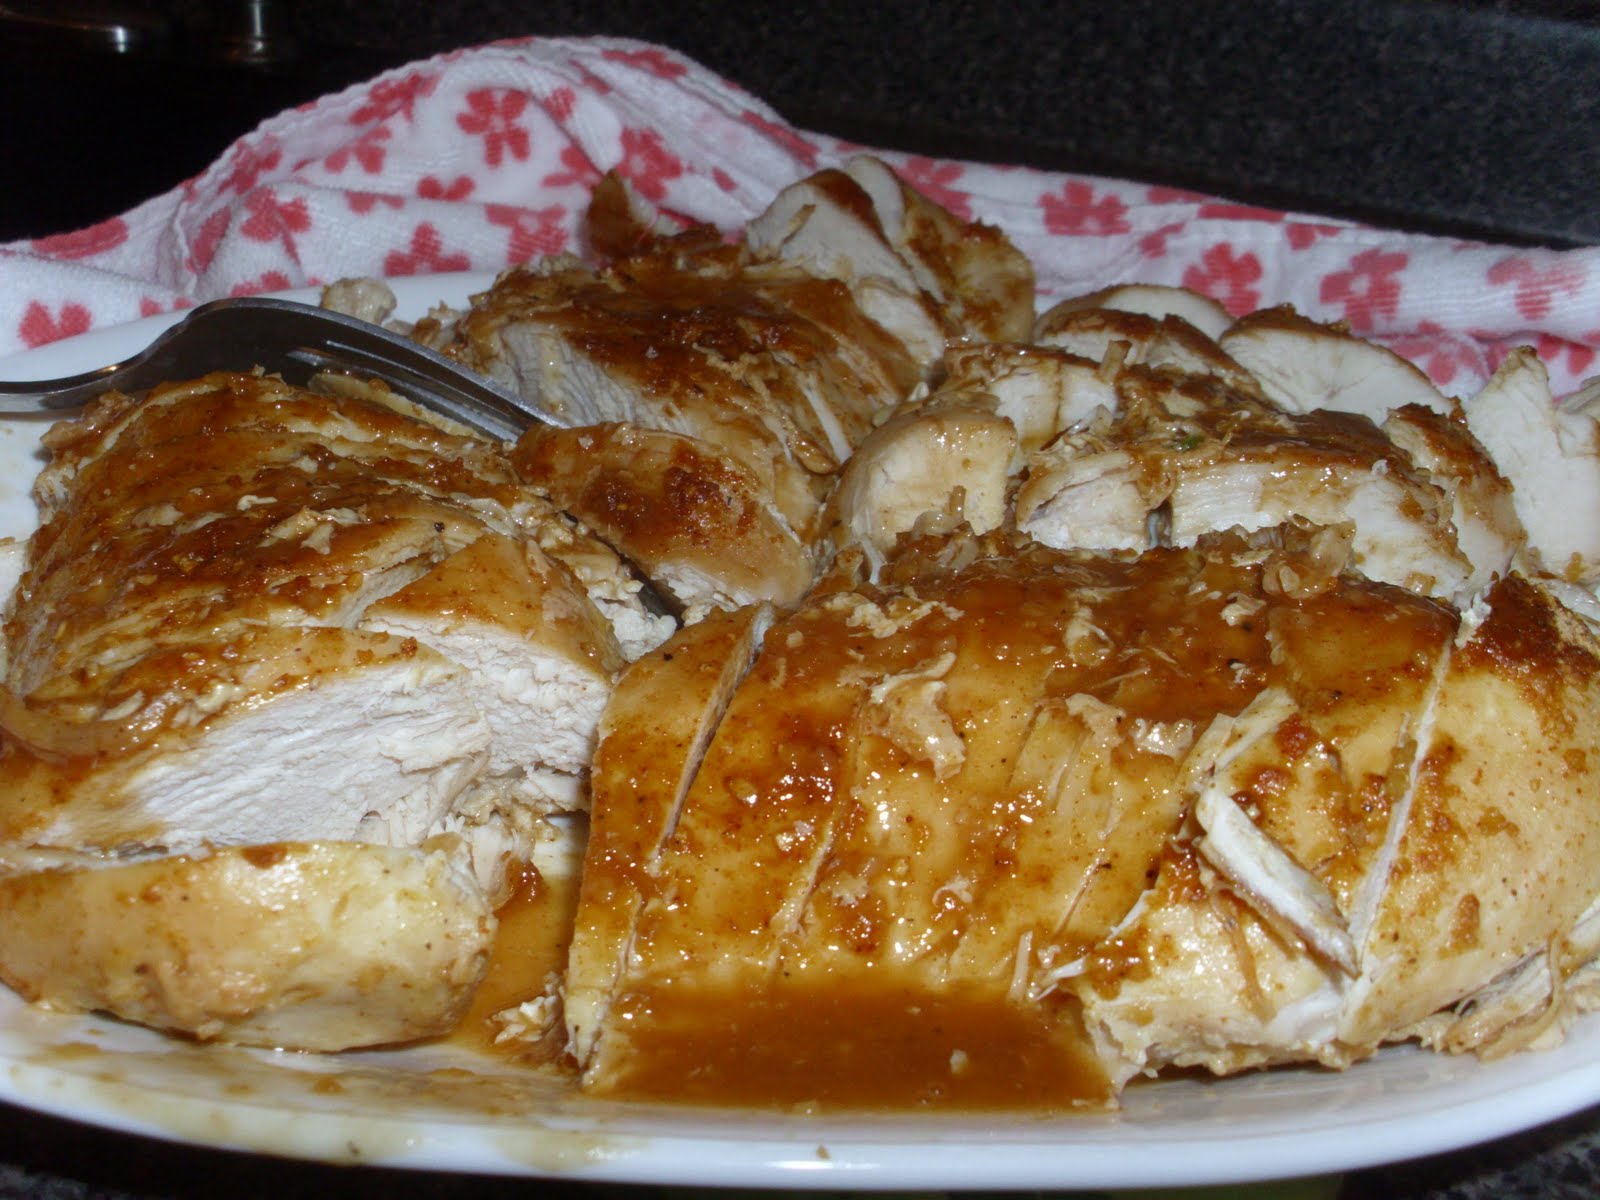
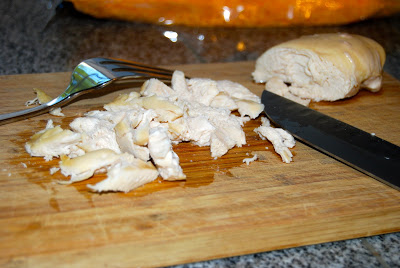
2-3 chicken breasts, cooked and shredded
2 cans cream of chicken soup, 98% fat-free
1 cup light mayonnaise
1/2 tsp curry powder
Salt and pepper, to taste
1 cup grated cheddar cheese
Hot, cooked rice
1. Cover the bottom of a 9×13 casserole pan with the broccoli florets.
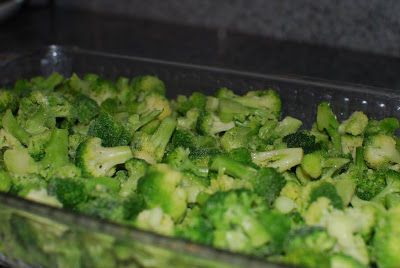
[If the florets are clumped together, I rinse them in a colander to separate them. The original recipe called for cooked broccoli spears, but I’ve found that the broccoli was too mushy for my tastes then. If you find that it’s too firm without pre-cooking, feel free to heat the broccoli before layering it.]
2. Top broccoli with the cooked chicken.
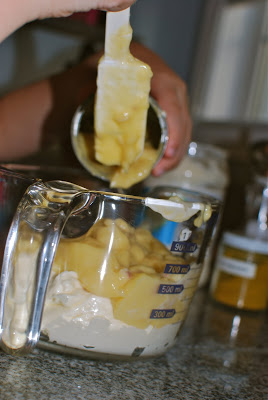
3. Mix together the soup, mayo, curry, salt and pepper; then layer on top of the chicken.
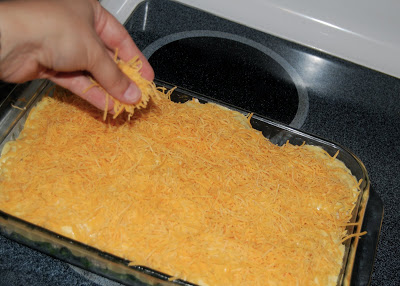
4. Sprinkle with grated cheese.
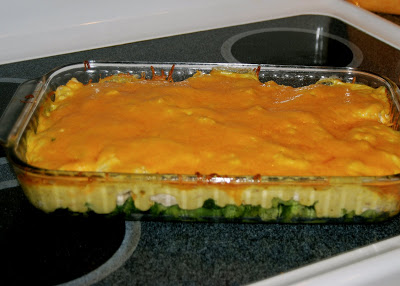
5. Bake at 350˚ for 30 minutes.
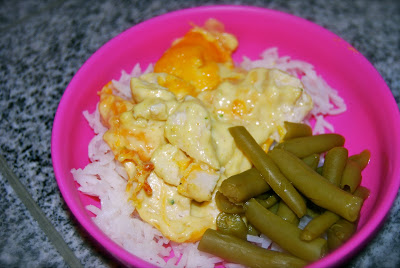
6. Serve over hot, cooked rice.
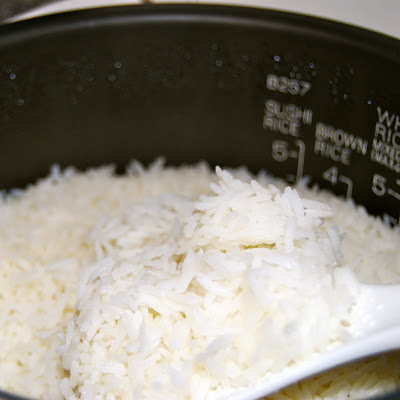 [Due to my hubby being very particular about his rice, we gave him a Zojirushi rice cooker for Father’s Day a few years ago. It turns out perfectly ‘sticky’ rice every time. I love it!]

If your kids are anything like mine they won’t touch broccoli, so I prepare them a plate with another green vegetable they will eat.
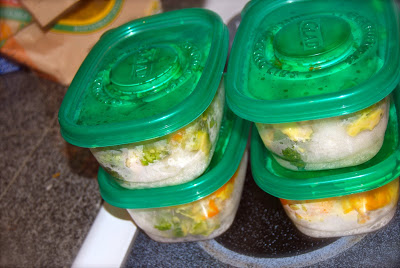
The leftovers store easily for lunches the next day. It also freezes well both before and after it is baked.
Original recipe ingredients
2, 10 oz. packages frozen broccoli spears, cooked
1 boiled chicken (cut in bite size pieces)
2 cans cream of chicken soup
1 cup mayonnaise
¼ tsp curry powder
1 cup grated cheddar cheese
Cooked rice