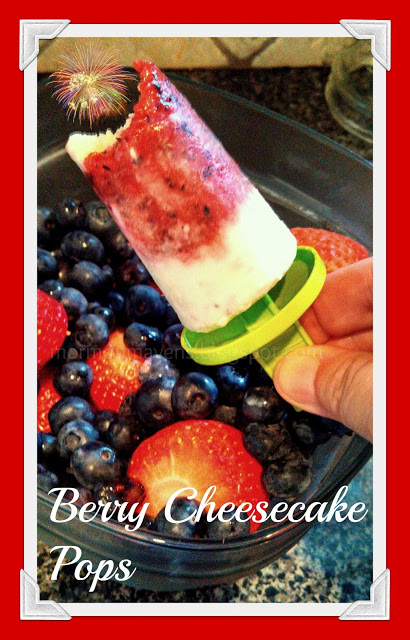
Berry Cheesecake Pops & Happy 4th!

How did I get so lucky to post on Independence Day?  I am honored to post on the 4th of July because I am a patriot.  I get teary-eyed when the national anthem is played and the Stars and Stripes are presented at ballgames.  Every time. 
For our followers who are not of the LDS faith, I would like to share a couple of our Articles of Faith–what we believe–that correlate with our celebrations today:
Article of Faith #11–We claim the privilege of worshipping Almighty God according to the dictates of our own conscience, and allow all men the same privilege, let them worship how, where, or what they may.
Article of Faith #12–We believe in being subject to kings, presidents, rulers, and magistrates, in obeying, honoring, and sustaining the law.
I just thought these were very appropriate as we celebrate our freedoms and the principles upon which this great country was established.

Now that I have given you food for thought, here is my food post for today.  Have you seen the new cookbook from our lovely Kate and Sara at OBB?  It is entitled, “Savoring the Seasons with Our Best Bites.”  Yummy stuff .  This recipe comes from that book and it is a perfect summer treat for this holiday.


Ingredients:

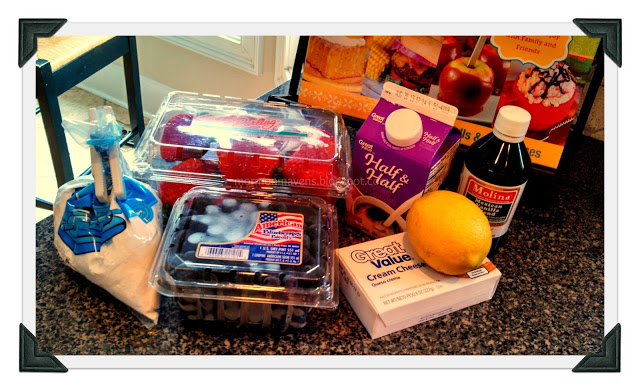
2 cups assorted berries (I used strawberries and blueberries)*
1/2 cup plus 3 tablespoons powdered sugar, divided
3 oz. cream cheese
1 cup Half-and-Half
1 teaspoon vanilla
2 teaspoons fresh lemon juice


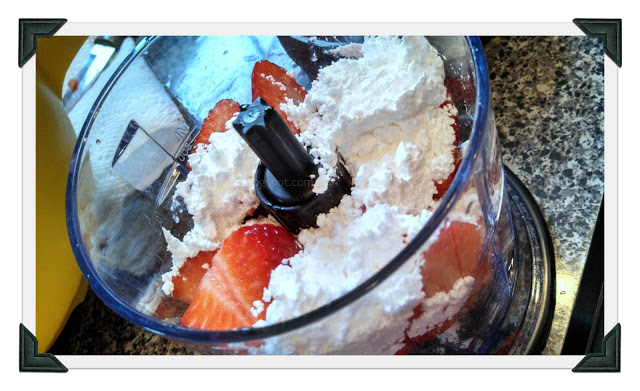
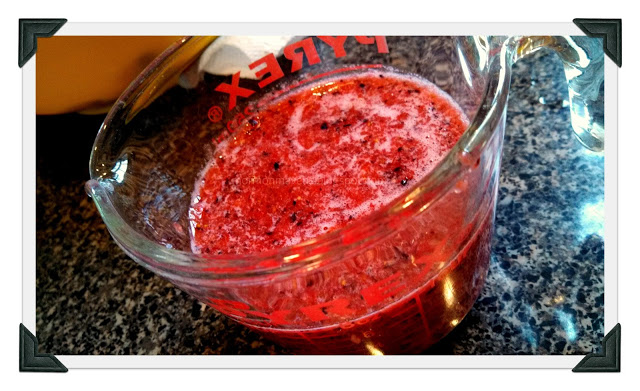
1.  Place berries and 3 tablespoons powdered sugar in a blender or food processor and roughly puree.  Add more sugar, if needed.  You should end up with about 1 cup of berry puree–smooth or chunky. Whatever you want.

2.  Transfer puree to a bowl or measuring cup with a pour spout and set aside.  Wash out food processor and place the cream cheese, half-and-half, vanilla, lemon juice, and 1/2 cup powdered sugar inside.  Puree until smooth–not going to show a picture but it is white and liquid.

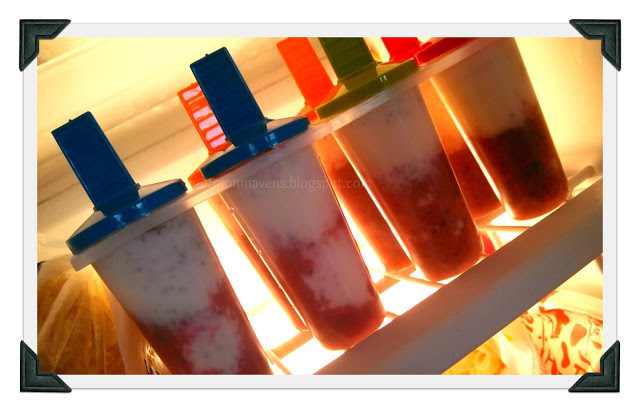
3.  Fill popsicle molds, alternating berry mixture and cream cheese mixture.  You can swirl it with a popsicle stick or leave in layers.  Freeze until slightly firm if you are adding your own popsicle stick.  My form came with stick/lids so I just put mine in at the get-go and froze them completely.

4.  To remove from molds, carefully run warm water around the outside of molds until popsicles are loosened.  Store in an airtight container or zip-top bag in the freezer.

Next time I make these I am going to try some of my freeze-dried fruit and see how that turns out.  Sounds like a good way to use that fruit from my food storage and it is a healthy snack–pretty much.


Source:  Savoring the Seasons with Our Best Bites, p. 124.

Garlic Marinated Chicken Cutlets

   
    I have really fallen in love with fresh basil. My problem is, I always have more than I need. This recipe is a great, easy, delicious way to use more of it. You can also use dried, but it is awesome with fresh!  The beautiful thing about this recipe is that you only have to marinade the meat for 10 minutes.

Garlic Marinated Chicken Cutlets

1 Tbsp EVOO
3 cloves minced garlic
2 Tbsp Balsamic vinegar
1 tsp (or more) dried basil (use more if using fresh)
1/2 tsp salt
1/4 tsp pepper
1 1/2 lbs chicken breasts, butterflied or pounded flat

Mix marinade in a large bowl or baking dish. Add chicken and turn several times to coat each piece. Let marinate at room temp for at least 10 minutes, then grill until browned and cooked through.

Source: Adapted from a recipe in Martha Stewart’s Great Foods Fast cookbook.

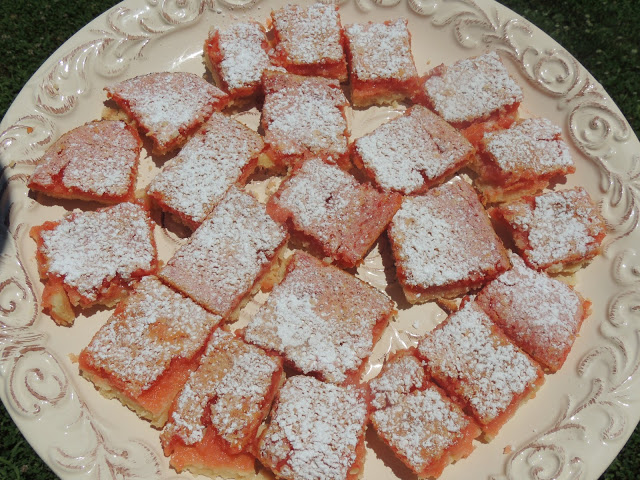
Strawberry Lemonade Bars

Ingredients:

Crust
1/4 c. sugar
1/2 c. butter, room temperature
1 1/2 c. flour
1/4 t. salt

Filling
1 c. fresh lemon juice
2/3 t. lemon zest
1/2 c. pureed strawberries (about 3/4 c. berries)
1 1/4 c. sugar
4 large eggs
1/4 c. flour
1/2 t. baking powder
1/4 t. salt

Directions:

1.  Preheat oven to 350 degrees.  Lightly grease a 9 x 13 baking pan.

2.  Begin by making crust.  In a large bowl, cream together sugar and butter, until smooth and fluffy.  Working at a low speed, gradually beat in flour and salt until mixture is crumbly.  Pour into prepared pan and press into an even layer.  Bake for about 17 minutes, until set at the edges.

3.  While the crust bakes, prepare the filling.  In the bowl of a food processor, combine lemon juice, lemon zest, strawberry puree, sugar and eggs and process until smooth.  Add in flour, baking powder and salt, then pulse until smooth.

4.   Gently pour the filling over the hot crust when it has finished baking.  Return pan to oven and bake for 23-26 minutes, until the filling is set (There will be a light colored “crust” on top from the sugar in the custard— nothing to worry about).

5.  Sprinkle the bars with some powdered sugar.  Cool completely before slicing and use a damp knife to ensure clean slices.  Store bars in the refrigerator, especially on a hot day.  Makes 24 bars.

Source:  baking bites
 

Easy Homemade Biscuits

The other night we were out of bread and rolls, so I decided to whip out some quick biscuits to serve with dinner. These are easy to make, delicious, and it only takes a few minutes until you can sink your teeth into a hot, fresh, fluffy biscuit!  

Easy Homemade Biscuits

Ingredients:
3 cups all purpose flour (you can use 1 cup whole wheat flour in the place of 1 cup all purpose flour)
1/2 tsp salt
4 1/2 tsp baking powder
2 TBSP sugar (I personally don’t add the sugar, but it’s part of the original recipe.)
3/4 tsp cream of tartar
3/4 cups cold butter (1 1/2 sticks)
1 1/3 cups milk (plus a little more)
1 egg, beaten

Directions:
1. Mix all dry ingredients in a large bowl. 

2. With a pastry blender, cut in butter until mixture looks crumbly. If you don’t have a pastry blender, you can cut up the butter with a knife as shown in the picture, and then mix and blend with your hands. That might not be the most sophisticated way to do it, but it works just fine.

3. Add egg and milk, stirring just until moistened. If the mixture seems too dry, add a little more milk. You want the dough to be quite moist, like the photo below. Do not overmix. You want to stir the dough as little as possible.

4. Turn dough out onto a floured surface. Sprinkle a little flour onto dough so you can touch it. Pat out about 1 inch thick or so. Cut dough with a biscuit cutter, or use a glass or cup like I do. Do not handle the dough very much. The less you touch it, the lighter they will be.

5. Place biscuits on a sprayed baking sheet. Bake in preheated 450 degree oven for 10 – 12 minutes or until the biscuits are done and are starting to brown on top. I like them when they are lightly browned, but some people like to cook them a bit longer and get them more browned and crustier. 

6. Enjoy immediately with butter and honey, jelly, or even some delicious sausage gravy! 

Source: I got the original recipe from my friend Patty Graff, a fabulous cook!

I cut the butter up into small pieces first, then I use a pastry blender. But you can use your hands instead if you don’t have a pastry blender.

Stir just until moistened. The dough will be wet and sticky.

Put on a floured surface.

Sprinkle on a little flour so you can touch it.

Pat it out about an inch thick. Touch the dough as little as possible.

Cut biscuits with a biscuit cutter or a glass or cup. They don’t have to look pretty. They will still taste amazing!

Place on a sprayed baking sheet and bake.

Enjoy eating them!!