Fideo Pronto


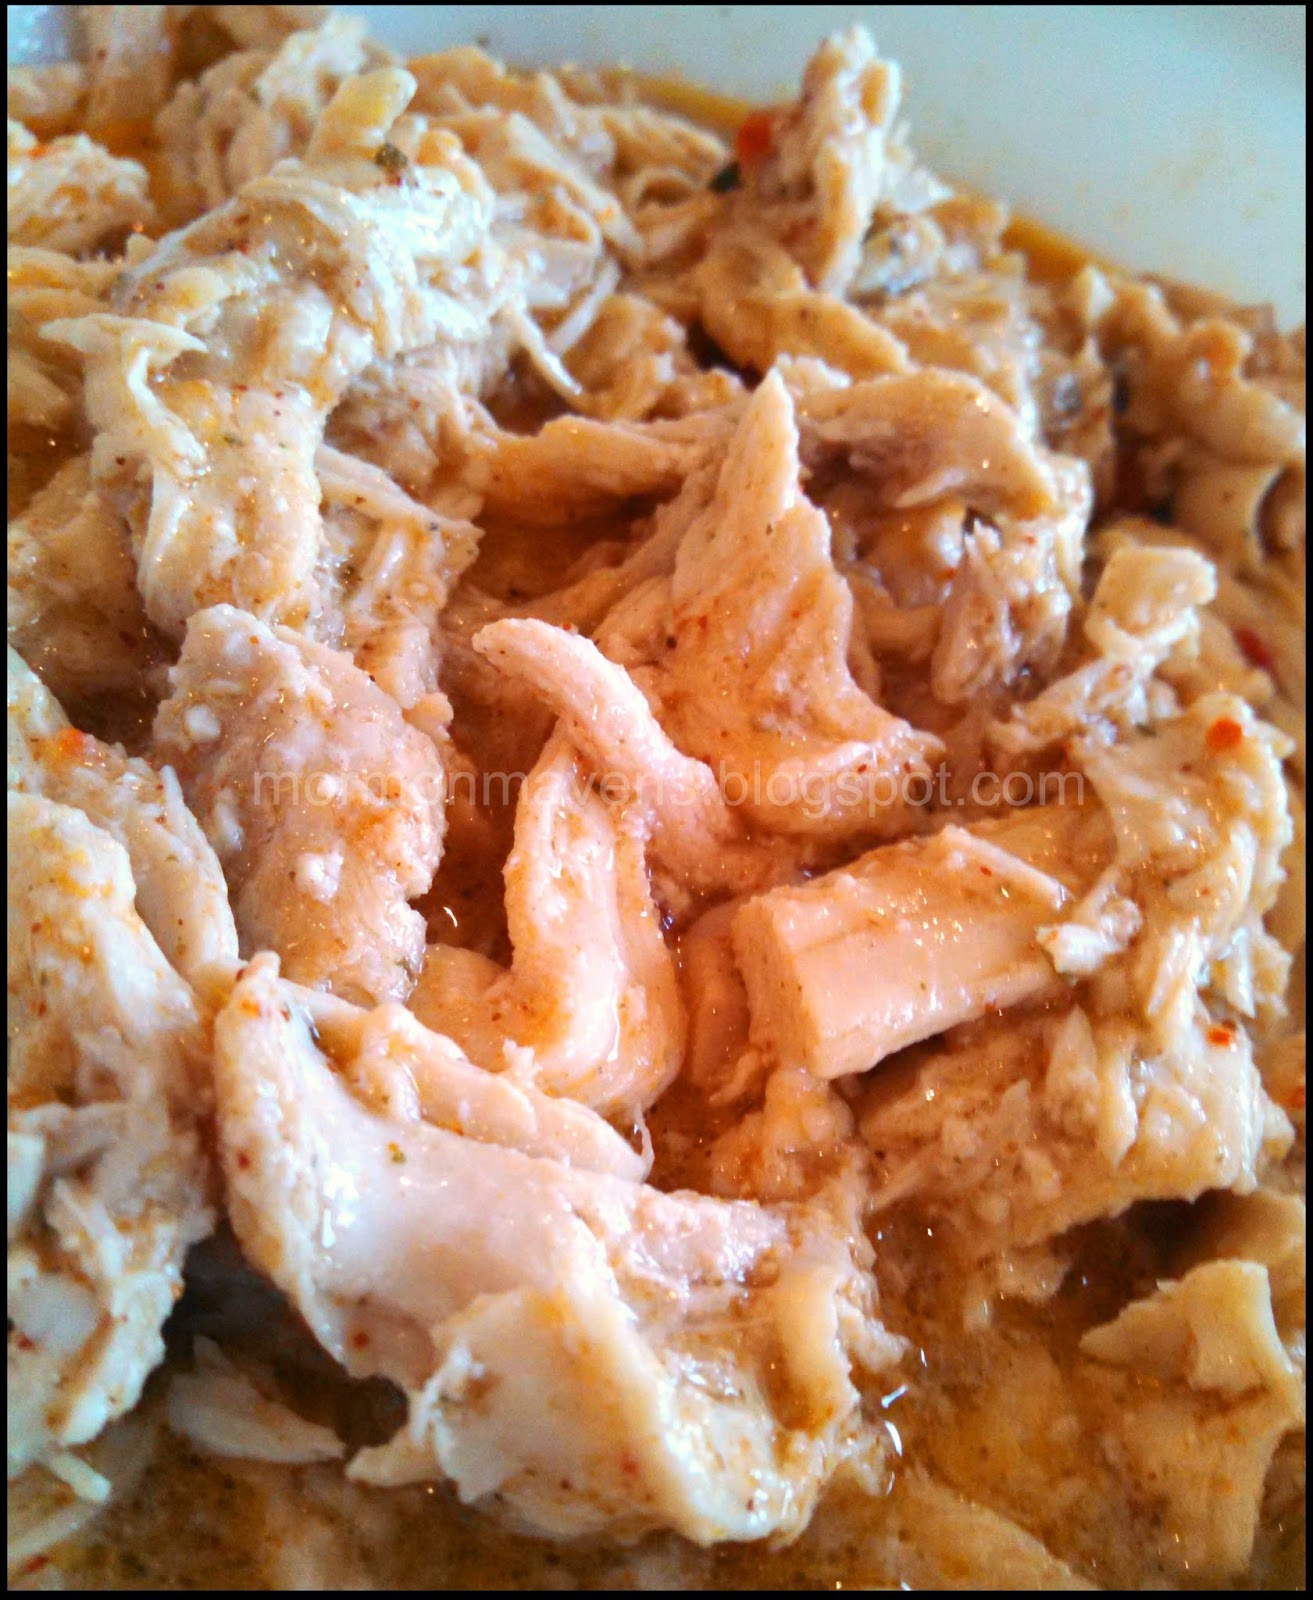
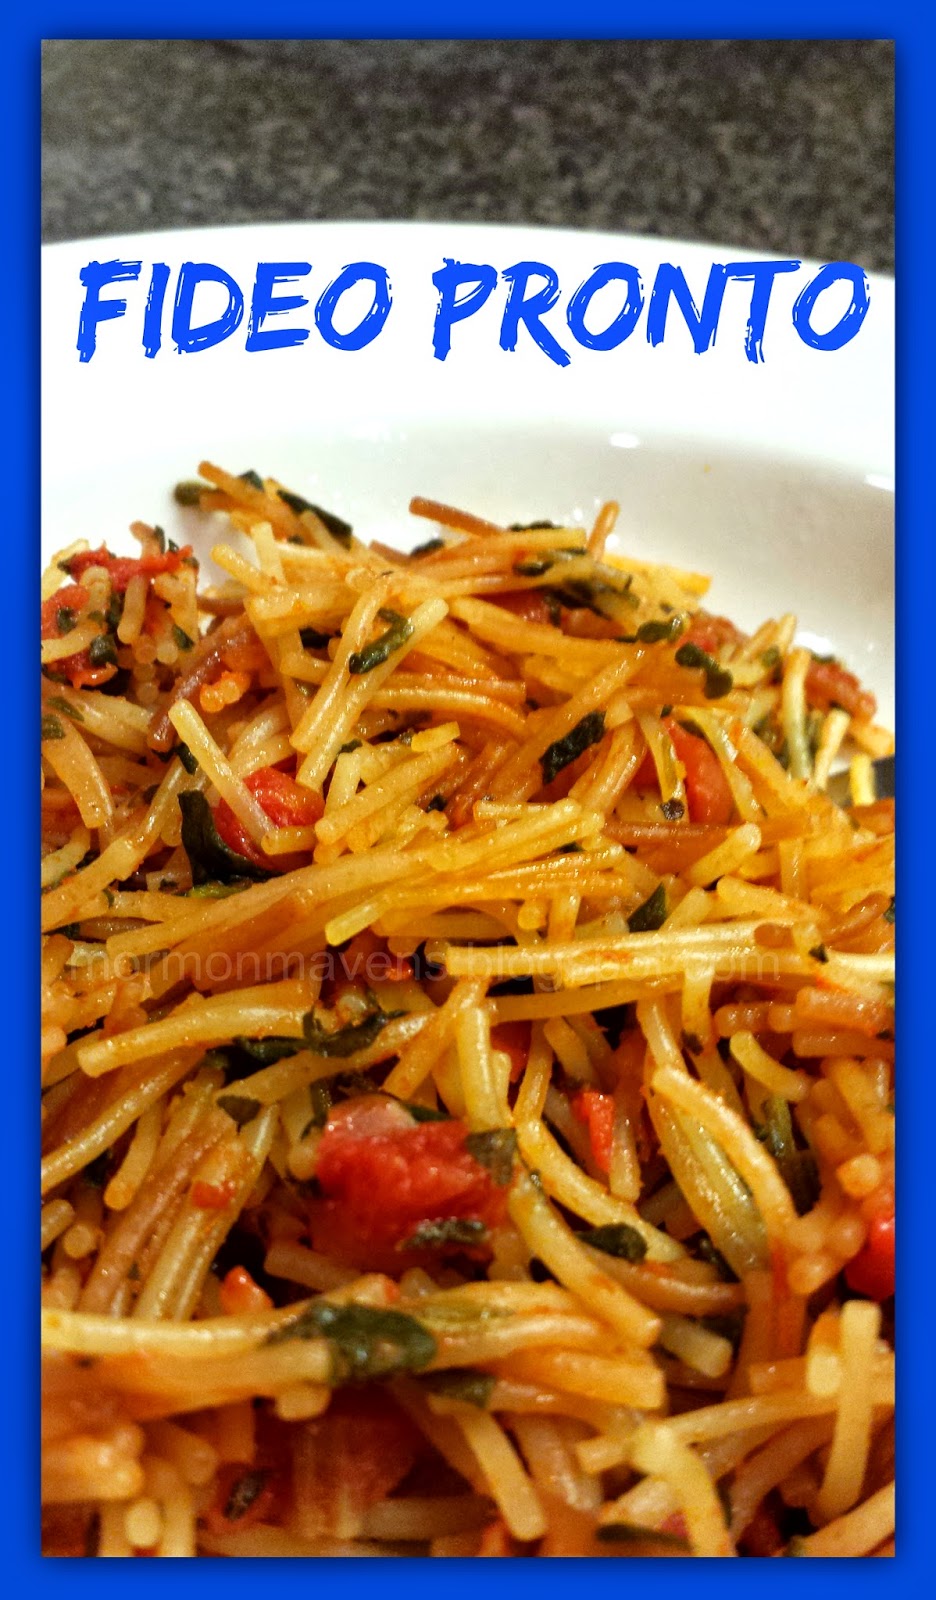
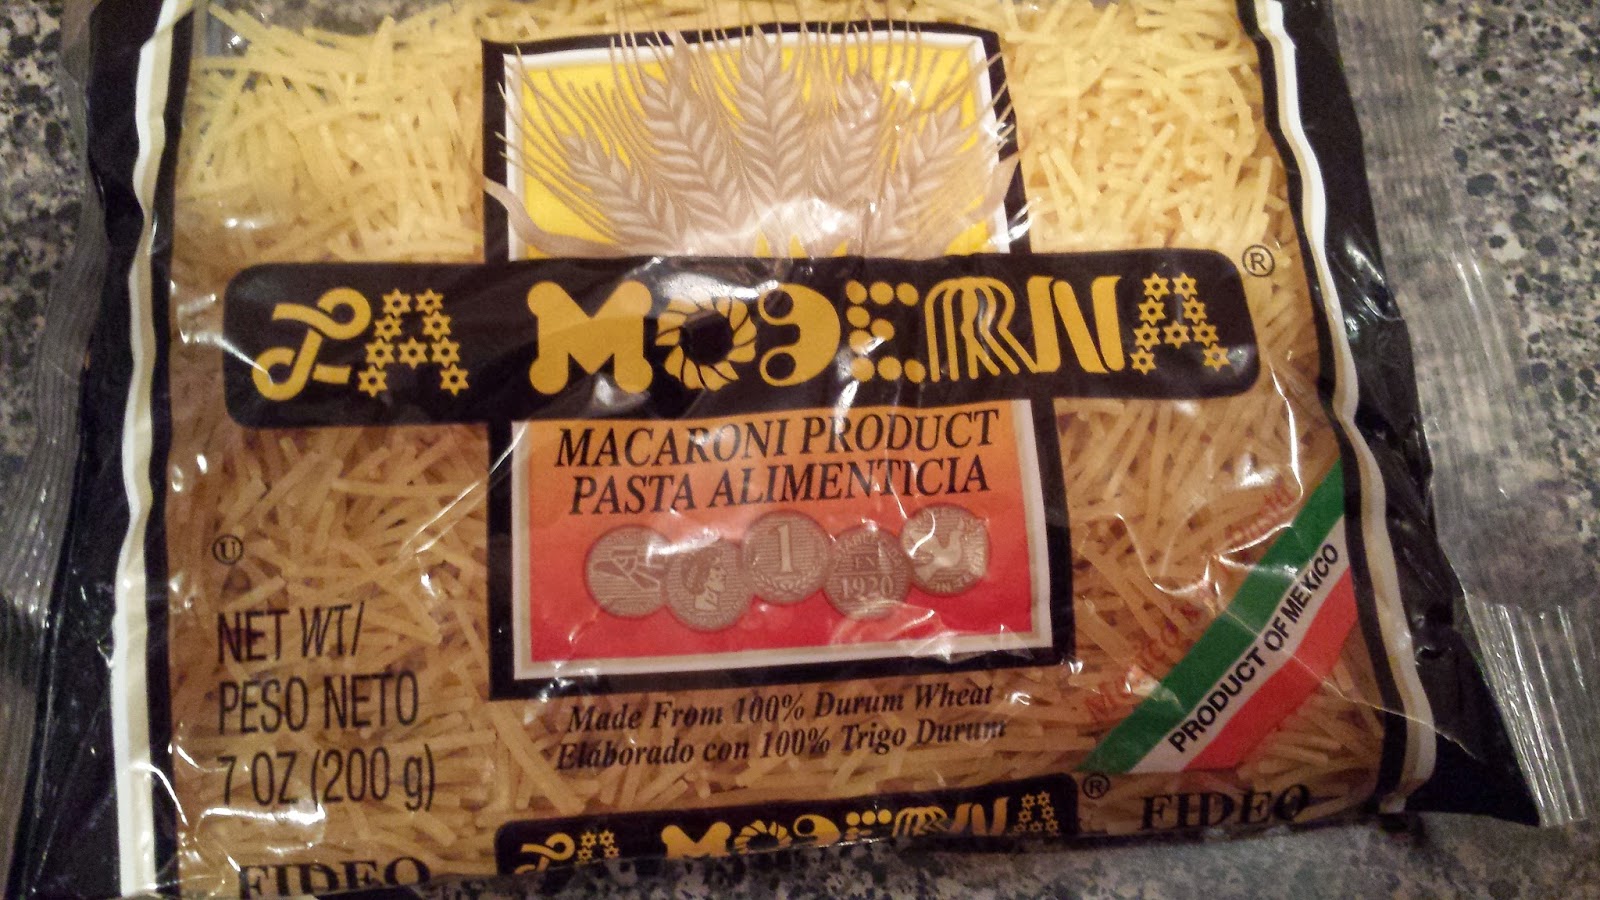
This is a super-easy dish to throw together when you don’t have a lot of time on your hands–so basically any day of the week.  It can be a main ( throw in some grilled chicken or whatever meat you want) or side dish.  The recipe is from a box of broken up vermicelli that I used to be able to get in El Paso, Texas at my local grocery store.  Now I buy the vermicelli in a bag, in the Hispanic Foods section, and the recipe is not on there.

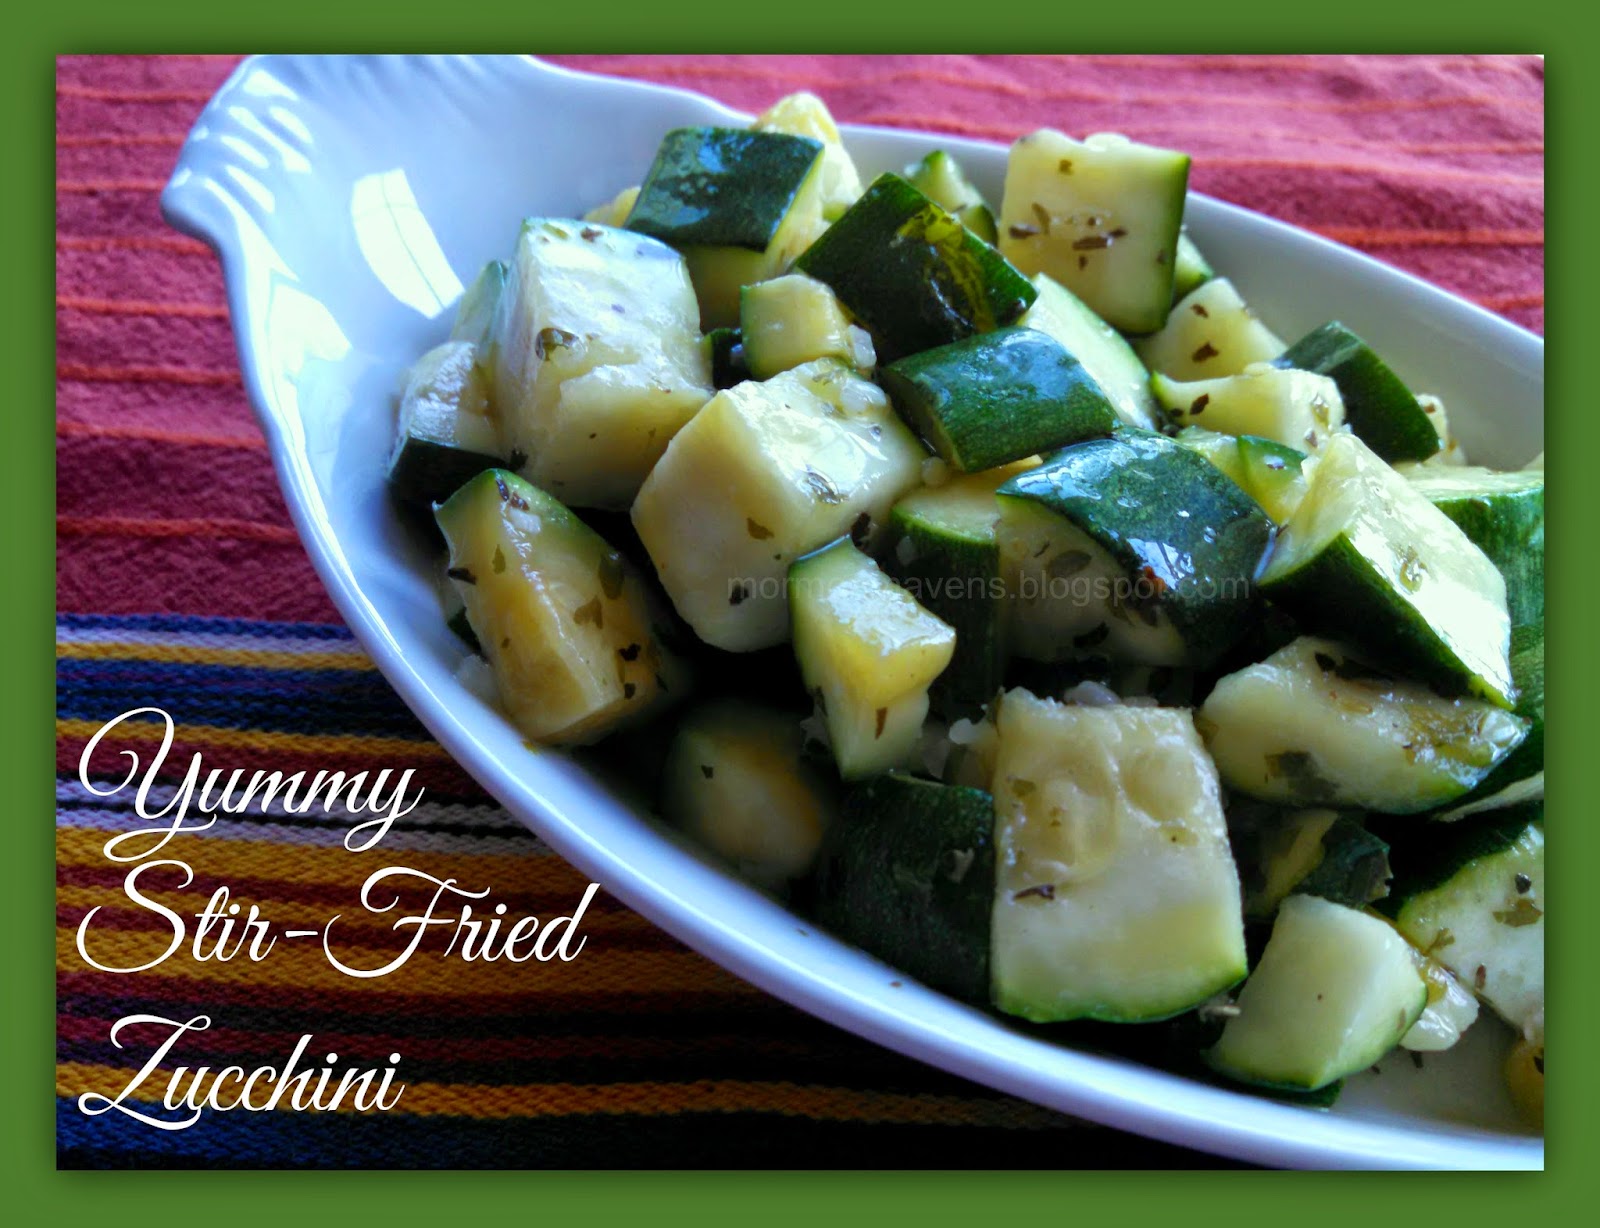
This is also a good way to get some veggies into your kids, and a good way to use leftovers.

 
Ingredients:
1 7-oz. pkg. vermicelli, broken up
1 15-oz. can of diced tomatoes, any flavor, with juice
1 tsp. sugar
1-2 T. olive oil
any veggies you want to add (we like fresh spinach, green chilies,  fresh broccoli…)
salt to taste
 
1.  Heat oil in a skillet over medium-high heat.  Add vermicelli and stir-fry until golden brown.  Be careful to not burn this.  The vermicelli will continue to brown quickly.
 
2.  Add the tomatoes with the juice and the rest of your ingredients.  Bring to a light boil, reduce heat and let simmer about 5 minutes or so.  You want the vermicelli to be a little chewy, but not crunchy.


Slow Cooker Chicken Chili with Cream Cheese

This is a multi-use dish that is tasty and easy to prepare.  You will love walking in the door after work and remembering that dinner has been cooking for you all day and the aroma is calling you in.  This dish can be used with rice, as pictured, or without.  It would also be great as a taco or burrito filling–even as a dip with tostadas!
Ingredients:
2 frozen boneless, skinless chicken breasts (do not thaw)
1 can Mexican-style chopped tomatoes
1 can sweet corn, undrained
1 can black beans, drained & rinsed
1 pkg. Ranch Dressing mix
1 T. cumin
1 t. chili powder
1 t. onion powder
1 8-oz. pkg. cream cheese ( I used Neufschatel)


1.  Place the chicken in the slow cooker.  Top with remaining ingredients, ending with the cream cheese.

2.  Cook on low for 6-8 hours, stirring once or twice to blend the cheese.
3.  When done, shred the chicken into bite-size or larger pieces and serve over rice.  Can also be served with burritos or tacos.
NOTES:  Serves 4-6.  Also makes a great dip!
Source:  Rita’s Recipes via Pinterest.

Nachos de Sobras

I made a big batch of ham and veggie soup Sunday and figured we were good for at least 3 nights of supper.  Well SOMEBODY didn’t want soup for supper last night and so I am thinking what the heck will I fix now?  And then it hit me!  I had leftovers from a THRIVE class/party and from dinner at my daughter’s house one night.  Put it all together and what do you get? Nachos de Sobras (leftovers).  It was a filling and tasty meal and perfect to have while watching the election results.  SOMEBODY even commented on how good it was.  Really? Leftovers?  Yes, really. Que rico!
Ingredients:
Fritos Scoops or any tostada or corn chips
Taco-seasoned ground beef
Cooked and seasoned Pinto beans
Chunky salsa 
Shredded Mexican-blend cheese
Sour Cream

Assemble as desired.  Done.


Pumpkin Bread

A long time ago, in a land far away (Idaho), I went to my first two years of college.  One weekend we had a homemaking fair kind of thing and I was asked to make a batch of pumpkin bread. Thankfully, I was given a recipe to follow.  I was a student, remember, and I didn’t have a lot of cooking/baking experience.  I learned a lot of that while living off campus.  Anyway, I have just held on to this recipe for 30+ years.  Yeah, the recipe is that awesome.  It also makes great muffins.  In the spirit of pumpkin season, I am now sharing that recipe with you, our faithful followers. Get crazy with it!

Ingredients:
3 cups sugar
1 cup oil
4 eggs
2/3 cup water
3 1/2 cups all-purpose flour
2 t. baking soda
1/2 t. baking powder
15-oz can of pumpkin (or use the equivalent of fresh puree)
2 t. salt
1 t. cloves
1 t. allspice
1 cup raisins
1/2 cup chopped walnuts

1.  Mix sugar, oil, eggs, pumpkin and water.

2.  In a separate bowl, sift together the flour, baking soda, baking powder.  Then add to pumpkin mixture.

3.  Add salt, cloves, allspice, raisins and nuts.  Mix well.

4.  Pour into greased and floured loaf pans.  You will need several, depending on the size. This particular time I used two larger loaf pans and one mini pan.

5.  Bake at 350 degrees F. for approximately 1 hour.  Test for doneness with a cake tester.
NOTE:  This recipe will produce about 30 muffins, baked at 28 minutes.

SOURCE: Ricks College 2nd Stake Relief Society, Rexburg, Idaho.

Chili Blanco

This is my favorite time of year for so many reasons.  One is that we get to have stews and soups and all kinds of yummy, warm comfort foods.  This chili recipe is actually quite healthy and was really easy to put together.  You just need to allow time for the beans to cook, as you will note in the instructions.  I will probably be posting other recipes from this cookbook (see source below), so stay tuned for more deliciousness.

Ingredients:
1 pound dry white beans, rinsed and picked over *
4 (14-oz. each) cans of chicken broth *
1 t. chicken stock base (I didn’t have any so I just made my broth stronger)
2 onions, chopped *
1 T. oil
6-8 cloves of garlic, minced
1 (7-oz.) can diced green chilies *
4 t. ground cumin
2 t. dried oregano leaves
2 t. cayenne pepper
4 cups cooked, diced chicken
2 T. chopped fresh cilantro, if desired (I added this)
1 cup fat-free (yeah right!) sour cream *
3 cups shredded Monterrey Jack cheese

1.  Place the beans, broth, chicken stock base, onions, oil, garlic, chilies, cumin, oregano, and cayenne pepper in a large pot and bring to a boil.  Reduce heat to a simmer, cover, and cook very slowly until the beans are done–test to see if they are done as they cook.  You don’t want them to be mushy, just tender.  Beans that are not soaked first take 2-3 hours to cook.  Make sure to add more broth or water if the liquid gets low so they won’t dry out.

2.  Remove beans from heat.  Stir in the cooked chicken and the cilantro.

3.  Top each serving with sour cream and shredded cheese.

* I have noted when I have used freeze-dried or other items from food storage products, just so you can get an idea of how to incorporate those items into your every day cooking.

SOURCE:   The Romney Family Table.

Halloween Poison Cake

You know, it’s scary how many Halloween recipes you can find on Pinterest.  All the boys and ghouls are pinning all their faves for their upcoming spookiest soirees.  Every year I get so excited and say “This is the year I am going to host a “Tim the Tool Man Taylor”  monster bash!”  And every year I don’t.  Maybe next year.  Anyway, here is a sweet treat you can try out, the trick is trusting the conversion equivalents.  The source for this recipe has included both, but I think next time I make this I will tweak it.


Ingredients:
375 grams sugar (2 cups)
250 grams soft unsalted butter (9 oz.)
3 large eggs
250 grams all-purpose flour (1 3/4 cup)
1 1/2 t. baking powder
pinch of salt
250 ml  milk, room temperature (1 1/8 cup)
2-3 t. almond extract (or vanilla or mint )
Green food coloring, to desired color


Cocoa Icing:

1 cup or more of powdered sugar
Unsweetened cocoa powder, about 1/2 a cup
A few T. boiled, lukewarm water (not sure how this makes a difference.  I just used tap water.)


1.  Preheat oven to 350 degrees F.

2.  Line a 9 x 13 pan with parchment (I used baking spray with flour).
3.  In a large bowl, sift together the flour, baking powder and salt.  Set aside.
4. In another bowl, cream together the butter and sugar.  Add the eggs one at a time, mixing well each time.  Scrape down the sides when needed.
5.  Add the flour mix to the creamed mixture alternately with the milk, mixing well.
6.  Stir in the almond flavoring.  Next add green food color.  Don’t use too much since the color will darken as it bakes (it really does!).
7.  Pour the green batter in the cake pan and smooth with a rubber spatula.  Place cake on lowest rack in oven to prevent over-browning. Do this for sure.  I didn’t and ended up with a zombie cake top  Bake for about 40-60 minutes, until a cake tester comes out clean.
8.  Transfer cake to a cooling rack and cool completely before frosting.  Cut the cake into squares.


ICING:


Mix ingredients together in a bowl, adjusting liquid/sugar depending on desired consistency.  It should have a thick pouring consistency that is easily spread with a spatula.

SOURCE:  Cake Journal.

How’s Your “To Do” List?


I was scrolling through Facebook this afternoon at work, kind of filling in some time and I came across this video.  I want you to take 9 minutes and watch this, pay close attention to the boy’s prayer, and grab a tissue.  I will not even attempt to write any more about it.  You will understand why once you watch it.


Summer Pasta Salad

This is just a simple pasta salad that I thought I would try out from SAVING DINNER (see below for link).  I really like the subtitle on this cookbook: “The Menus, Recipes, and Shopping Lists to Bring Your Family Back to the Table.”  Well that is a mouthful, isn’t it!  So far, I have really like the recipes in the book and they are all pretty healthy.  This will be supper tonight.  Well, I also brought some to work for lunch so I will be getting a double dose! 


Ingredients:

1 pound ziti pasta
1 T. olive oil
1 medium red onion, chopped
2 cups chopped zucchini
1 clove garlic, minced
2 cups chopped fresh tomato
1 cup fresh corn, or 1 cup frozen, thawed (I re-hydrated 1 cup of freeze dried corn–always trying      to rotate my food storage, you know!)
1/4 t. red pepper flakes (more if you want spicier)
1 cup non-fat milk
1/2 cup freshly grated Romano cheese (I didn’t have any so I used the Romano Asiago blend from   a jar)
Salt and Pepper to taste 

1.  Prepare pasta; drain and set aside.
2.  In a skillet, heat the oil over medium-high heat.  Add red onion and zucchini and cook until the onion is golden, stirring frequently.
3.  Reduce heat to medium and add the garlic, tomato, corn, red pepper flakes, milk, and Romano cheese.
4.  Stir until the cheese is melted and the vegetables are hot.  Add the pasta and mix thoroughly.
5.  Season with salt and pepper to taste.
NOTE:  There was no mention in the original recipe on whether this is served warm or cold–by trial and error I have found that this is a dish best served HOT.  Trust me on that.
SOURCE:  “Saving Dinner”, Leanne Ely.

Freezer Meal: Cafe Rio Chicken

A little confession.  I know the food is good at Cafe Rio.  I ate there once or twice on a trip to southern Utah a few years back.  But I don’t go ballistic nuts over it.  Just sayin’.  Maybe because I have had so much authentic Mexican food that I never feel like I have been deprived, you know? (Not sure if this is a copycat recipe or what, but my source is noted at the end of this post). This was really tasty.  I used it in a salad, but there was plenty left over to do burritos or fajitas, tacos…OMGoodness, this would be amazing in Sopa de Pollo!

Ingredients:
2 lbs. boneless, skinless chicken breasts
8 oz.  zesty Italian dressing
1/2 T. minced garlic
1 packet ranch dressing mix, combined with 1/2 cup water
1/2 T. chili powder
1/2 T. ground cumin

1.  Place all ingredients in a zippered freezer bag (gallon size). Close bag and smoosh all the ingredients together.  Place bag in freezer until ready to use.
2. Take out of freezer one hour prior to prep time–this is also a slow cooker recipe–OR run room temperature water over the bag for about 30 seconds.  Then, empty ingredients into a slow cooker.
3.  Cook on LOW for 4-6 hours.  Remove from slow cooker and shred with forks.

NOTE:  Great in tacos, salads, burritos, etc.

TIPS:  You might want to put this in two quart-size bags, depending on the size of your slow cooker.  What I have found with these recipes is that however you place them in the freezer is the shape and size you are going to have of your frozen meal.  Hopefully, that fits in your cooker.  Mine barely did on this.  But I tried a different recipe the other day (yuck!!) that I laid out flat to freeze and it wouldn’t fit my smaller cooker and even with my larger oval one I had to chop away at the corners of the food to get them down in order to get the lid on securely.  Good things to know before you start.

Source:  Chef In Training.

Yummy Stir-Fried Zucchini

In an effort to eat healthy-fresh more often and because zucchini is so prolific right now, I have concocted this little number.  The Mediterranean Seasoning is from the 21-day Fix Eating Plan.  Yes, she is trying yet another weight-loss plan–it’s a journey.

Ingredients:
Fresh zucchini, cut into bite-size cubes (about 3 or 4 medium to large)
Mediterranean Seasoning, to taste (about a teaspoon or so)
Olive oil, about a tablespoon

Seasoning:
4 T. dried parsley, crushed
4 t. dried onion flakes
2 t. dried basil, crushed
1 t. ground oregano
1 t. ground thyme
1 t. garlic powder
1 t. sea salt
1/2 t. ground black pepper

1.  In a medium or large non-stick skillet, heat olive oil over medium-high heat.

2.  Add zucchini and stir to coat with oil.  Add desired amount of seasoning.  Stir-fry for about 3 or 4 minutes.

3.  That’s it!  Enjoy!  Goes well with many things.  I have had it with grilled chicken breast, a veggie burger, or just as part of a veggie plate.  Last night we had it with sliced garden tomatoes, boiled potatoes, and I just had to have some fried green tomatoes.  I know–fried.  It’s a Southern thing.