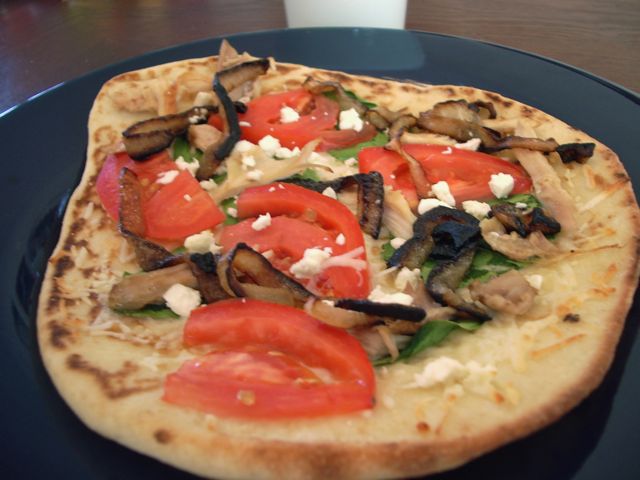
This is an absolute favorite at our dinner table, and probably the only recipe I have ever created myself. This pizza is so good, it doesn’t even need any sauce! This recipe makes 2 personal size pizzas, but can easily be adjusted to make more.
The Crust:

You will need-
*2 T. Olive oil
*1 t. Minced or pressed garlic
*Flatbread
I am in love with Naan (which seems like a departure from the “greek” theme, but it is delicious bread). If you are cooking for more than two, I would recommend Toufayan brand pita bread which comes in a 5 pack.
1. Preheat the oven to 450 degrees F.

2. Mix about 2 Tbls. of olive oil with 1 tsp. of minced or pressed garlic.
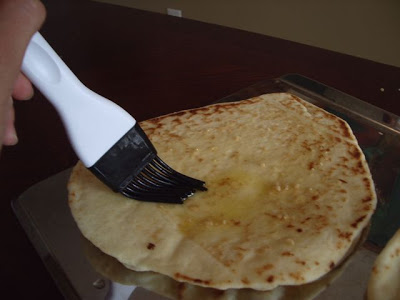
3. Place the flatbreads on a baking sheet or stone and use a basting brush to spread the garlic and oil mixture.
4. Warm the bread in the 450 degree oven for 2-3 minutes, then remove to add your toppings.
The Toppings:
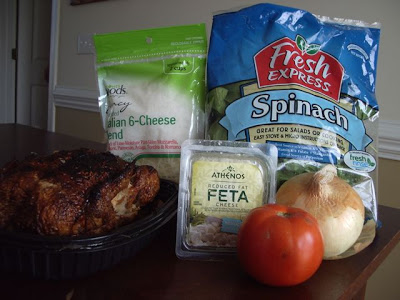
You will need-
*Shredded Mozzarella or Italian Cheese blend
*Feta Cheese
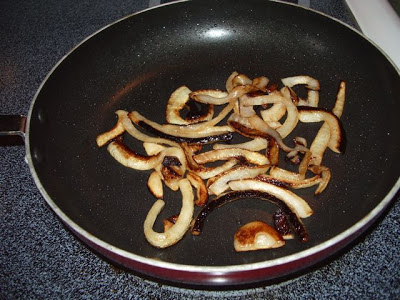
*1/2 an onion, grilled
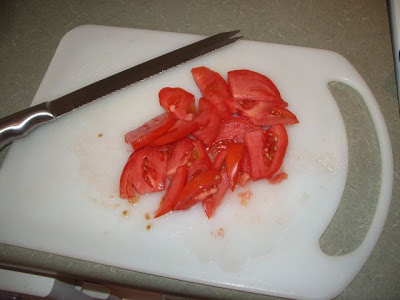
*1 Tomato
*Fresh Spinach
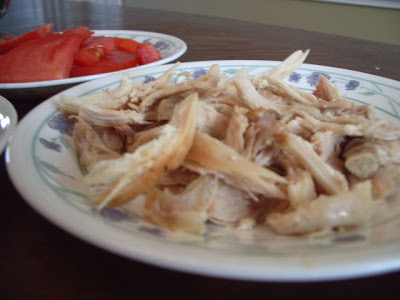
*Left-over rotisserie or oven-baked chicken.
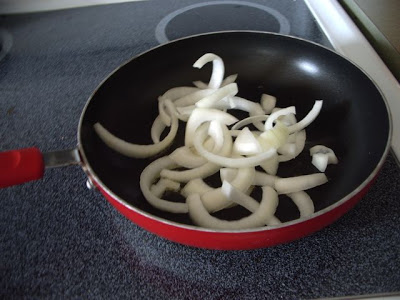
1. Slice the onion into thin strips and saute in oil or butter on med. heat until soft and caramelized. About 10 minutes.
2. While the onion is grilling, slice the tomato into wedges or thin rings, whichever you like.
3. Pull some meat off the chicken. Make the pieces bite-size.
Assembling the Pizza:
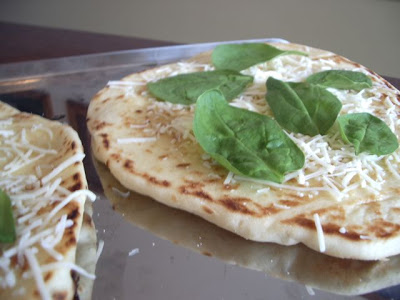
1. Sprinkle each warm, prepared flatbread crust with mozzarella cheese.
2. Layer several spinach leaves on top.
3. Continue to build your pizzas with the chicken, tomatoes, grilled onions and a feta cheese.
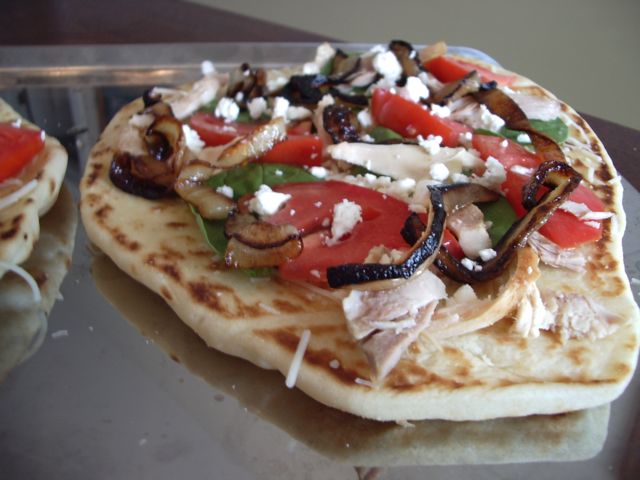
4. Bake at 450 degrees for 5-8 minutes or until the toppings are warm and the mozzarella cheese in melted. Serve immediately.
Greek Flatbread Pizza
Serves 2
Crust:
1 pkg. Stonefire naan flatbread
2 T. olive oil
1 tsp. minced or pressed garlic
Toppings:
1/2 C mozzarella
1 tomato, sliced
1/2 an onion, sliced and grilled
1/2 C fresh spinach
1/2-1 C left-over rotisserie chicken pieces pulled from the bone
feta cheese (for sprinkling on top)
Directions:
Preheat the oven to 450 degrees F. Take the flatbreads out of the package and place them on a baking sheet or stone. Prepare the flatbread crust by mixing the olive oil and garlic together and brushing the mixture onto one side of the bread. Place the bread into the oven and warm for 2-3 minutes. Remove from oven.
Sprinkle the mozzarella on the bread and arrange several spinach leaves on top. Then, add the rest of your toppings as desired.
Bake at 450 degrees F. for 5-8 minutes or until the mozzarella is melted. Serve immediately.