Greek Lemon Chicken Soup


So many of us are looking for healthy DELICIOUS food options these days.  The latest thing I am checking out is the Mediterranean diet–actually I just would like to not call anything a diet, but a lifestyle.  Mediterranean sounds good to me.

I looked up easy Mediterranean recipes and found this one that sounded delicious.  And who doesn’t love using a rotisserie chicken? Am I right?

And you may think, by looking at the photo, that this recipe includes cream. NOT.

I know.  And yet it is so good.

Greek Lemon Chicken Soup
Write a review
Print
Ingredients
  1. 1 T. olive oil
  2. 3/4 c. cubed carrot
  3. 1/2 c. chopped yellow onion
  4. 2 t. minced fresh garlic
  5. 3/4 t. crushed red pepper (next time I will use 1/2 t.)
  6. 6 c. chicken broth
  7. 1/2 c. uncooked orzo
  8. 3 large eggs
  9. 1/4 c. fresh lemon juice
  10. 3 c. chopped baby spinach
  11. 1 1/4 t. kosher salt
  12. 1/2 t. black pepper
  13. 3 T. chopped fresh dill (for garnish)
Instructions
  1. Heat oil in a Dutch oven over medium-high heat. Add carrot and onion. Cook, stirring occasionally until softened, about 3-4 minutes. Add garlic and crushed red pepper and cook until fragrant, stirring constantly.
  2. Add broth to Dutch oven and increase heat to high, bringing broth to a boil. Add orzo and cook, uncovered, until al dente, about 6 minutes.
  3. In a medium bowl, whisk eggs and lemon juice together until frothy. Remove 1 cup of the broth from Dutch oven and add, gradually, to the eggs. Whisk constantly to temper the eggs for about 1 minute. Pour egg mixture into Dutch oven and stir to combine.
  4. Reduce heat to medium-low, then stir in chicken, spinach, salt, and pepper. Cook, stirring constantly until spinach wilts.
  5. Serve up in 6 bowls and sprinkle with the dill.
Adapted from Cooking Light
Mormon Mavens https://www.mormonmavens.com/

Puff Pastry Breadsticks

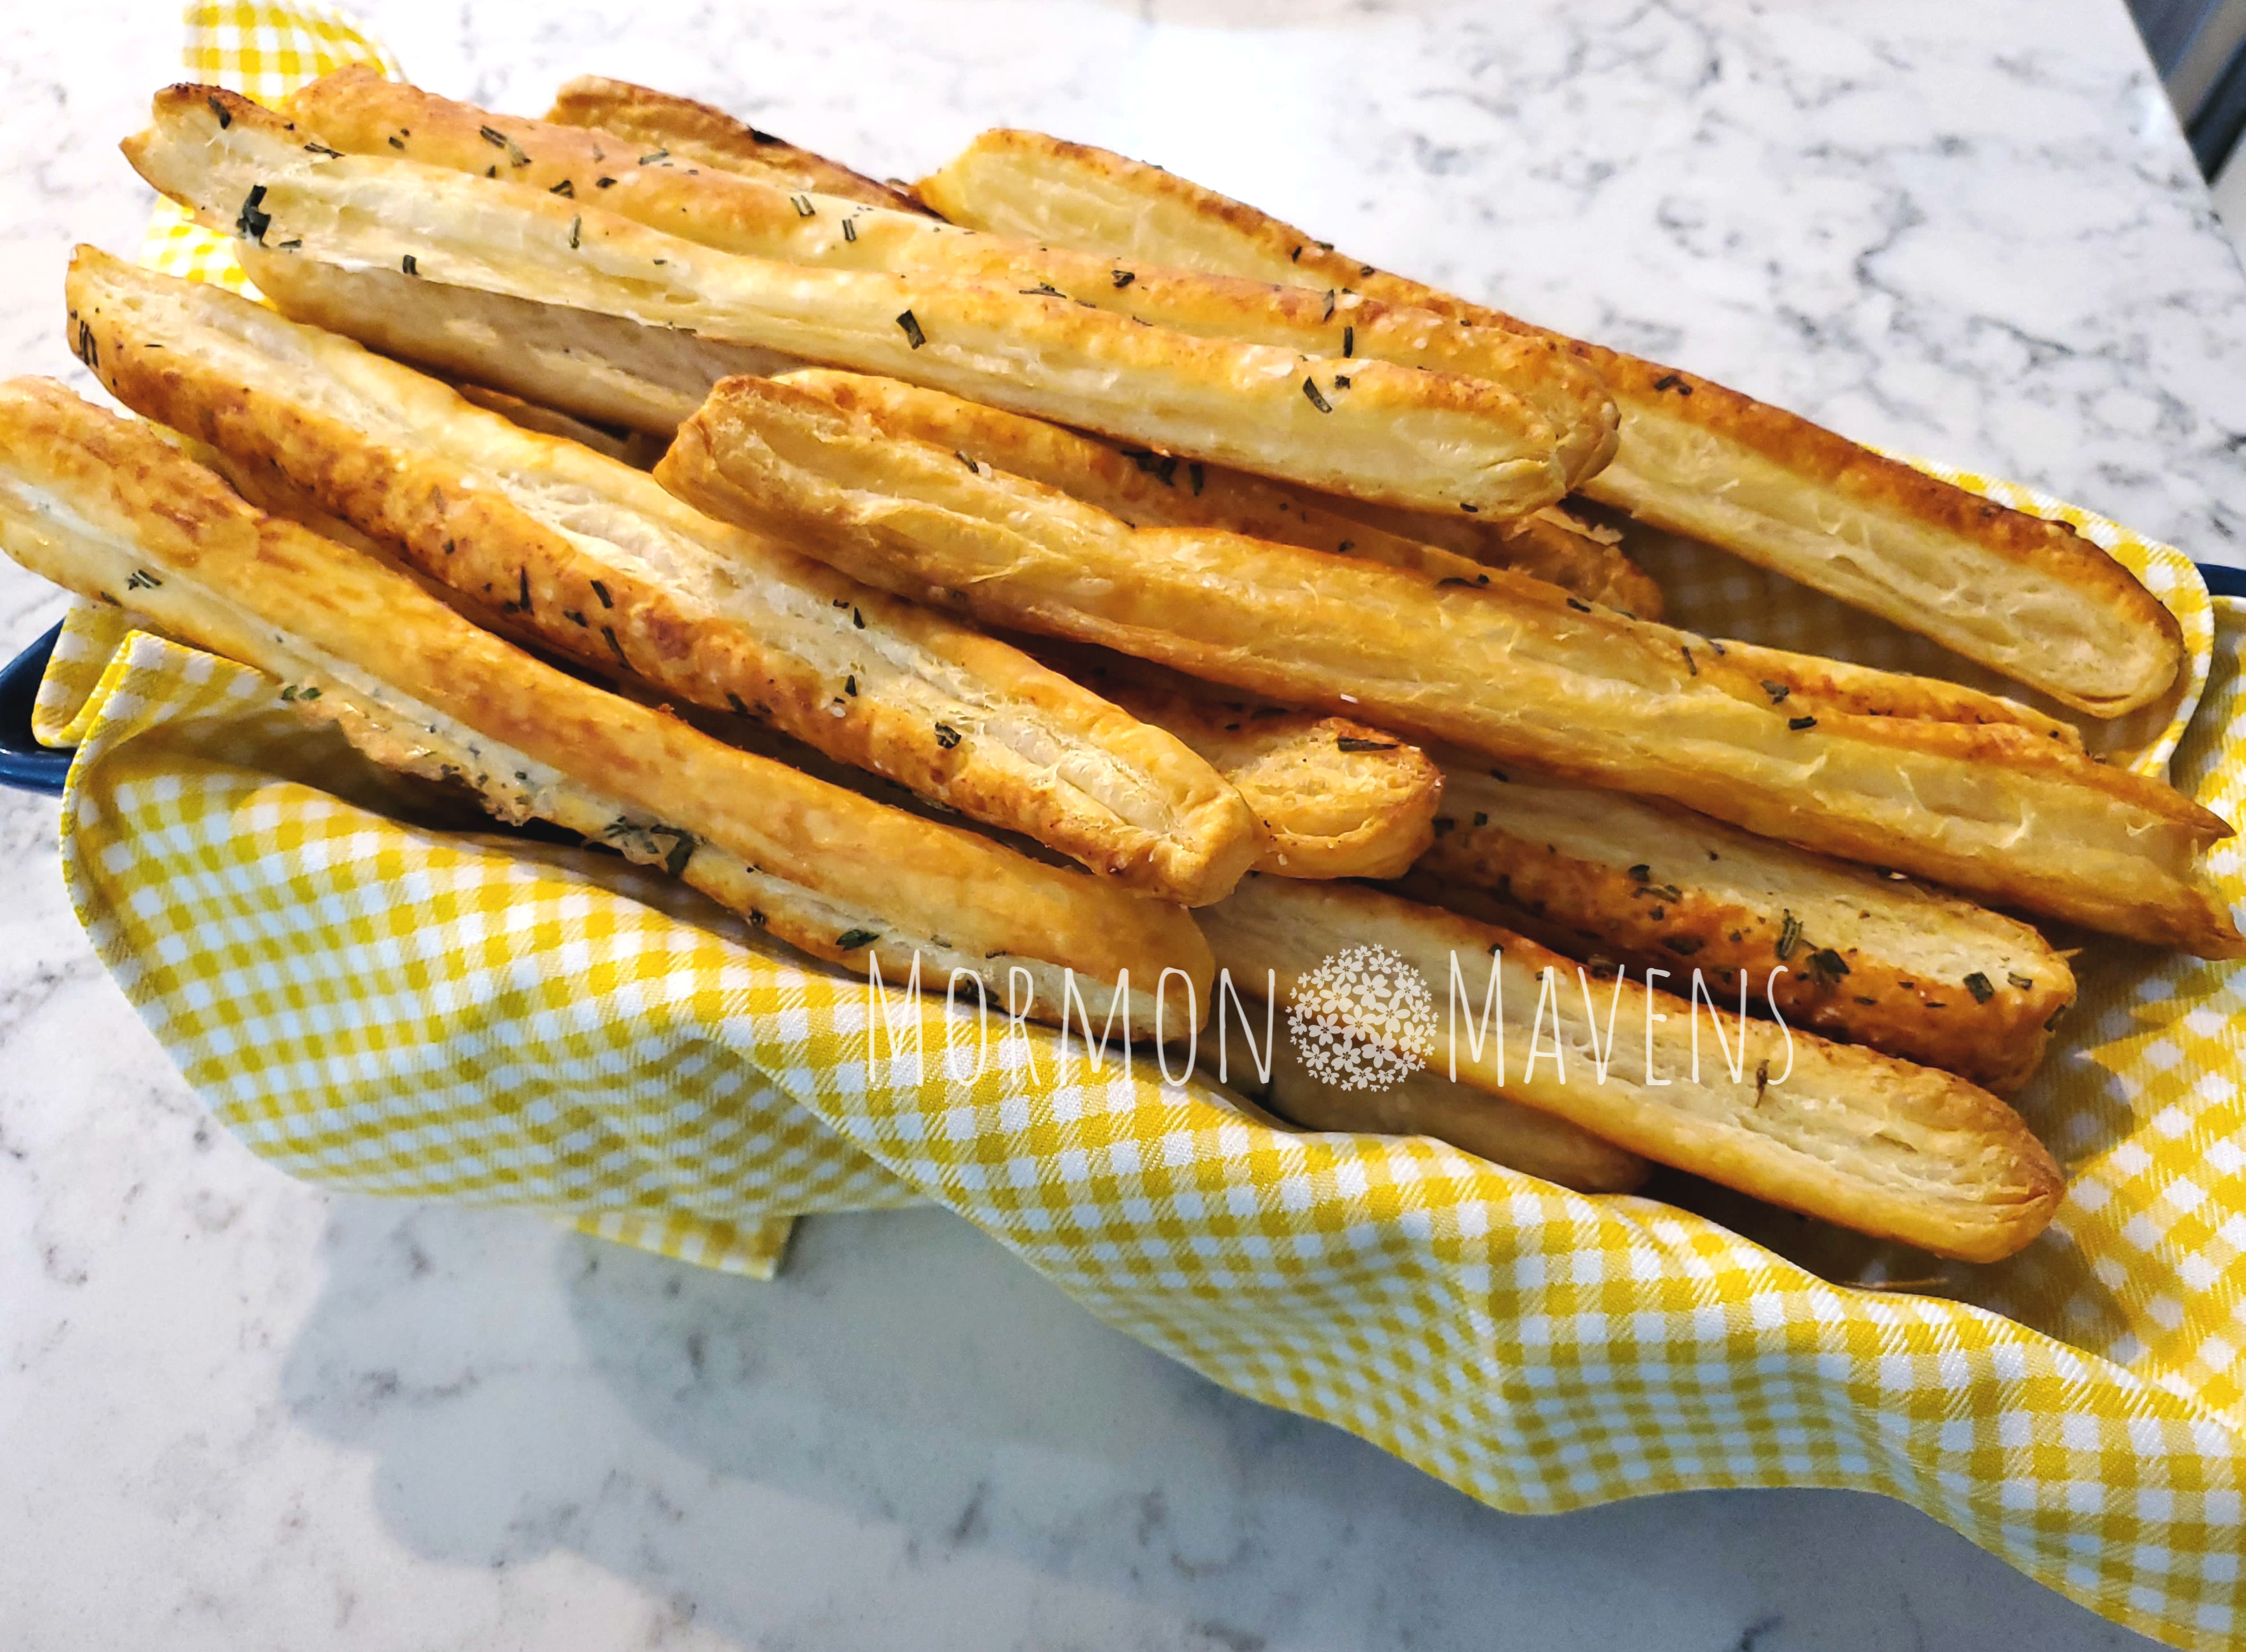
Puff Pastry BreadsticksI love scratch bread recipes but let’s face it….sometimes you need something quicker and easier like these delicious bread sticks made from pre-made puff pastry out of the freezer section.  Not only delicious, they are super easy and will have your guests grabbing for more.  The texture alone is to die for, and you can play around with which herbs combinations you like the best.

Easy, quick, and delicious….your most complicated part of preparing these is to remember to thaw out the pastry sheets about 45 minutes before you want to cut and make.  Seriously.

The original recipe recommended using only one of the sheets from the package (most packages are going to come with two sheets of pastry).  Smartly, I decided to do both sheets when I served these for the first time at a casual dinner get-together for six.  Your guests will be going back for seconds…and thirds.  And you, more than likely, will have eaten a couple just while prepping the rest of dinner.

Not that I did that or anything.

And these will go with just about any meal. I served them alongside  some tasty slow cooker chicken, roasted potatoes, and side salad.

What will you pair these flaky breadsticks with?

Puff Pastry Breadsticks
Yields 24
Tasty, flaky, easy breadsticks using premade puff pastry sheets.
Write a review
Print
Ingredients
  1. 1 box puff pastry (2 sheets)
  2. 1 egg white
  3. 1 Tbsp. water
  4. 2 tsp. kosher salt
  5. 2 tsp. garlic powder
  6. 2 Tbsp. fresh rosemary, finely minced
Instructions
  1. Take the pastry sheets out off the box and allow to set at room temperature for about 45 minutes.
  2. Preheat oven to 400 degrees.
  3. On a piece of parchment paper, take a sheet of pastry (removed from the wrapper) and unfold it onto the paper. Using a pizza cutter, cut the pastry into 12 equal strips.
  4. In a small bowl, whisk together the egg white and water. Use a pastry brush to brush each breadstick with the egg mixture.
  5. Sprinkle with half the salt, garlic powder, and rosemary. Then repeat the process with the second sheet of pastry onto another parchment paper sheet.
  6. Place one of the parchment sheets onto a baking sheet and bake at 400 degrees for 15 minutes or until they are a lovely golden brown. Repeat with the other parchment sheet of breadsticks.
Notes
  1. Experiment with your own herbal combos.
Adapted from Shugary Sweets
Mormon Mavens https://www.mormonmavens.com/

October Favorite Things

october favorite things
olive oil favorite things

Really Good Olive Oil

One of my very favorite things to use in the kitchen is really good olive oil.  Only in the last few years have I realized what a difference it makes in cooking and preparing dishes (like my Italian Roasted Potatoes).  Whenever I go to the Emerald Isle, NC, location for Beaufort Olive Oil Company, I just can’t get enough of the samples!  Pouring a bit of balsamic and olive oil over those little bread cube samples….yum.  So many flavor combos at your fingertips!  But when it comes to purchasing, I usually stick with my favorite mild to medium all-purpose olive oils and get more adventurous with the balsamic flavors.  Find a good olive oil store and go in for a sample; you won’t regret it!

essential oils favorite things

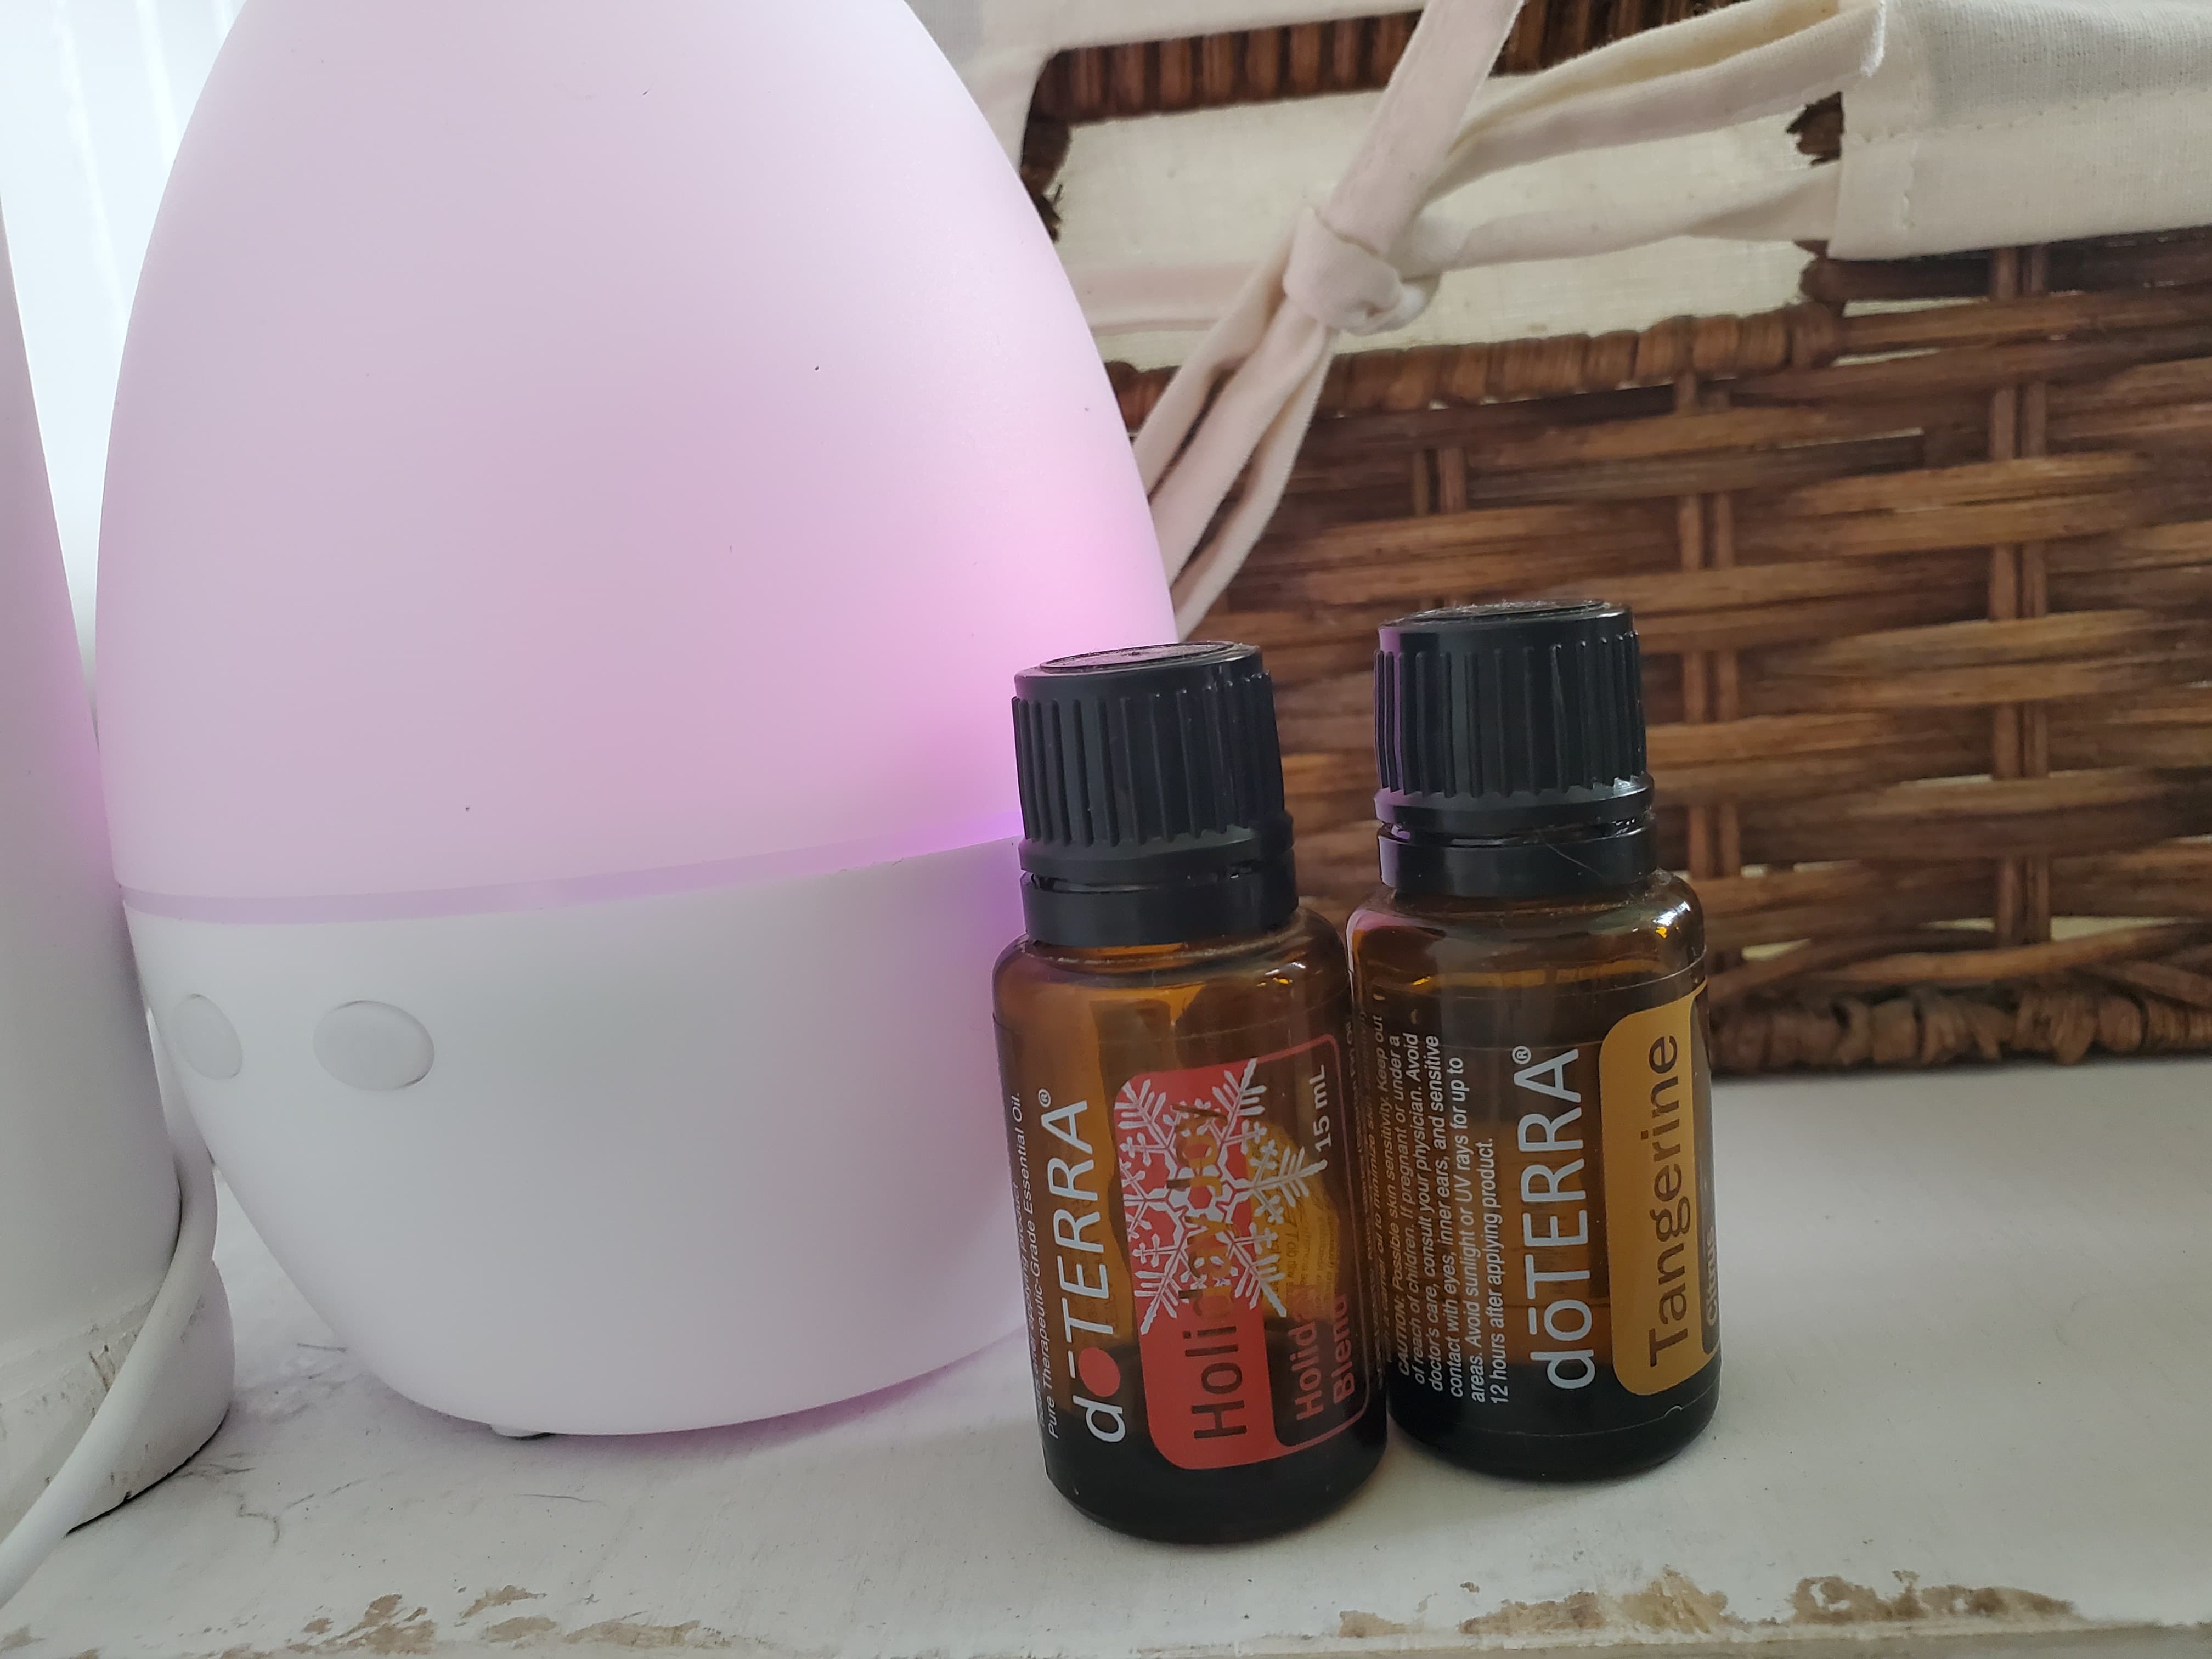
Holiday Joy Blend

I’ve been getting doTERRA essential oils for years now, and my favorite oil is still Holiday Joy!  Just taking a whiff of it makes me smile and reminds me of Christmas.  Pairing it with Tangerine or Wild Orange just makes it even better although it is great on its own.  Often I will diffuse it in the kitchen while listening to Christmas music (yes, even when it’s not the holidays) when I just need a boost.  Many essential oil companies have similar blends, though I have not tried any of them so I can only vouch for this one.  What’s your favorite essential oil blend?

style edit favorite things

Gray Hair Coverage

When did you get your first gray hair?  Guess when I got mine.  TWENTY-ONE!!  Yep, that’s right.  Now at that age I could just pluck the occasional gray hair out.  But I got to a point about a decade ago or so that I started getting my hair colored on a regular basis.  The sides and front are more than 50% gray!  Rather than move my appointments closer together I’ve been opting for products to help me make it to my regular 5-6 week intervals.  I’ve tried sprays, but those just feel gross in my hair and I always end up spraying my face a little.  Recently I decided to try something easier to apply and I LOVE it!  Style Edit’s Binding Powder is perfect for my needs.  The actual powder is in a little pan on top (kind of looks like an eye shadow) and the applicator is a sponge attached to the bottom.  Easy to use and it works great.  It doesn’t make my hair feel gross and it stays on all day.

mascara favorite things

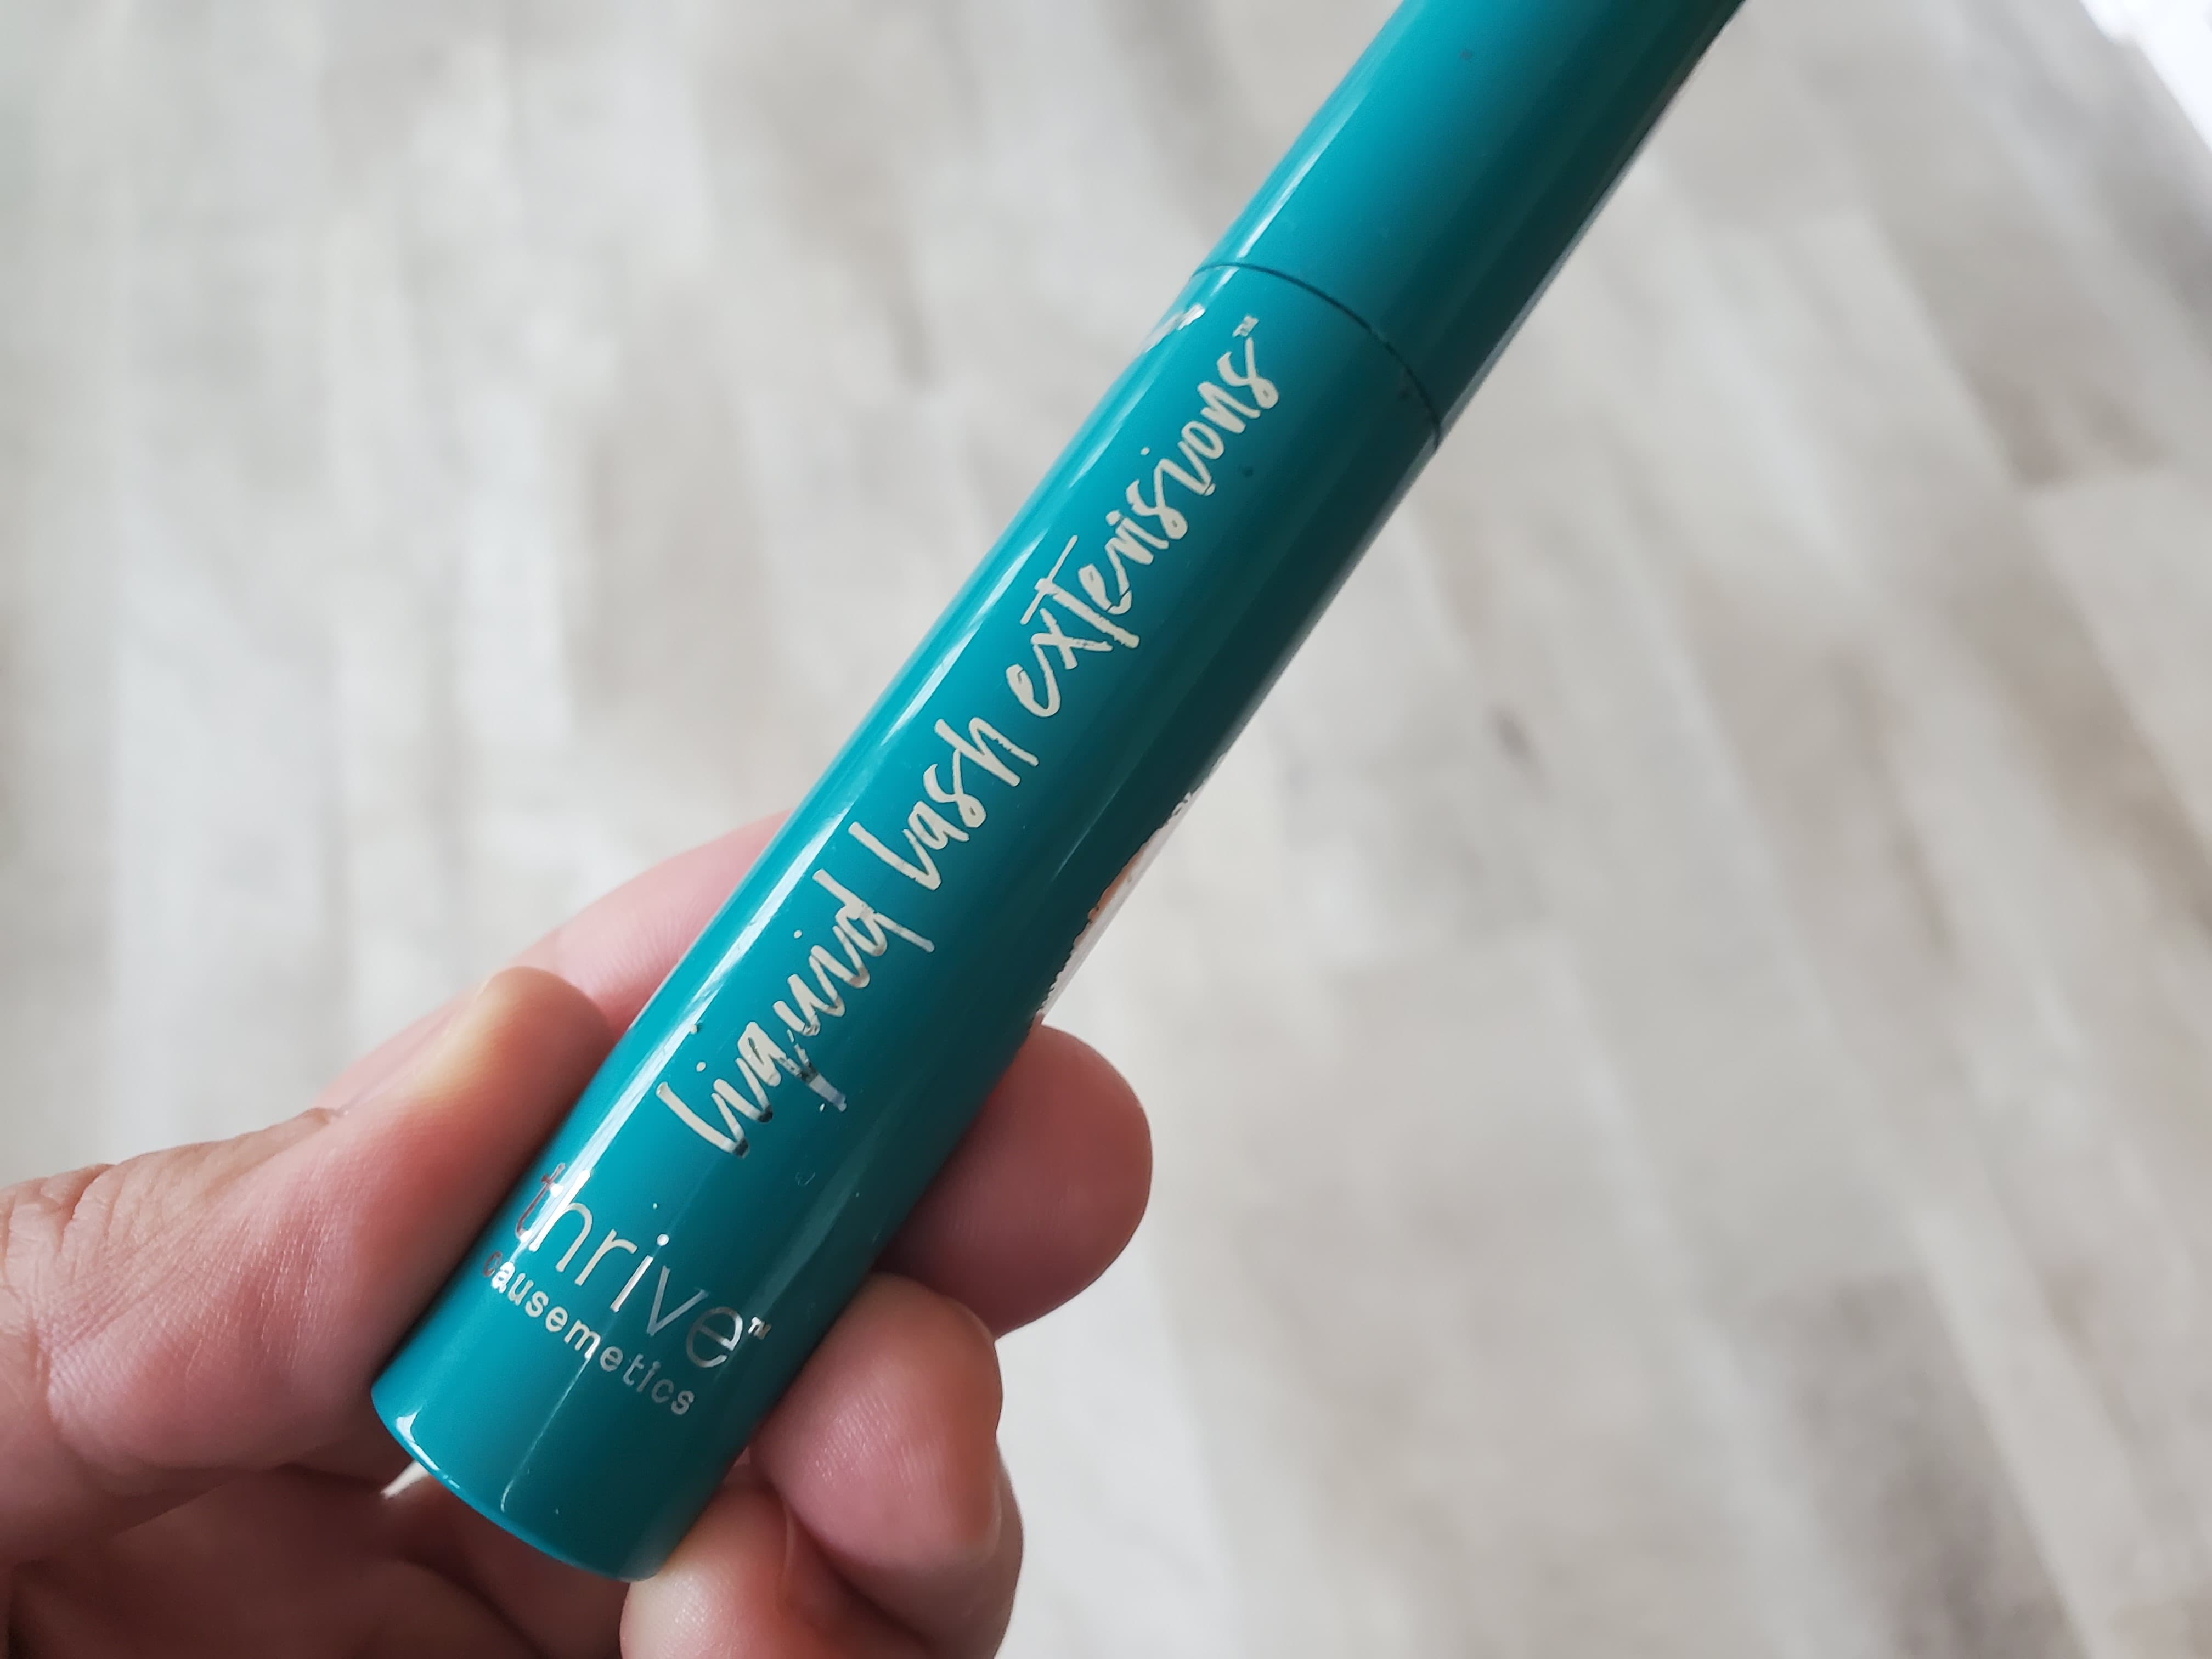
Liquid Lash Extensions

I don’t have the longest lashes.  Don’t get me wrong–they’re not super short but they’re not long by any stretch of the imagination.  So I’ve thought about lash extensions (worried about damaging what I already have).  I’ve tried a direct sales company’s dual tube application system (no matter what I did, it kept flaking off…but dang they looked long!).  I’ve even tried unsuccessfully to apply fake eyelashes (I just couldn’t get them to stay in place).  But I have been using Thrive Causemetics‘ mascara for probably over a year and I love it.  It gives me the length I like without flaking off and it doesn’t require multiple tubes to get there.  A nice benefit to using their products is that for every product you purchase, they donate to help women who are fighting cancer, surviving domestic abuse , or are coming out of homelessness.  Long lashes and helping others?  Sign me up!

Stay tuned for December’s Favorite Things!

Hawaiian Fried Breakfast Rice


Sometimes I just struggle to find new, tasty ideas for breakfast.  Do you have the same problem?

I grew up on cold cereal, and still love it for Sunday night snacking.  Well, any night would work for me, actually.  But over time I have let go of my cereal tradition in lieu of more healthy options like oatmeal or smoothies.  Once in a while it’s eggs and bacon, but that usually ends up being an early lunch after an hour of yoga followed by an hour of Body Pump.

This fried rice recipe really turned out to be quite delicious.  Thank you to Sara at Our Best Bites, who was the source for this recipe.

Hawaiian Fried Breakfast Rice
Write a review
Print
Ingredients
  1. 4 t. extra virgin olive oil
  2. 1/2 c. chopped red onion
  3. 1 bunch green onions, chopped (chop all but keep the green tops separate)
  4. 1 t. minced garlic
  5. 1 small red bell pepper, minced
  6. 3 cups leftover white rice
  7. 1 c. chopped fresh pineapple
  8. 1 c. chopped Spam (or bacon or ham)
  9. 3 T. low sodium soy sauce
  10. 2 t. brown sugar
  11. 1/2 t. ground ginger
  12. 4 eggs for scrambling
  13. Salt & pepper to taste
Instructions
  1. Heat the olive oil over medium heat in a large skillet. Add the red onion, firm ends of the green onions, garlic and bell pepper. Saute until the onions are fragrant and red peppers are just tender.
  2. While the vegetables are cooking, whisk together the soy sauce, brown sugar, and ginger in a small bowl. Set aside.
  3. Add the rice to the skillet, stirring to combine, until heated through. Add the Spam and cook until that is heated through. Add the soy sauce mixture and stir to combine.
  4. Next add the green parts of the green onions, and the pineapple, stirring to combine. Season to taste with salt & pepper. Cover, turning heat to low to keep warm.
  5. In a separate pan, cook the eggs. Add eggs to rice mixture and serve.
Adapted from Our Best Bites
Mormon Mavens https://www.mormonmavens.com/

How to Make Coconut Oil Popcorn on the Stovetop

finished coconut oil popcorn

Ever since we found this way to make popcorn, I don’t think we’ve bothered to every buy microwave popcorn again!  My kids and I watched an episode of Good Eats (the original series….can’t wait to see what Alton Brown has in store with his newest episodes…so glad it’s back!) and were intrigued with the idea of making popcorn on the stovetop.  I grew up having popcorn made this way but with vegetable oil and in a heavy saucepan.  This way is much better, tastier, and yields a LOT more popcorn per batch if you have a big bowl.

So, first of all, you are going to need a stainless steel bowl.  Don’t know if your bowl is stainless?  Read more here about how to tell. I happen to have a hand-me-down bowl from my mother that holds about 11 quarts.  But the size here doesn’t matter, it’s the method you need to know.  The amounts can adjust easily to the size of your bowl.  Just tonight, I used my big bowl but didn’t use as much coconut oil and popcorn, so it made a small batch.  With this large bowl, I have the option of going big or small.

Here’s how you do it…..and sorry I don’t have pics of every step, but it’s very simple.  And, I do have a video at the end that my daughter recorded that should be very helpful for you!

What you need:  stainless steel bowl, coconut oil, popcorn kernels, aluminum foil (heavy duty is best), small paring knife or ice pick, oven mitts of hot pads

Step 1–Lay out your aluminum foil.  For my bowl I need two sheets several inches wider than my bowl is across.  I overlap these two sheets on their long sides and fold that overlap over twice.  This will cover the bowl during popping.

Step 2–Set the stainless steel bowl on the appropriate sized burner.  The bottom of the bowl is what is making contact with the stovetop, so don’t pick a burner that’s bigger than the bowl bottom.  Turn the burner on low.  Immediately spoon in some coconut oil.  For a full bowl of popcorn, I melt enough coconut oil to completely cover the bottom of my bowl to a depth of about a popcorn kernel.

coconut oil in the bowl

Step 3–Once the coconut oil is almost completely melted, pour in your popcorn kernels until all the coconut oil is taken up by kernels.  You know, no puddling of extra oil.

coconut oil and kernels in the bowl

Step 4–Immediately lay the foil sheets (that have been folded together in the middle) over the top of the bowl and scrunch the foil around the edges of the bowl to secure it well.  Use your paring knife or ice pick to carefully cut 6-8 holes across the surface of the foil to allow some steam to escape.  Don’t make these too big as some oil splattering can occur.

Step 5–Turn the heat up to medium.  With oven mitts on (or holding hot pads) grasp the sides of the bowl and shimmy it back and forth over the burner.  Turn the bowl a quarter turn every so often and continue shimmying it until all the kernels have popped or till the popping sounds have slowed down a lot.  Turn off burn and move bowl to another spot on the stovetop.

Step 6–Carefully remove the foil covering (steam will escape) and set it aside.  Salt the popcorn, then use a wooden spoon or heat-proof scraper to turn the popcorn to distribute the salt evenly.  Repeat if necessary until it’s salted to your liking.  Serve!  Just remember that the bowl stays hot for a while so be careful.

Flourless Banana Chocolate Chip Oatmeal Muffins

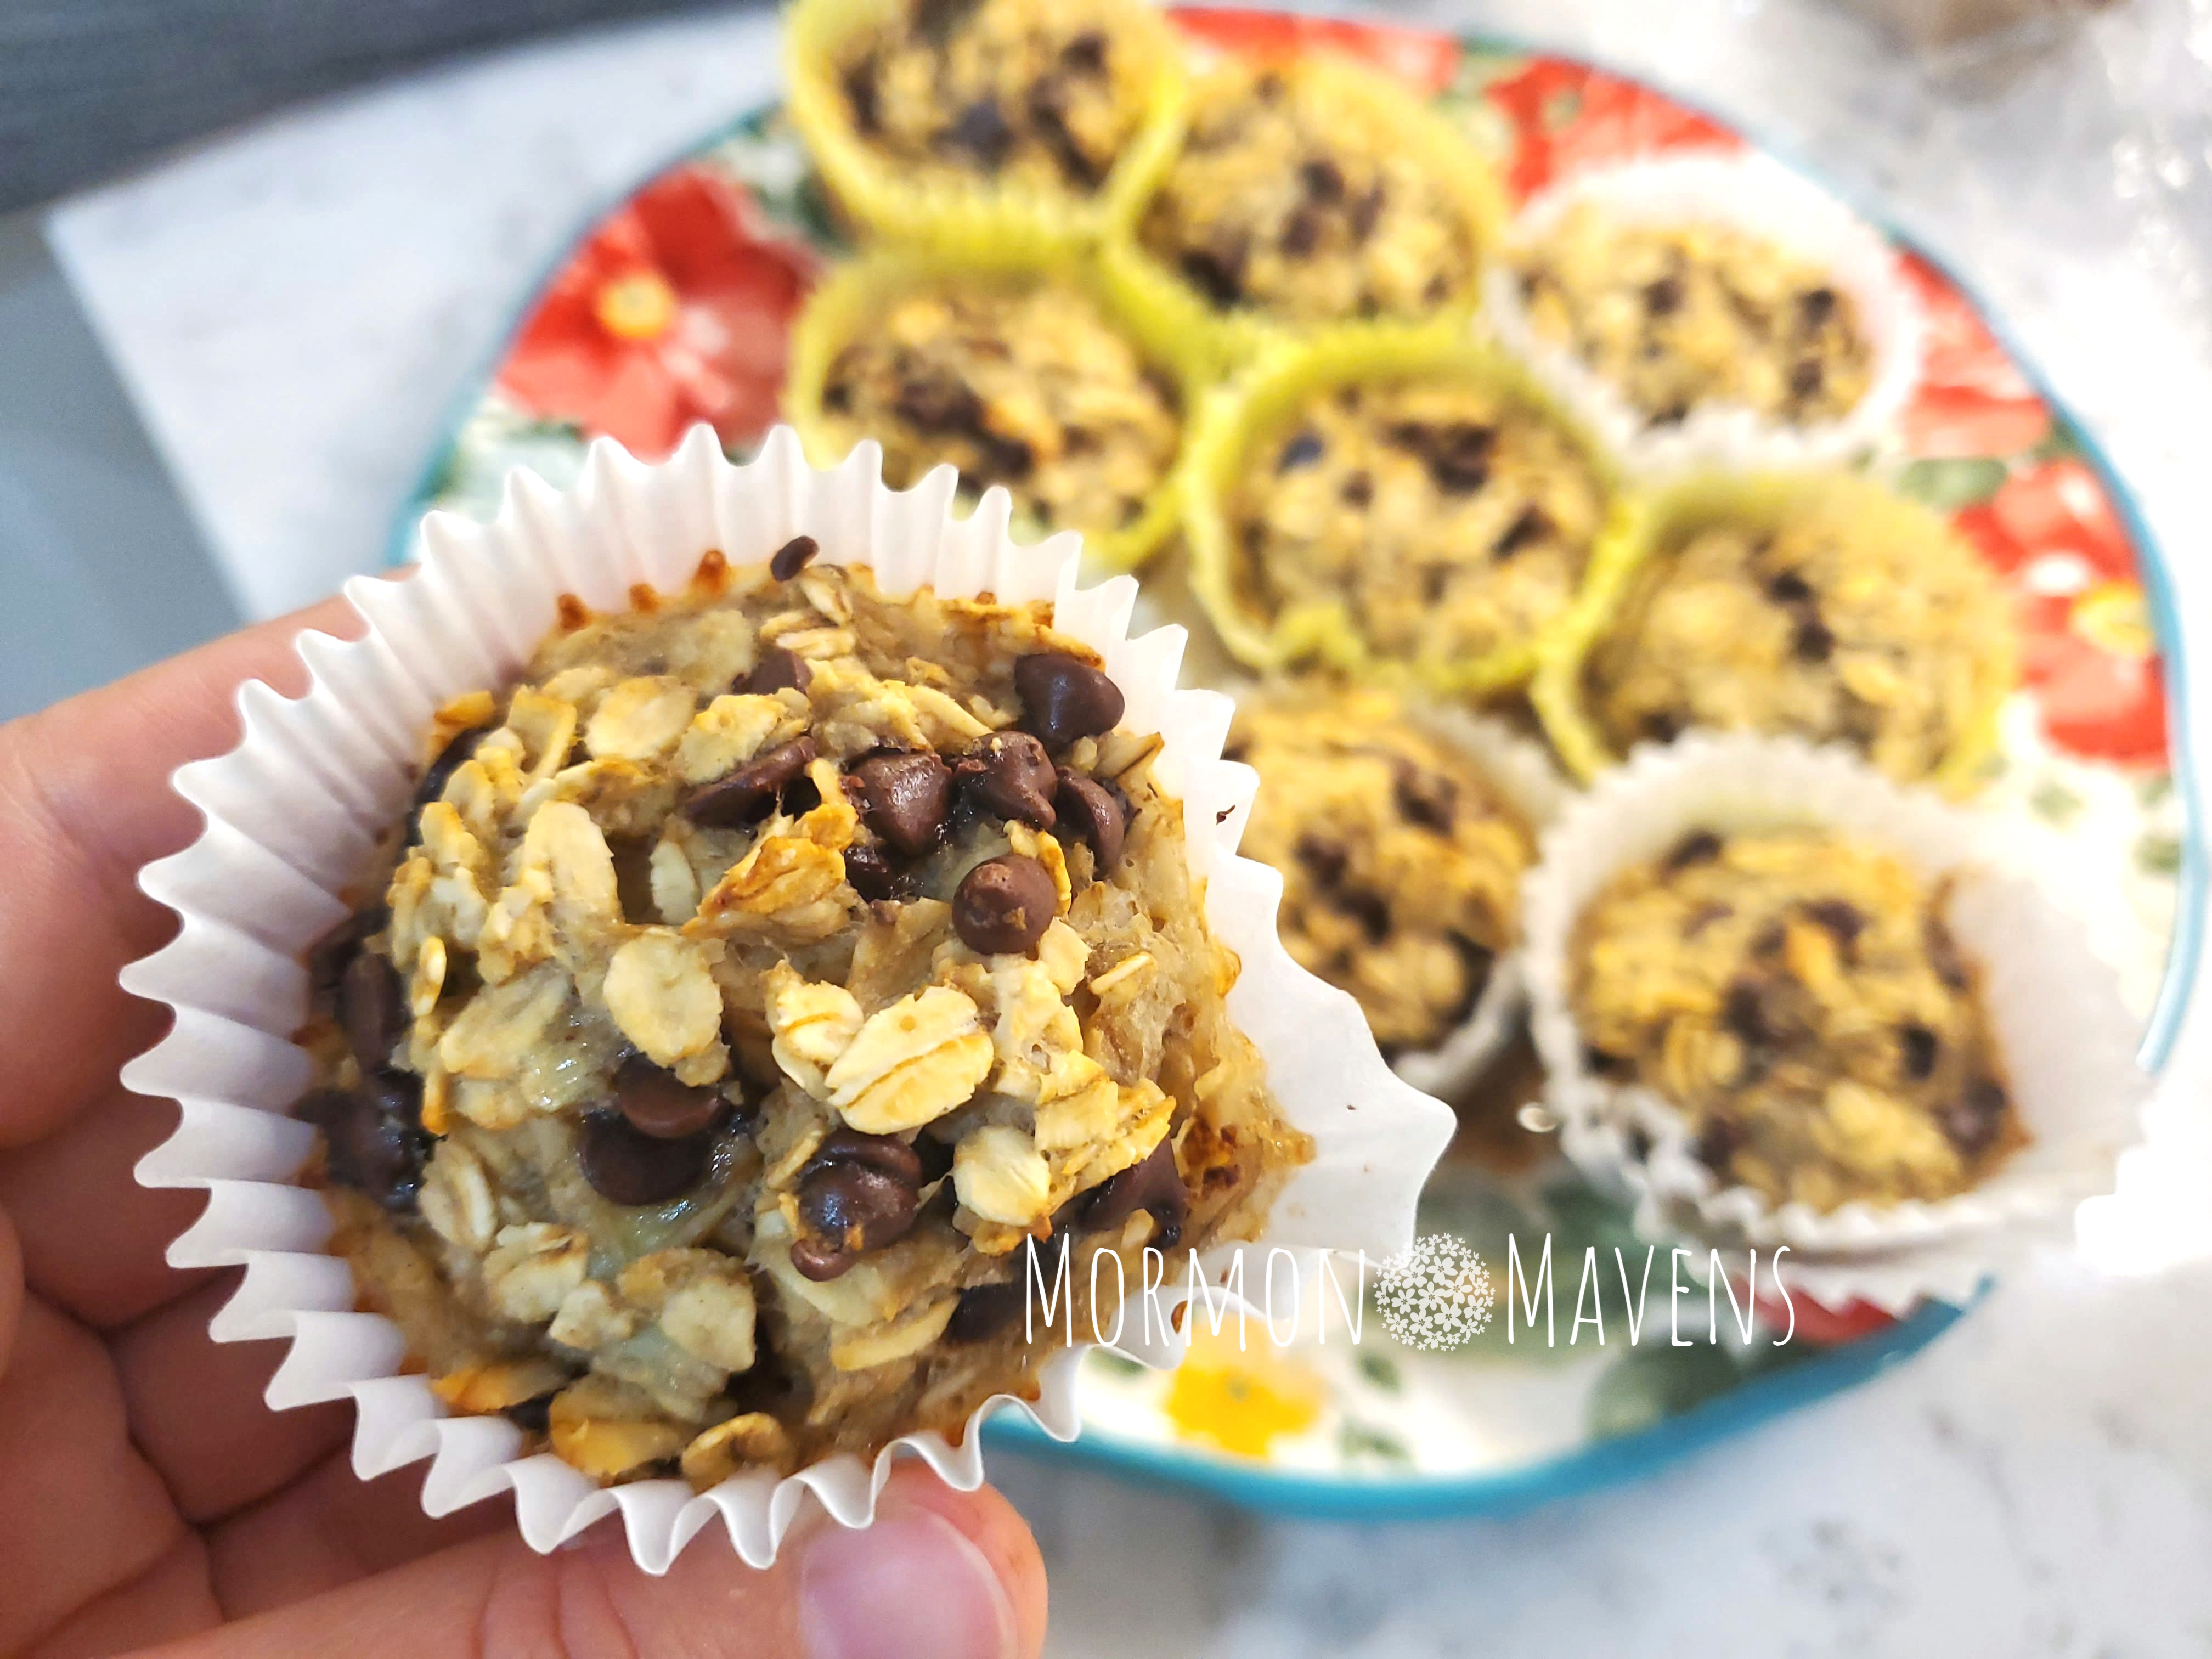
flourless banana chocolate chip oatmeal muffins

Muffins don’t have to be off-limits if you are trying to reduce your use of refined flour, as evidenced by these tasty banana-y, chocolate chip-y, oatmeal-y muffins!

This particular recipe was a big hit on our old recipe blog and was originally posted by one of our first blog contributors, Jamie.  So we thought we’d bring it back for a reappearance on this blog.

Keep in mind that this recipe is not meant to be a complete replacement for regular flour muffins.  Because there’s no flour–not even any gluten-free or alternative flours–the consistency is dense and not fluffy.  But I thought they were a great breakfast and snack option to have around, and I snacked on these frequently after making them.

Flourless Banana Chocolate Chip Oatmeal Muffins
Yields 19
Write a review
Print
Ingredients
  1. 3 very ripe bananas, mashed
  2. 1 cup almond milk
  3. 1 Tbsp. melted coconut oil
  4. 2 eggs
  5. 1 Tbsp. baking powder
  6. 3 cups oats (I used old fashioned)
  7. 1 tsp. vanilla
  8. 1 cup mini semisweet chocolate chips (or as much as desired)
Instructions
  1. Preheat your oven to 375 degrees.
  2. Mix together all the ingredients except the chocolate. Set aside for 5 minutes to allow the oats to soften a bit. Add in chocolate chips and stir to combine.
  3. Spray a muffin tin with non-stick spray or use paper liners.
  4. Use a large cookie scoop to put the batter into the muffin pan. (A level scoop made 19 muffins for me.)
  5. Bake for 20-30 minutes. If you're using paper liners, let the muffins cool for a bit or the liners will be hard to take off.
Mormon Mavens https://www.mormonmavens.com/

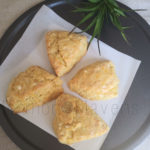
Orange Zest Scones with Maple-Orange Glaze


I am so happy to share this recipe with you today because I have finally found a way to get myself some orange, glazed scones and won’t have to drive to the next town to get them at Panera Bread!

As I was looking through my Winter 2017 Magnolia Journal, I came across this recipe and almost did a happy dance! They look so much like Panera’s. But honestly, they taste better!  And I had no idea scones would be so easy to make.

And yes.  I did say 2017.  I tore the recipe out of the magazine months later and filed it in my Meal Planning binder under RECIPES TO TRY. I have many more of those. So stay tuned.

Orange Zest Scones with Maple-Orange Glaze
Write a review
Print
Ingredients
  1. 2 c. all-purpose flour
  2. 1 1/2 t. baking powder
  3. 1/2 t. baking soda
  4. 1/2 t. salt
  5. 1 egg
  6. 3/4 c. sour cream
  7. 1/2 c. sugar
  8. 1 t. orange zest
  9. 3/4 c. butter, cut into squares & frozen
  10. 1 recipe Maple-Orange Glaze (recipe below)
Instructions
  1. Preheat oven to 400 degrees F. Line a baking sheet with parchment paper.
  2. Step 2
  3. In a large bowl stir together flour, baking powder, baking soda, and salt. In a small bowl lightly beat the egg, then whisk in sour cream until completely blended.
  4. Step 3
  5. In another small bowl combine sugar and orange zest. Use the back of a spoon to work the zest into the sugar until well mixed, then stir into flour mixture. Add butter to the flour mixture and blend using a pastry blender or your fingers to work it into a pebbly mixture. Stir in the sour cream mixture until dough starts to form a ball. Divide the dough in half.
  6. Step 4
  7. Place one half of the dough on a lightly floured surface and press out to a 6″ circle, about 1 inch thick. Cut circle into six triangles and place 1 inch apart on the baking sheet. Repeat with the second half of the dough.
  8. Step 5
  9. Bake 15 minutes or until golden. Cool on the baking sheet for 5 minutes, then transfer scones to a cooling rack. Make glaze while the scones are cooling.
Notes
  1. Maple-Orange Glaze–In a medium bowl stir together 1 3/4 c. sifted powdered sugar and 1 t. orange zest. Stir in 3 T. melted butter, 3 T. orange juice, 1 t. vanilla, and 1/2 t. pure maple syrup until smooth. Spoon over cooled scones.
Adapted from Magnolia Journal
Mormon Mavens https://www.mormonmavens.com/

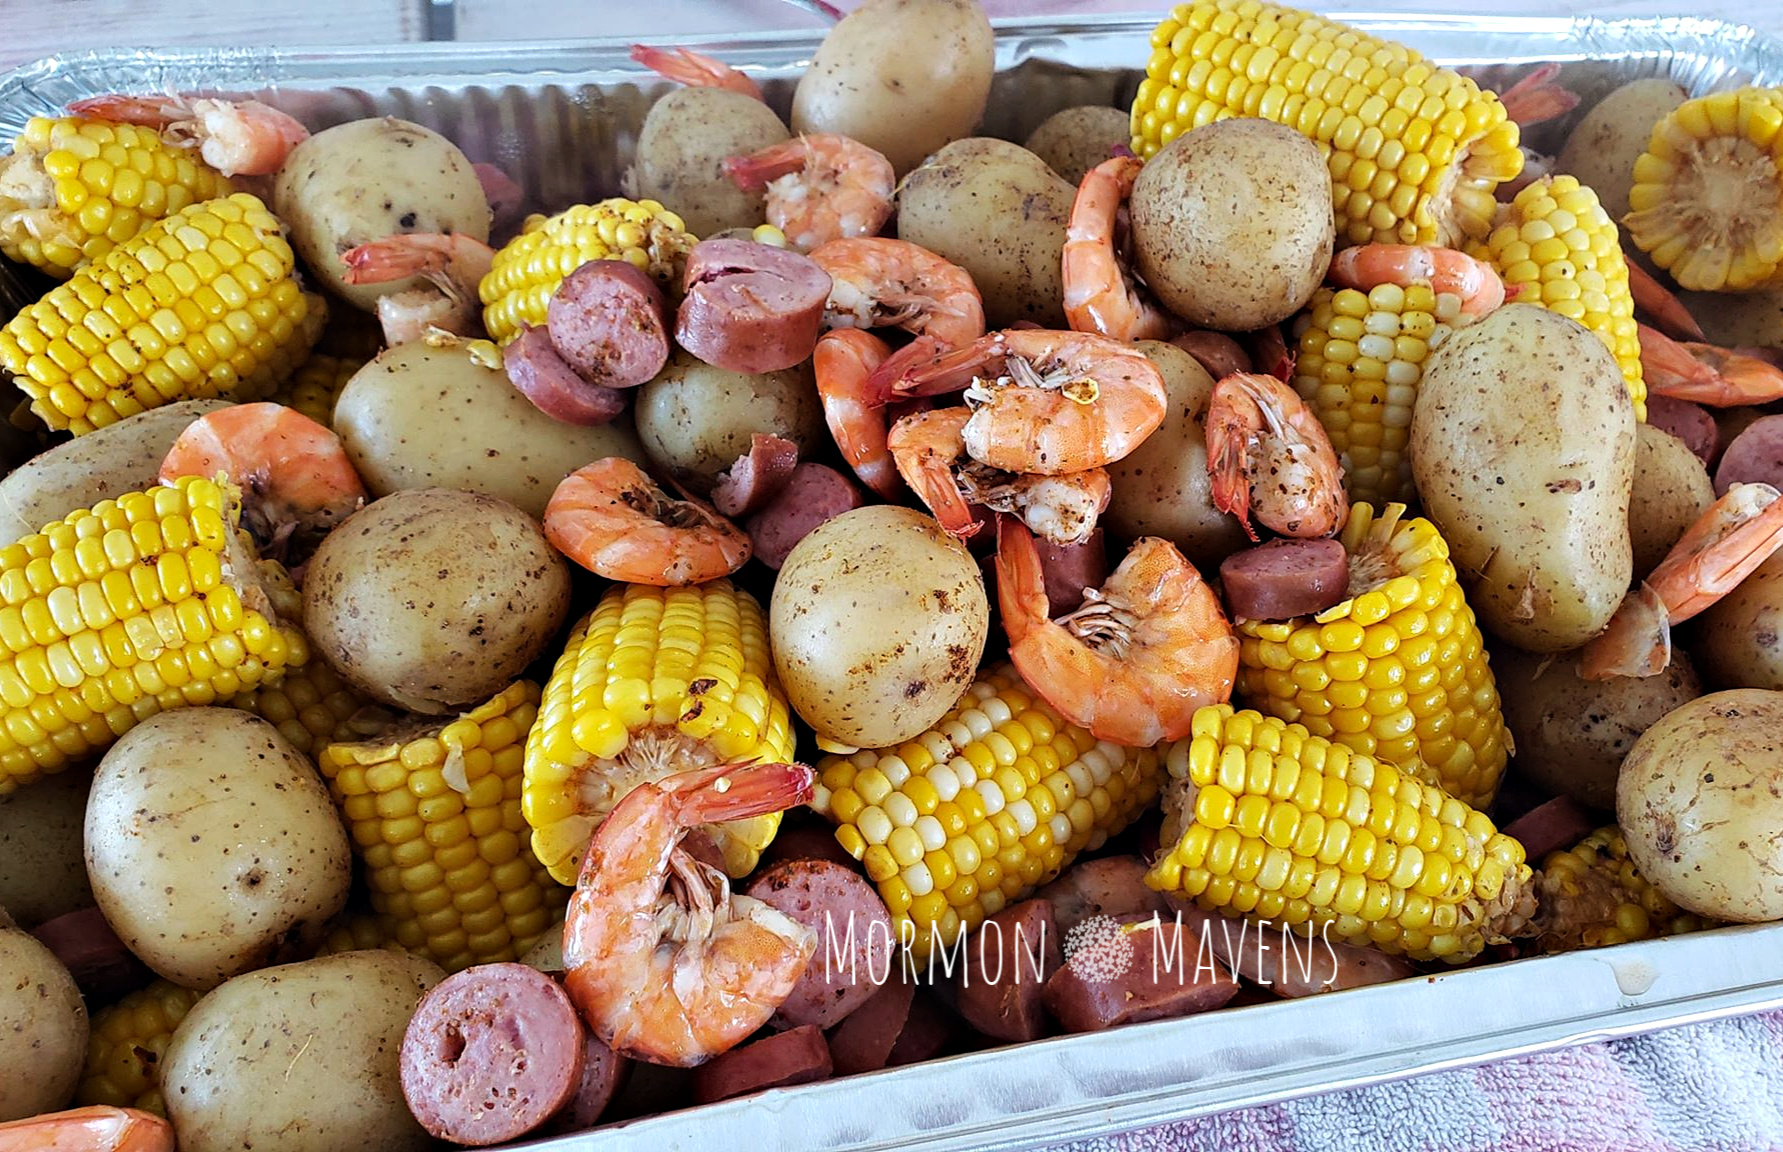
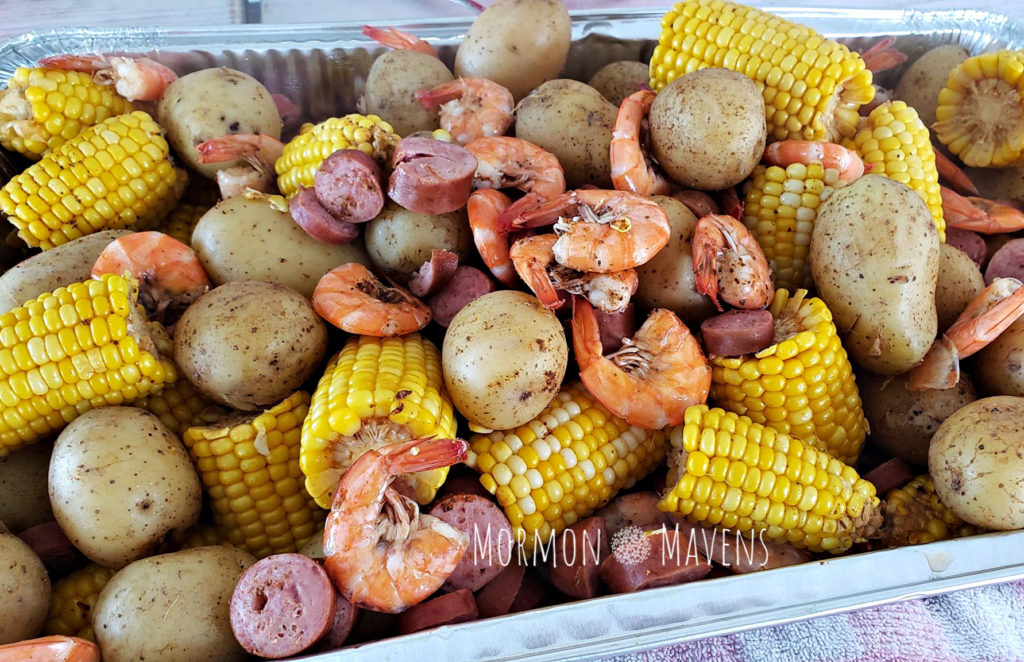
Low Country Boil

low country boilLow Country Boil has become a tradition for our family, but only if we are at the beach.  Not that we couldn’t have it at home if we wanted to, but it’s just come to be associated with beach time!  And that’s fine by me.  The more of both, the better.

Over the years we have tested and tweaked and found our family’s favorite ingredient combo, amount, and method of serving.  It suits us.  You may choose to do it differently, but that’s the beauty of the boil…..you make it your own by what you choose to put it in and how you choose to serve it.

What’s In It

Crawfish, corn, crab legs, shrimp, sausage, potatoes, etc.  There are so many variations.  But our family sticks with the fab four of shrimp, polska kielbasa, corn on the cob, and Yukon potatoes.  When you change up the ingredients just know that you will need to adjust the cooking times accordingly.  While some people add vinegar or lemons, we prefer it with just some seasoning.  But you do you!  You’ll need a big stockpot with a lid to hold all this goodness.

Draining That Thing

Once the last ingredient, the shrimp, have cooked you need to drain that thing pronto!  Overcooked shrimp are no fun to eat.  So, ideally, you would be equipped with a special pot and strainer, like this one.  But neither I nor the beach house kitchen has one of these bad boys, so we make do.  Before it’s time to drain, I get my hot pads and a bath towel ready.  And, by the way, with a heavy stockpot full of water and food, this now becomes a two person job.

I lay the towel on the edge of the sink and another person will use the bath towel to hold the bottom of it while I hold the handles and lid to drain.  That second person essentially keeps the pot from falling over and slipping and they hold the weight of it so it can be tipped over while steam envelopes the draining person and makes their hair even more frizzy than it already is with beach humidity.  But seriously, be very careful here because IT’S HOT!

How to Serve It

Die-hards may tell you it’s not an official boil unless you dump it all out onto a table covered in paper (drained first, of course!).  It’s fun that way, but messy.  I have found that my favorite way to serve it is, after it’s drained, divide it up into disposable foil pans (like I said we do this at the beach and who wants to do dishes at the beach?!).  The beach house dining room is two picnic tables placed end to end, so it’s a long dining space.  This allows everyone down the table to have access to a whole mess o’ the boil.

Serve it with melted butter and cocktail sauce (Cross & Blackwell only please….on this I simply will not budge).  I really like for everyone to have their own individual dishes for the butter and the cocktail sauce so I’ve come up with a couple of solutions on how to do this.  Again, I’m at the beach and don’t want to add to my dishwashing duties, so both ideas are disposable.

My favorite:  Use disposable foil muffin pans (the ones with 6 muffin wells).  I cut these with heavy kitchen scissors so that I have 3 sets of wells (2 wells in each).  That means each person has their own little serving container that can hold both the melted butter and the cocktail sauce.

My backup, if no pans can be found:  Occasionally I go to the beach grocery store and they don’t have the foil muffin pans so I get the disposable 1 oz. sample cups that look like this.  They are smaller than muffin pan wells, but they’ll do in a pinch.
Low Country Boil
Serves 6
Nothing says "beach vacation" like having this delicious seafood boil. Accompanied by melted butter and yummy cocktail sauce, how can you go wrong?!
Write a review
Print
Total Time
30 min
Total Time
30 min
Ingredients
  1. 2 Tbsp. salt
  2. 1/2 cup Old Bay seasoning
  3. 3 (24 oz) bags of baby Yukon potatoes
  4. 10 ears of corn, shucked and cut into smaller cobs
  5. 2 pkg. polska kielbasa, cut into 1 to 2-inch chunks (almost 2 pounds)
  6. 4 lbs. raw shrimp (in shells)
  7. melted butter
  8. cocktail sauce
Instructions
  1. In a large stockpot, combine the salt and seasoning with LOTS of water. I'd love to tell you exactly how much but I don't know honestly. I fill a large stockpot not quite half full with water. Bring this to a boil. (If you fill it too full, as I have done before, simply ladle out the excess to make room for more ingredients.)
  2. Add the potatoes and boil for 5 minutes. (Sometimes those bags of baby Yukons will have 2 sizes of potatoes....one size is sometimes twice the size of the smaller ones. If this is the case, boil the potatoes for an additional 2-3 minutes.)
  3. Add the corn cobs and boil for 5 minutes.
  4. Add the sausage and boil for 2 minutes.
  5. Add the shrimp and boil for 4 minutes or until all the shrimp have turned a nice warm pink all the way through.
  6. Drain immediately and serve. It will be super hot, so you may want to let the boil rest (on paper or in pans) for 5-10 minutes before digging in....if you can wait!!
  7. Serve with melted butter and cocktail sauce.
Mormon Mavens https://www.mormonmavens.com/

Honey-Lemon Cottage Cheese Pancakes


Be sure to make these yummy pancakes for National Pancake Day on September 26th! We have given you a week heads-up so you can go get your cottage cheese.

There are so many pancake recipes out there; which is a good thing because who doesn’t love pancakes?  How many times do you think I can say “pancakes” in this post?

I made these with a garnish of fresh strawberries and Berry Honey in place of maple syrup.

Honey-Lemon Cottage Cheese Pancakes
Serves 4
Write a review
Print
Ingredients
  1. 6 eggs, lightly beaten
  2. 1 16-oz. carton cottage cheese (we used 4% milk fat)
  3. 2 T. honey
  4. 2 T. butter, melted
  5. 2 t. vanilla
  6. 1 t. lemon zest
  7. 1 1/2 c. all-purpose flour
  8. 1 t. baking powder
  9. 1 t. baking soda
  10. 1/2 t. salt
  11. butter, maple syrup and/or berries of your choice
Instructions
  1. In a large bowl, lightly beat eggs then add cottage cheese, honey, butter, vanilla and zest. Stir to combine until just moistened (batter should be lumpy).
  2. Pour about 1/4 c. batter onto a hot, lightly greased griddle or heavy skillet. Cook over medium heat for about 2 minutes, then flip carefully when top is bubbly and edges are slightly dry. Cook another 2 minutes.
Adapted from Better Homes & Gardens magazine
Mormon Mavens https://www.mormonmavens.com/
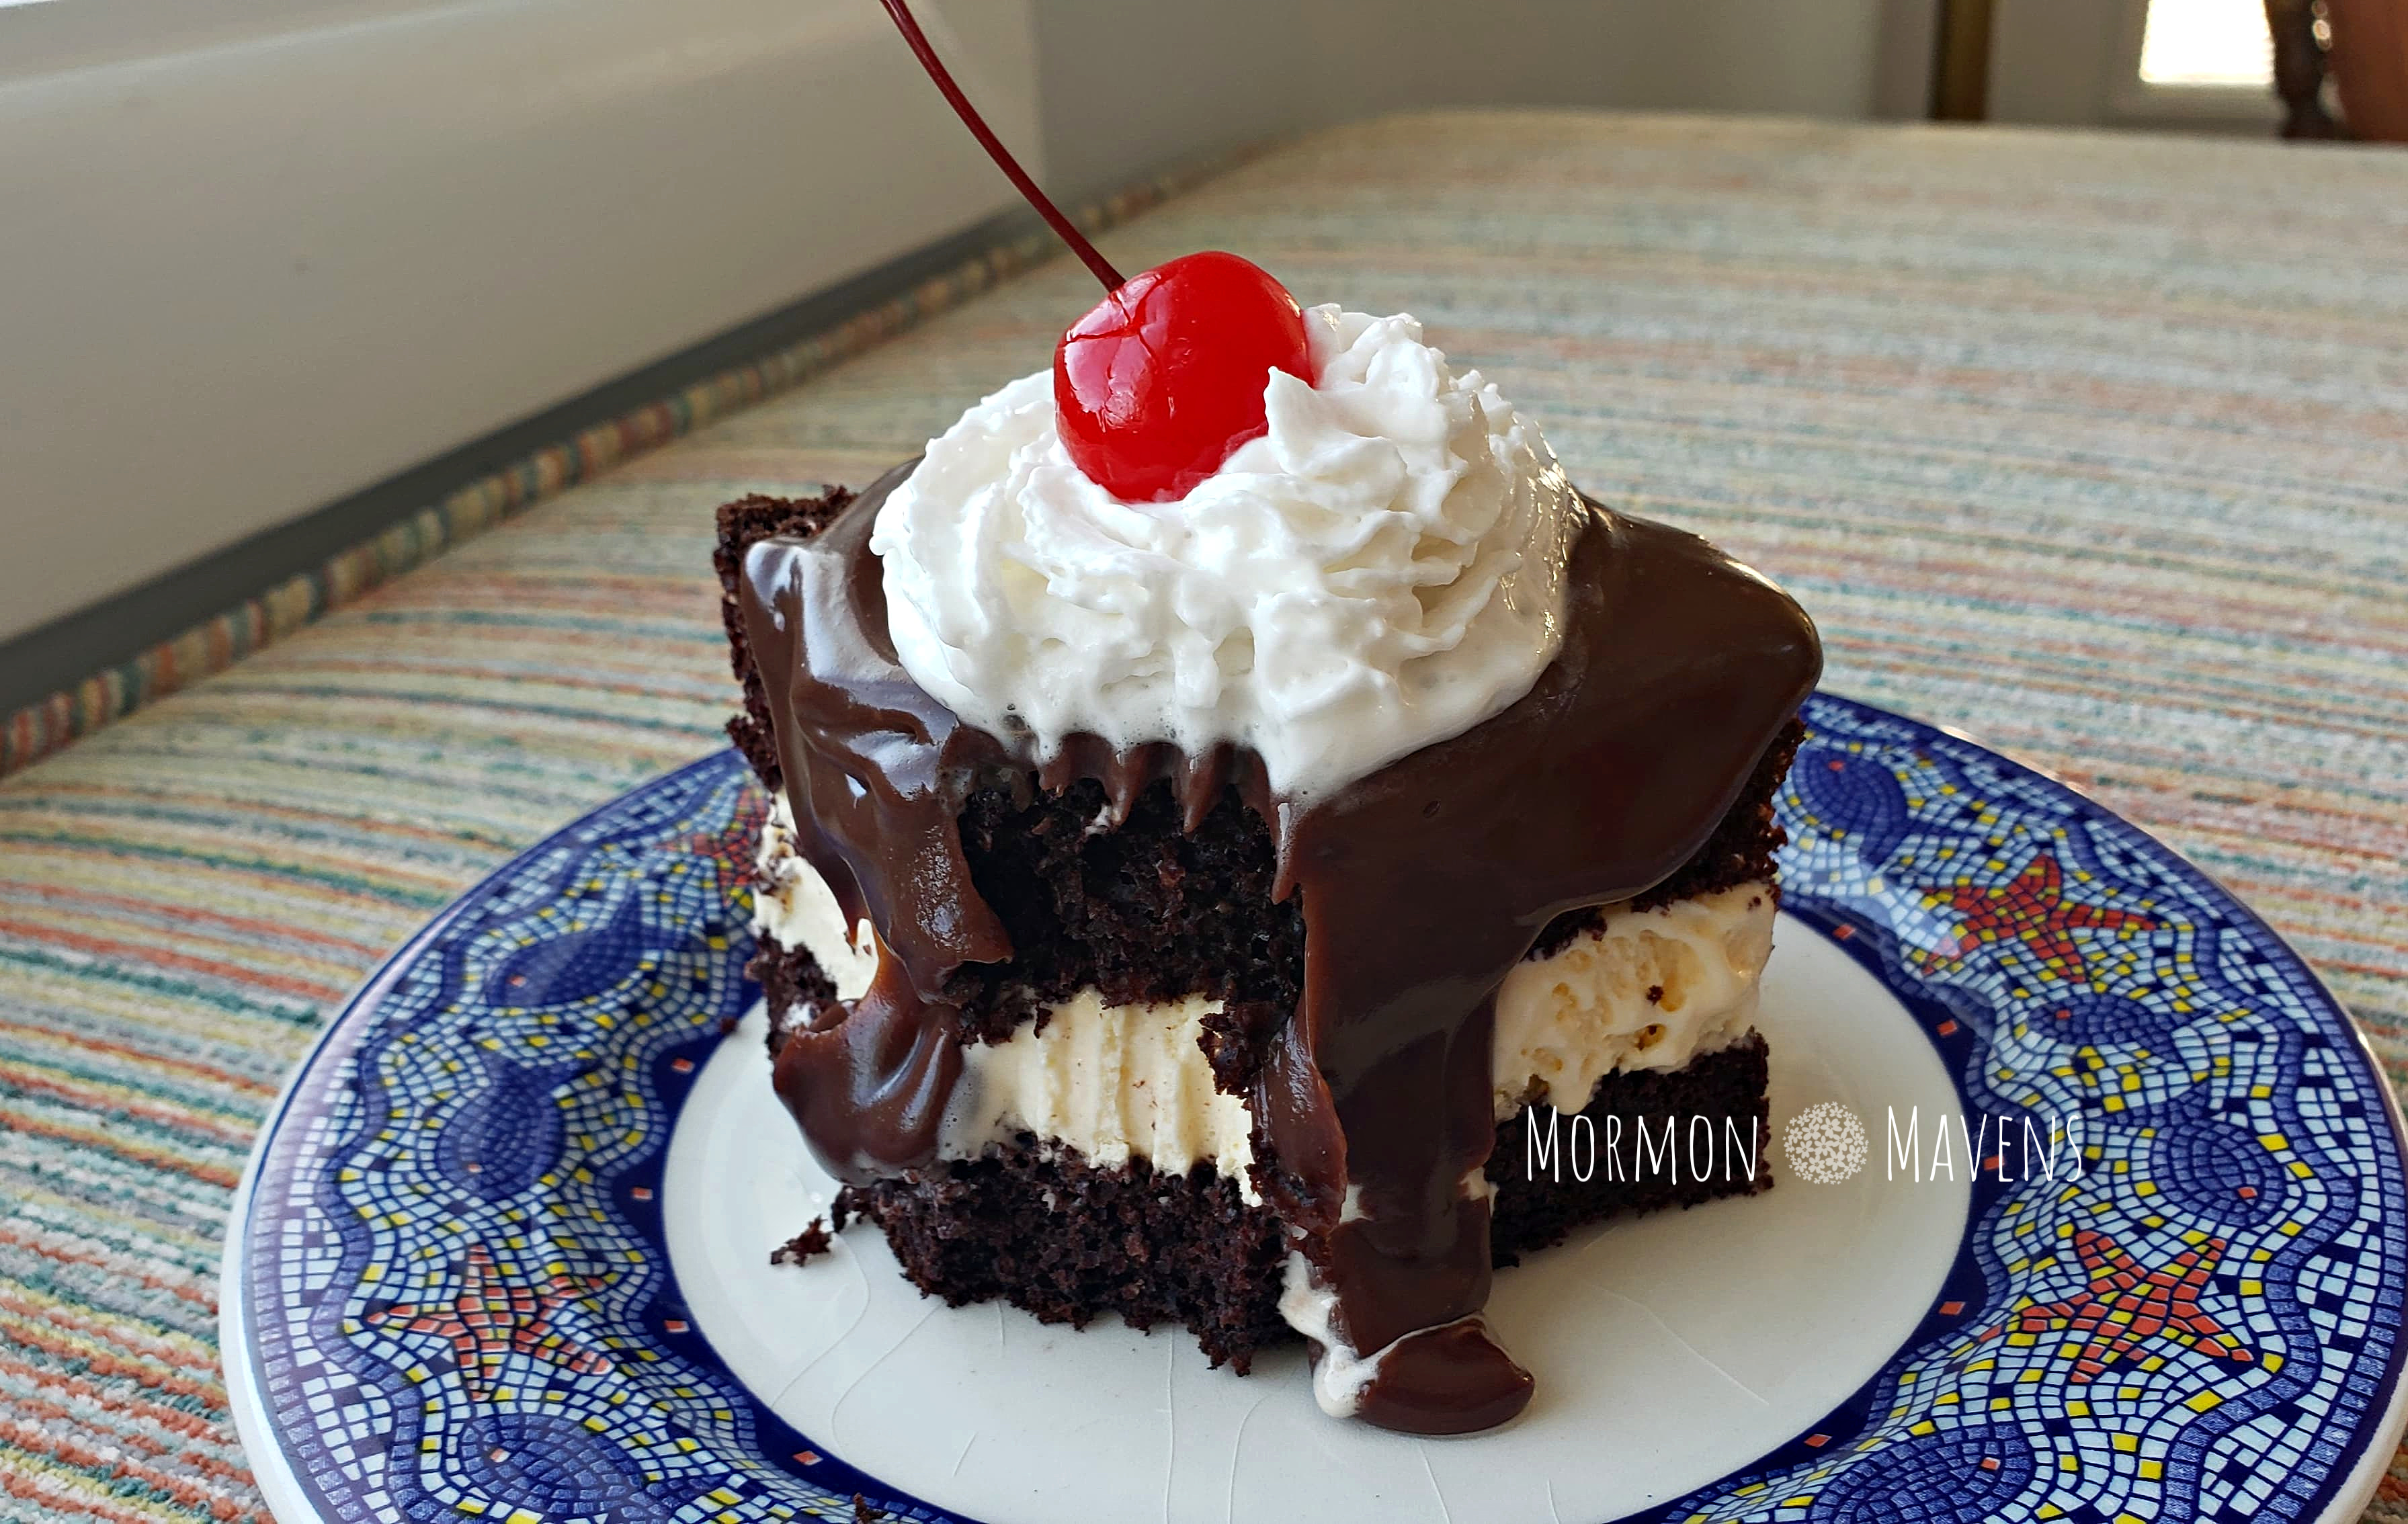
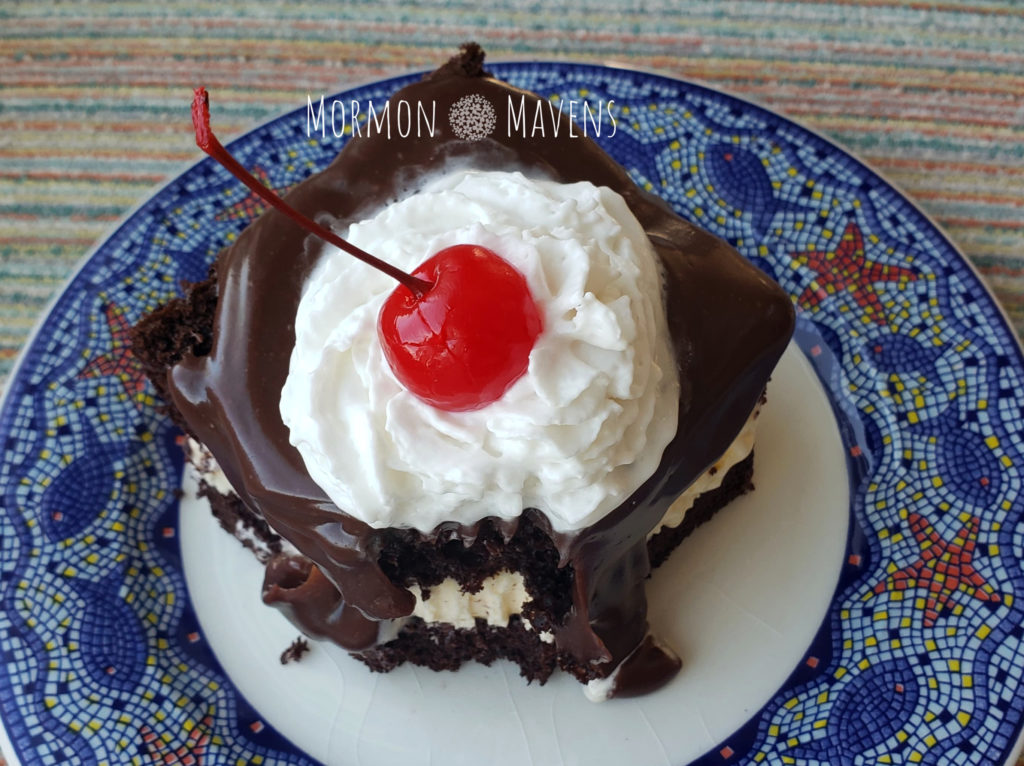
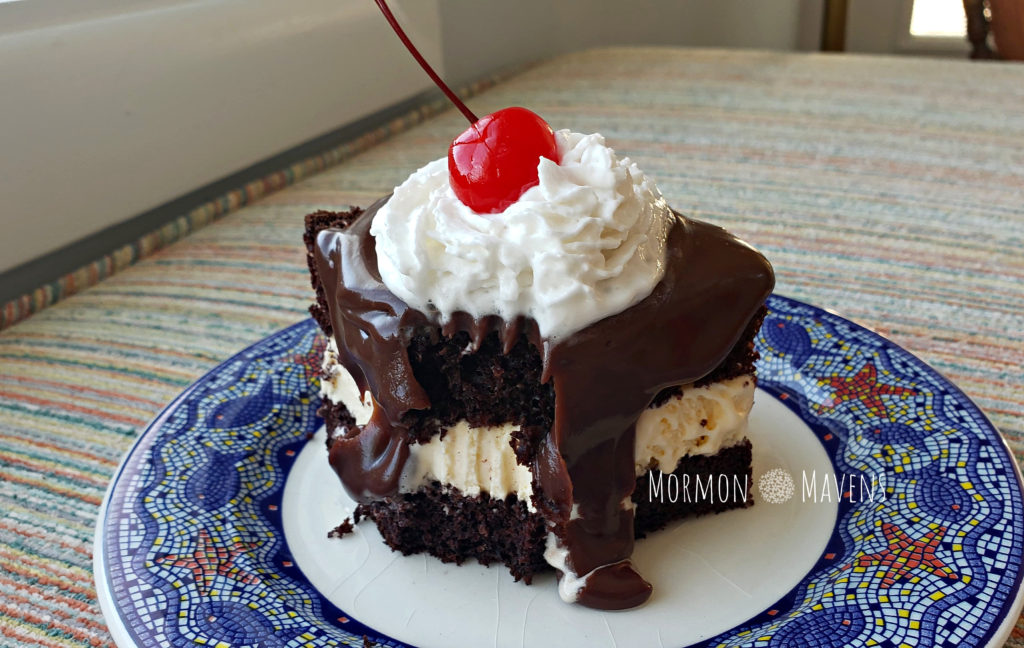
Copycat Shoney’s Hot Fudge Sundae Cake

Shoney's hot fudge sundae cake

I had actually forgotten that this yummy chocolate cake, hot fudge, and ice cream dessert existed (or that Shoney’s existed) until recently while browsing Pinterest. When I saw a picture of it, immediately recognized it without even reading the text, and was instantly overcome by a wave of nostalgia.

I used to have those all the time!

When I was eleven or twelve years old we would head to Shoney’s (you may remember it as Bob’s Big Boy) occasionally for a meal and the only thing I remember about those restaurant visits is the Hot Fudge Sundae Cake. (You may also know it as Hot Fudge Cake, Hot Fudge Ice Cream Cake, etc.)  I’m sure they had other dishes that I liked but, you know, priorities.

shoney's hot fudge sundae cake


<drool>

And since National Chocolate Day is September 23, I figured this is a great recipe to honor what should be (and in my mind, IS) its own food group….CHOCOLATE.

It’s a pretty simple recipe with few ingredients.  Just make sure that you have time to allow for baking and freezing.

Copycat Big Boy's Hot Fudge Sundae Cake
Serves 12
A delicious dessert with chocolate cake, vanilla ice cream, and chocolate sauce!
Write a review
Print
Total Time
2 hr 45 min
Total Time
2 hr 45 min
Ingredients
  1. 1 dark chocolate fudge cake mix (I used Duncan Hines)
  2. plus ingredients for the cake mix (usually eggs, vegetable oil, water)
  3. 1/2 gallon vanilla ice cream
  4. 1 cup semisweet chocolate chips
  5. 1 14-oz can sweetened condensed milk
  6. 3 Tbsp. whipping cream
  7. 1 tsp. vanilla
  8. Reddi Whip or prepared whipped cream
  9. maraschino cherries with stems
Instructions
  1. Preheat oven to 350 and line a 9x13-inch pan with heavy duty aluminum foil so that, length-wise, the foil extends over the ends of the pan (this will become "handles" later to take out the cake). Spray with nonstick cooking spray and dust with a little of the cake mix powder (or use flour if you like).
  2. Mix cake mix according to package directions. Pour into you prepared pan and bake for the length of time your cake mix suggest. For me this was 26 minutes. A toothpick inserted in the center should come out clean or with just a hint of cake crumbs on it.
  3. Cool completely for (about an hour).
  4. Carefully lift up on your foil handles and place the cake on the counter. Using a long serrated knife (like a bread knife), carefully cut into the edges of the cake to a depth of about 2-3". Do this all the way around trying to stay even. Then, insert the whole knife at one end of the cake and carefully zig zag your way through the entire cake. (Using those starting cuts should help your knife to stay in a "channel" so that you don't end up with it cut unlevel.)
  5. Lift both layers at the same time from the foil and place back into the pan. Then carefully lift out the top layer and lay on top of the foil. I found this to be the easiest way to move fragile cake layers. But you do you!
  6. Take the vanilla ice cream out of the freezer. The easiest way to slice up the ice cream is to remove it as a block from it's container onto a cutting board. Use a long knife to cut 1"-ish slabs from the ice cream. Place these slabs on the top of that bottom cake layer, laying them like puzzle pieces to fit as tightly together as possible. You may need to take some ice cream scraps and fill in any gaps.
  7. Replace the top cake layer, cover with that foil you used before, and place the whole thing in the freezer for at least an hour.
  8. When you're about ready to serve the cake, place the chocolate chips, sweetened condensed milk, and whipping cream in a saucepan and melt the mixture together over medium heat, stirring constantly. Remove from heat and whisk in the vanilla.
  9. Remove the cake from the freezer and cut into 12 portions (4 by 3....or smaller portions if you want). Remove a piece to a serving plate, top with sauce, whipped cream, and cherry and you're ready to dive in!
Mormon Mavens https://www.mormonmavens.com/