Cheesecake Berries

I had some friends over a few nights ago and wanted to try some new recipes that were collecting dust in my “Recipes to Try” Pinterest board.  I needed something simple, easy, and tasty.  BINGO!

I think this will be my new go-to treat to bring to parties and showers, or just to eat in the privacy of my closet while my children clean the kitchen.

I can dream can’t I?

Ingredients:
a carton of strawberries (there were about 20 in mine)
8 oz. cream cheese, softened
1/2 cup powdered sugar
1/2 tsp. vanilla
graham cracker crumbs (it doesn’t take much)
chocolate or vanilla melts for decor (optional)

1.  Wash the strawberries, drain completely, and dry completely.   With a pairing knife, begin coring out the middle of each berry down through the stem.  For me this was easiest while holding the pairing knife higher up on the blade with maybe and inch of blade actually exposed beyond my fingers.  Work slowly until you get a feel for it.  You want a nice, roomy area for the yummy cheesecake filling; just don’t go all the way through the berry.

2.  In a mixer blend together the cream cheese, powdered sugar, and vanilla.  Scoop this mixture into a zip-top baggie, seal the bag, and snip off one corner.  You can always snip off more if the hole’s not big enough, so be stingy with your cut.  Holding a berry in one hand, use your other hand to squeeze the cheesecake-baggy mixture into the strawberry holes, allowing the filling to come up out of the berry just a bit.
3.  After filling the berries, either sprinkle on or dunk the tops of the berries with graham cracker crumbs.
4.  Place the berries on a cooling rack with a sheet of wax paper underneath.  Melt your chocolate and drizzle over the berries.  A tip here:  don’t try to “draw” the lines onto the berry.  This will make for a sloppy job.  Just quickly go back and forth over the berry, letting some of the chocolate go past the berry on each side.  I had a lot of melted decor here so I did lines in two directions.

Refrigerate until ready to serve.  YUM!

I think next time I will:

  • double the berries and one-and-a-half the cheesecake mixture.
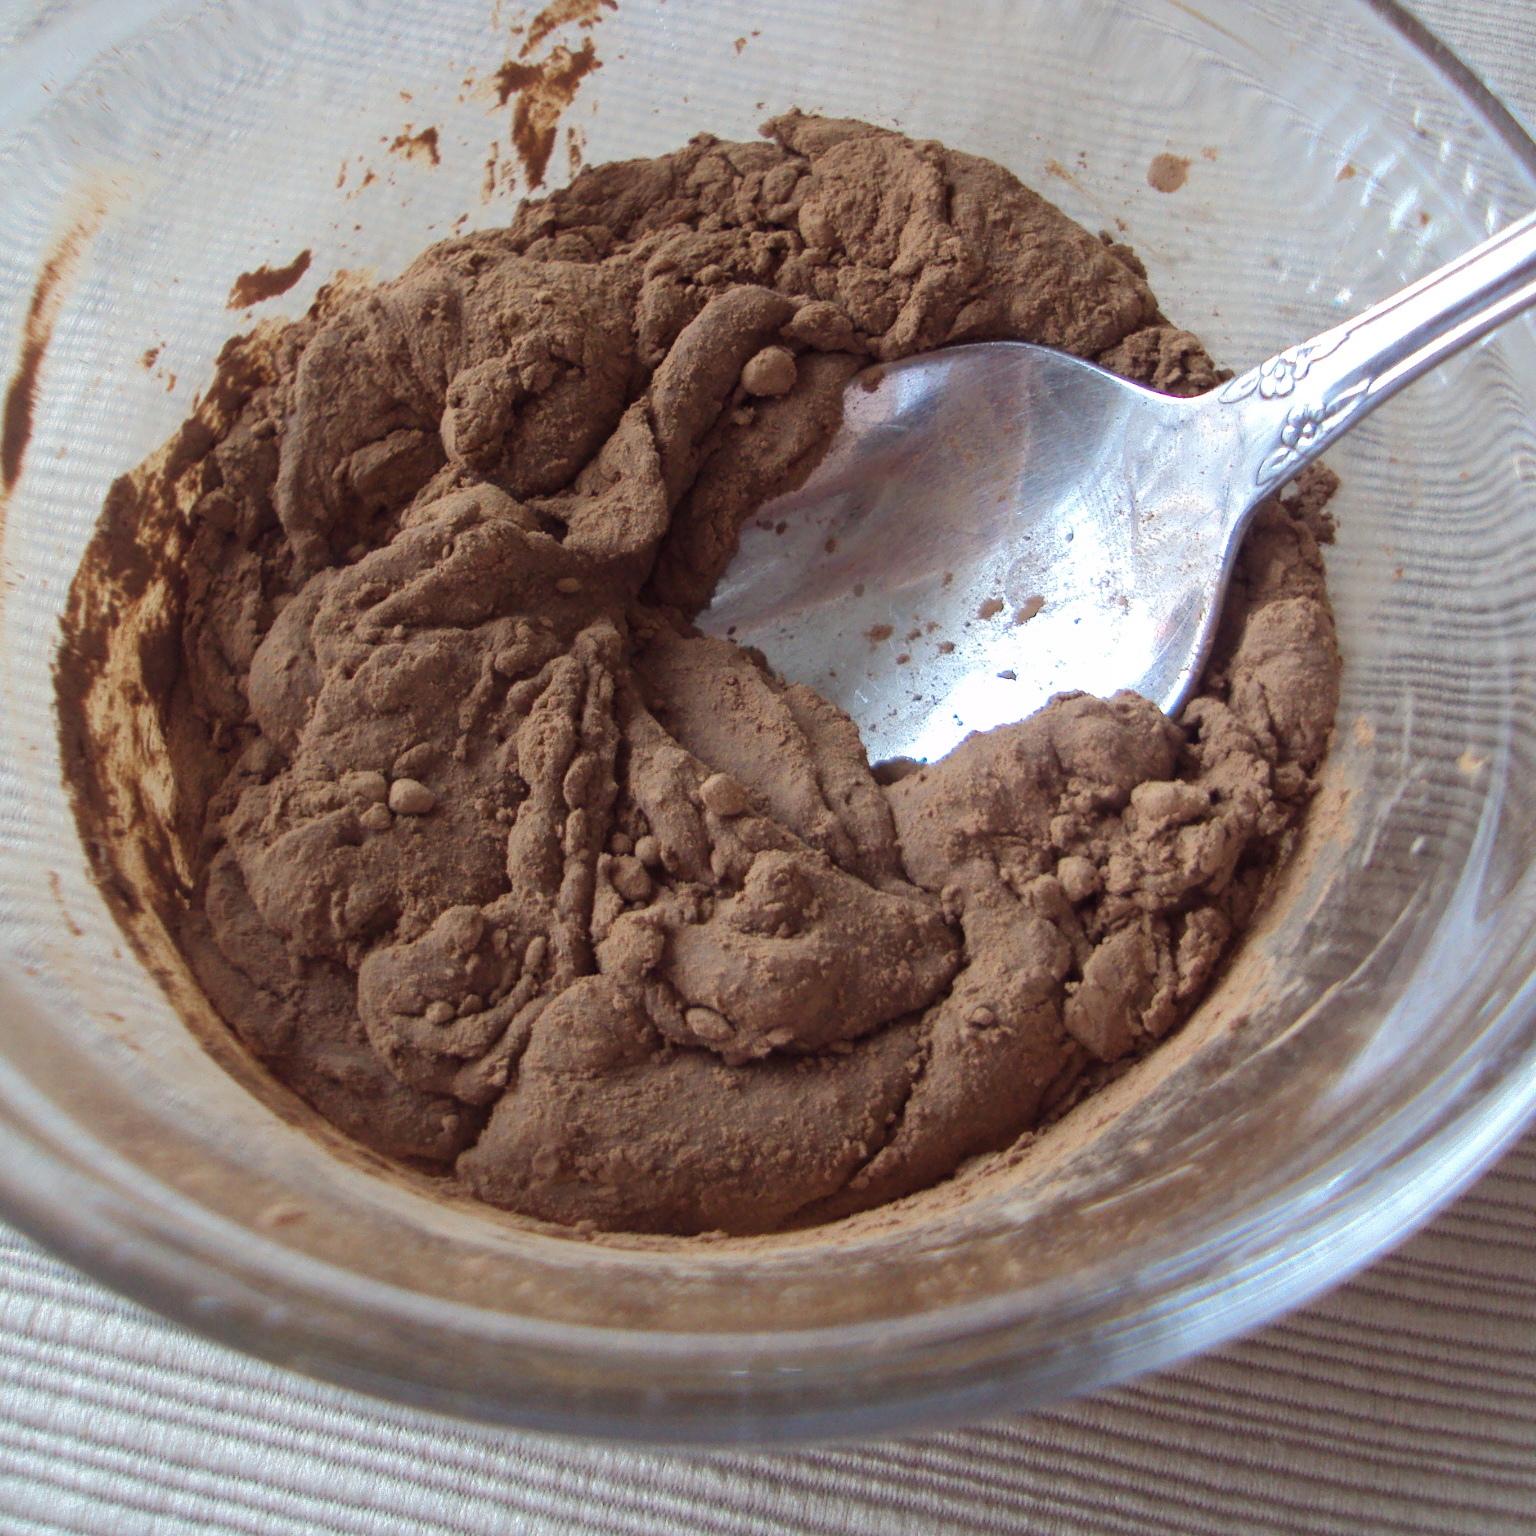
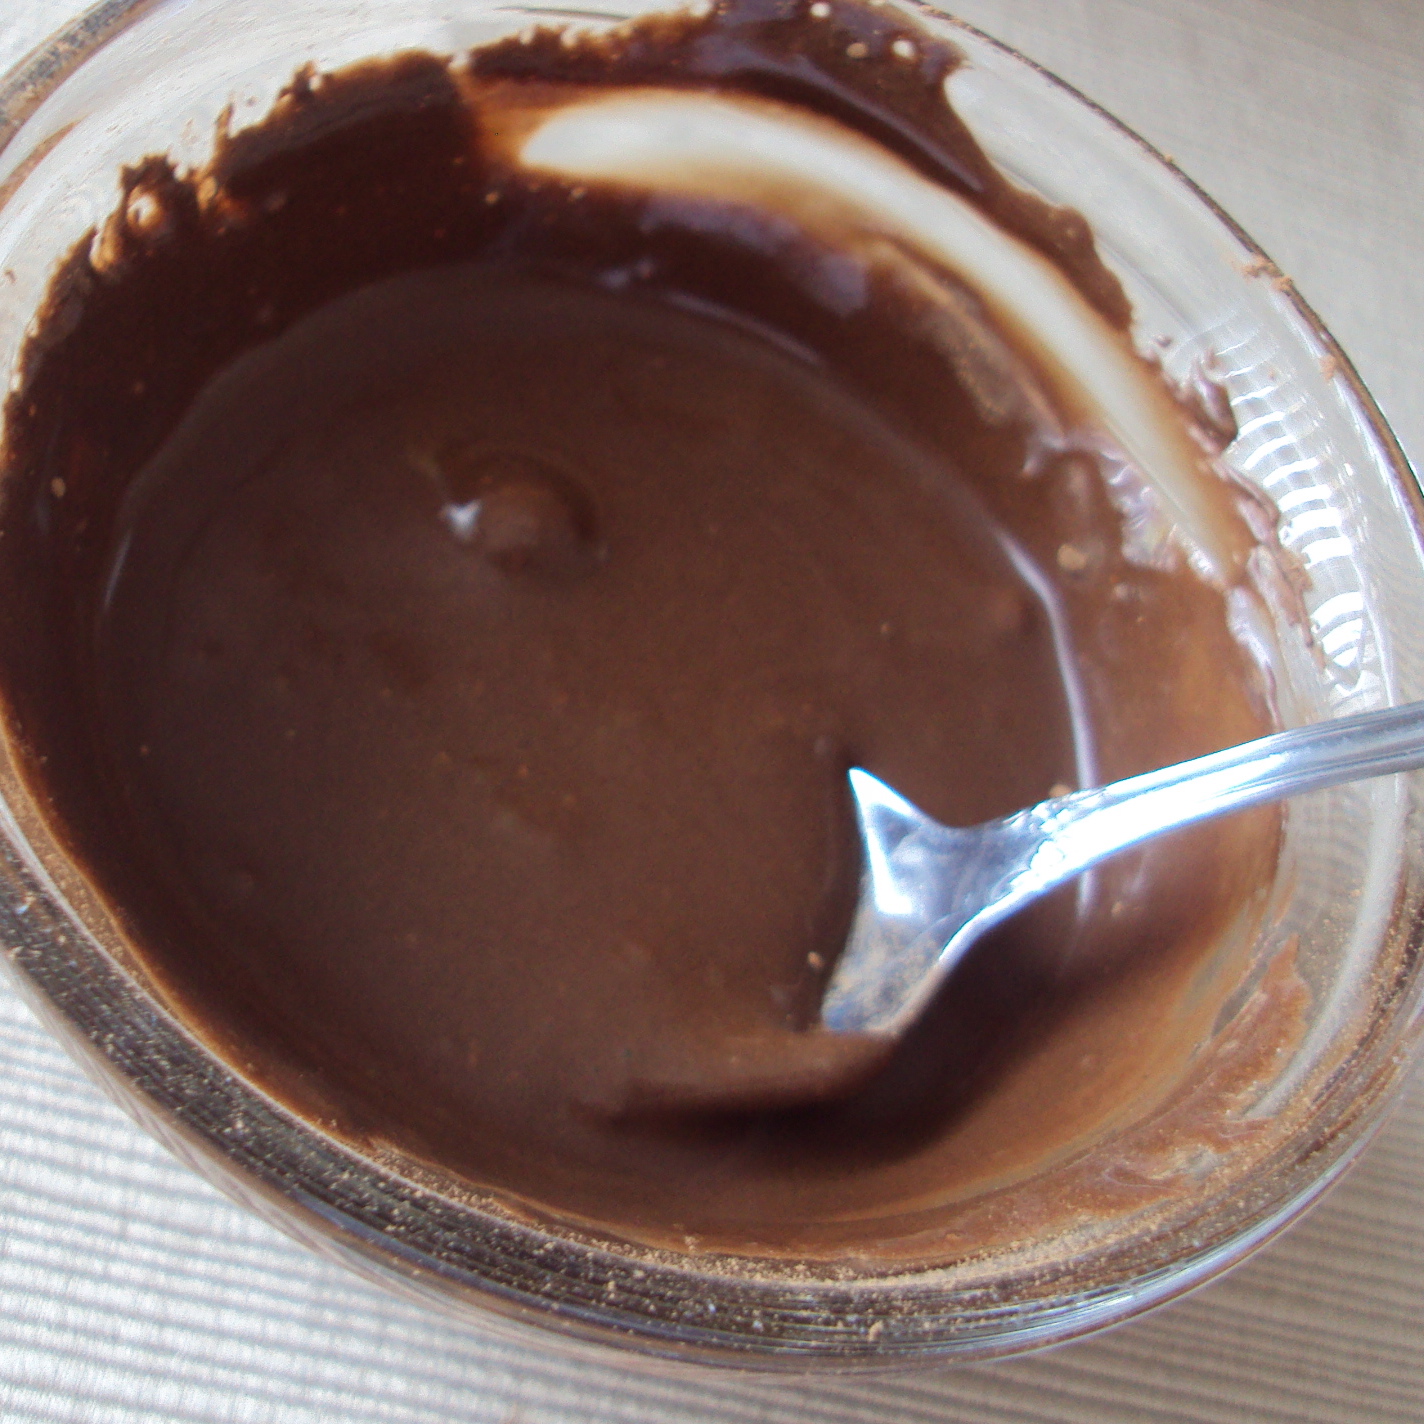
  • try a chocolate cheesecake filling.
  • not invite people over so I can have more for myself.  (Just kidding.  Sort of.)

Source:  Sugar Derby via Pinterest

Fresh Courage Take

The 24th of July is a day that members of the Latter-day Saint faith celebrate. It is called Pioneer Day. A day that we commemorate the early members of the church finishing their trek westward and settling in the Salt Lake Valley (in Utah). In church we often will sing a song titled Come, Come, Ye Saints. This is one of my very favorite hymns.


When I sing this, many things will come into my mind. I think about the pioneer heritage that I have. I think of my ancestors walking across the plains in search for religious freedom. I think of their great courage, and hope that their faith and hope are still alive in me today. I also think about how we all are pioneers in some way or another. I also think how we all have trials today, and Heavenly Father is there, waiting to help us. 

My very favorite stanza from this song is in the second verse….

 Why should we mourn or think our lot is hard?
’Tis not so; all is right.
Why should we think to earn a great reward
If we now shun the fight?
Gird up your loins; fresh courage take.
Our God will never us forsake;
And soon we’ll have this tale to tell—
All is well! All is well! 

 How often do I find myself in a woe as me attitude? I put this verse into ‘today’s language’ and apply it to my light often! Afflictions, illnesses, situations, seem to bring me down at times. Why should I morn and think my lot is hard? Why should I think that I’ll get to my goal if I don’t fight for it! (hello! baby weight that desperately needs to be lost!) So, I need to buck up and fresh courage take. Heavenly father knows me and nows my situation. He is there waiting to help. I know he will be there when I ask. So really, All is well, All is Well!

Pepper Rubbed Pork

I found this recipe for pork rub on a little sticker attached to a pork loin roast. After trying it, I just couldn’t let it go undiscovered! Great for roast or chops.

The Rub:
1/2-1tsp ground pepper (depending on how spicy you want it)
2 tsp each: dried basil, rosemary, thyme
2T Grated parmesan cheese
1/4 tsp each: garlic powder and salt

Combine all of the ingredients together in a small bowl and apply liberally to all surfaces of your pork. The first time I used the rub, it was on a pork loin roast. I had just enough to cover the whole thing.  When I made these chops, I doubled the rub recipe. It seemed there was more surface area to cover since I was working with the front and back of each piece.  Now here’s where you can choose your own adventure!


If you plan ahead and have some time before dinner:  Place the pork chops in a 9×13 dish with a splash of water in the bottom, cover tightly with foil and bake for about 3 hours at 300*. 
Now, I know some will warn you not to cook them too long for fear of drying them out.  I will say this:  If you’re foil is on tight, and your temp is not too high. They will be juicy, slow cooked chops.  The longer they bake the better, if you ask me.  They were falling to pieces!  Mmmmm!  And the flavor? WOW! 

Or, if you’re ready to get dinner on the table sooner than later:  Let the pork rest with the rub on it, preferably in the fridge, for about 10 minutes or so.  It just gives the pork juices a chance to mingle with the spices.  Then…I used my marvelous grill pan (any pan will do) to sear the flavors and juices into the pork.  About 3-5 minutes on medium heat on each side. Then another 10-12 on each side to cook through (internal temp. should read between 140-160.  I always shoot for 160).

   Enjoy!  (I know I did =)

Blueberry Lemonade

Nothing says “summer” like good old fashioned lemonade.  This one has an even healthier twist with blueberries, one of nature’s super foods.  Enjoy!

Ingredients:

1 1/2 cups fresh lemon juice (about 8 lemons)
4 cups water
4 cups blueberries
1 – 1 1/4 cups sugar (depending on your taste for sweet or tart)

Directions:

1.  Process ingredients in a blender until smooth.
2.  Pour through a wire-mesh strainer into a pitcher, discarding solids.
3.  Serve over ice.  Garnish with lemon slices, if desired.

Source:  Southern Living

Chicken Guacamole Quesadilla

I’ve been trying to come up with some new lunch ideas lately. This little ditty came to me while I was trying to clear out some leftovers. Chances are, you too have most of these ingredients in your fridge right now.
Ingredients
Flour Tortilla
Guacamole (I used a 100 calorie pack of pre-made guacamole)
Shredded Cheddar Cheese
Chicken
Bacon Bits
Butter
Directions (pretty self explanatory, but here you go!)
– Spread guacamole on one half of tortilla. Top with cheese, chicken, and bacon bits.
– Fold and lightly spread butter on the outside of the tortilla.
– Cook in skillet over medium-low heat.
– Enjoy!

Apple Cider Syrup

I guess this is one of those recipes that you don’t usually find until the fall, HOWEVER, we LOVE pumpkin. Pumpkin cookies, pumpkin pancakes, pumpkin waffles, pumpkin seeds, pumpkin heads…that’s what my granddad used to call us kids when we were young.

This syrup is the perfect combination for pancakes and waffles. It is Celestial Kingdom food–trust me.

Ingredients:
1/2 Cup Sugar
1 Tbsp Cornstarch
1 tsp Cinnamon
1 Cup Apple Cider
1 Tbsp Lemon Juice
2 Tbsp Butter

1. In a medium sauce pan, stir together Sugar, Cornstarch, and Cinnamon.
2. Add Apple Cider and Lemon Juice. Stir until well combined.
3. Cook over Medium Heat until it comes to a boil. Boil until thick enough to coat a spoon.
4. Remove from heat and stir in butter.

Serve warm.

Source: Uh…somewhere on allrecipes.com, I’m sure

~Kara

Cherry Cheese Pie

This is so yummy! Have you ever had a serving of cheesecake with cherry topping and wished there were more cherries!?  Well, this is the pie for you! Most of the time the cheesecake is too much for me, but this has just the right amount.  AND, its way healthier than a regular cheesecake. (At least that’s what I told myself while eating practically the whole thing. Shh…don’t judge.) By the way, the crust on this pie is delicious!

3/4 c a.p. flour
3 TBSP. sugar
1/4 tsp. salt
1/4 c. butter, softened
1 can (21 oz) cherry pie filling
1 pkg. (8 oz) cream cheese, softened
1/3 c. sugar
1 egg
1 tsp vanilla extract

The CRUST!
Combine the first three ingredients into a bowl and add in the softened butter. Stir until combined well.  Press onto the bottom of a 9″ pie plate…also, go up the sides of the pie plate with the crust.  You will have to press it pretty thin to have enough to spread up the sides, but don’t worry, it will be great! Bake the pie crust at 350 degrees for 10-12 min. or until lightly browned. (I baked mine for about 15 min. But, don’t brown too much, you still have more baking to do.) After removing the crust from the oven, pour in the pie filling and set aside.

The Cheesecake part!
In a mixing bowl, beat the cream cheese, sugar, egg and vanilla until smooth. Pour the mixture over the cherries and spread carefully. Bake for 30-35 min. or until its beginning to brown around the edges. Cool on a wire rack. Refrigerate for several hours before serving!

Recipe  adapted from Taste of Home

Gooey S’mores Bars

I love S’mores.

(That’s “smores” not “shmores” if my husband is listening, ahem!)

But really….I mean, it’s hotter ‘n heck right now and I am not about to go build a campfire so I can indulge in some gooey chocolate, marshmallow madness.

(That’s “-mallow” not “-mellow” if the misspelling world is listening.  Your You’re welcome.)

Enter:  this easy and satisfying recipe via Pinterest that seduced me with its siren song.  I knew when I bought the two giant Hershey bars for it that this was going to be love.  Real heart-pumping, jaw-dropping, artery-clogging love.

If you ask me, this recipe has “Family Night Treat” written all over it.  Enjoy!

Ingredients:
1/2 cup butter, softened
1/4 cup brown sugar
1/2 cup sugar
1 egg
1 tsp. vanilla extract
1 1/3 cups flour
3/4 cup graham cracker crumbs
1 tsp. baking powder
1/4 tsp. salt
2 (4.4 oz) Hershey bars
1 (7 oz) jar marshmallow creme

1.  Preheat oven to 350 and grease an 8″ square baking pan.
2.  In a large bowl, cream together the butter and sugars until well-combined.  Add in the egg and vanilla and mix until well-blended.
3.  In a small bowl, whisk together the flour, graham cracker crumbs, baking powder, and salt.  Add this to the butter mixture, mixing on low speed until combined.

4.  Take half of this mixture and press it evenly into the baking pan.  Add the chocolate bars on top (they just fit side by side in my pan).

Spoon the marshmallow creme out on top of the chocolate; gently and evenly spread the marshmallow creme over the chocolate.

Make square-ish patties out of the remaining dough and piece together on top of the creme (I did this in four patties and it worked just fine).

5.  Bake for 30-35 minutes, or until golden brown.  Cool completely at room temperature (or all the gooey wonderfulness will ooze out of the bars and we don’t want that, do we?).

Makes 16 bars

Source:  Lovin’ from the Oven via Pinterest

Strawberry Lemonade Cupcakes

These little babies will add a kick to any party this summer! They are tangy, sweet, and (let’s just face it) SUPER cute! The best part is, they really do taste like strawberry lemonade! I frosted them with a lemon mousse buttercream, but you could also change it up a bit and try a strawberry frosting.

Strawberry Lemonade Cupcakes

4 T. unsalted butter, at room temperature
1 C. all-purpose flour
1/2 C. buttermilk
1/4 tsp. baking soda
2 egg yolks, at room temperature
1 tsp. pure vanilla extract
3/4 C. plus 1 T. sugar
1/4 tsp. salt
1 tsp. Instant Pink Lemonade Mix (like Crystal Lite or Country Time)
3 or 4 large, fresh strawberries, diced to 1/4″ pieces

1-Preheat the oven to 350 degrees F and line 10 muffin cups with baking liners and set aside.

2-Cream butter, sugar, and lemonade mix together. Add vanilla, soda, salt, and egg yolks. Mix in buttermilk. Gradually add the flour.

3-Clean berries, remove stem. With a sharp knife, slice dice the berries into 1/4″ pieces, being careful not to crush the berries. If the berries are crushed or mushy there will be too much moisture and your cupcakes will not bake properly.

4-Fill each cup with about a Tablespoon of batter. Then place 4 or 5 pieces of fresh strawberry in the middle of the batter (try to to get them on the edges, it will leave a gap in your cupcake when baked). Then add more batter per cup filling each to about 2/3 full.

5-Bake at 350 degrees F. for about 20 minutes or until a toothpick comes out clean.

*If baking mini-cupcakes (as shown in the photo) line 24 mini-muffin cups with liners. Use only 2 or 3 strawberry pieces in the middle, and bake for about 15 minutes.

Source: Thanks to Michelle from www.bigblackdogs.net for creating this awesome cupcake!!!!

Lemon Mousse Buttercream


First, you need to make a lemon curd:

1/3 C. granulated sugar
1 egg
1/3 C. fresh lemon juice
zest of 1 lemon
2 T. plus 2 tsp. butter, melted

1-In a microwave-safe bowl, whisk together the sugar and eggs until smooth. Stir in lemon juice, zest, and butter.

2- Cook for 1 minute intervals on high, stirring after each minute until the mixture is thick enough to coat the back of a metal spoon. (it usually takes about 3 minutes for me)

3- Cover the curd with cling wrap placed directly on the surface of the curd and refrigerate until set. (When I need it fast I put it in the freezer for like 15 or 20 min).

Buttercream Frosting:

1 pound bag of powdered sugar
1/2 C. milk
1/8 to 1/4 tsp. salt
1/2 tsp. pure vanilla extract
2 sticks butter, cut into 1/2 in. slices
1/2 C. shortening

1-using a whisk attachment on your electric mixer, mix the pwd. sugar, salt, vanilla and milk a low speed until smooth.  Add butter, one slice at a time, until incorporated.

2-Add shortening and whip at highest speed about 10 minutes or until volume increases by 50%.

When the curd is set and buttercream mixed, fold the lemon curd into the buttercream with a spatula until incorporated.

“Healthy” Chocolate Sauce

A few weeks ago my husband came out of the kitchen sporting the evil scientist laugh.  “MWAHAHAHAHA!” What had he created now? Healthy chocolate sauce!  I realize this may not be a new concept to the world (according to Google), but do you think my husband would research recipes online? …I don’t think so.  He did this all-by-him-self.

Get this: It’s easy  
2 parts Cocoa Powder
3 parts Agave Nectar 
Mix the parts together…
keep mixing…keep mixing…that’s right, you’re getting there. 
And finally! The Agave bursts through and you have a lovely sauce.  
If this is too “dark” for your taste, just add more Agave.

How do you use it?
Chocolate Milk
Add a dash of salt a splash of vanilla for Hot Chocolate
Drizzle on pancakes, cakes, cookies, pies brownies, etc…
What will you use it for?  Please leave comments. I would LOVE to know!
If Agave Nectar is new to you. Check out some really interesting info HERE about it.  Long story short: It’s better for you than sugar in almost any form.