Fresh Blueberry Cobbler


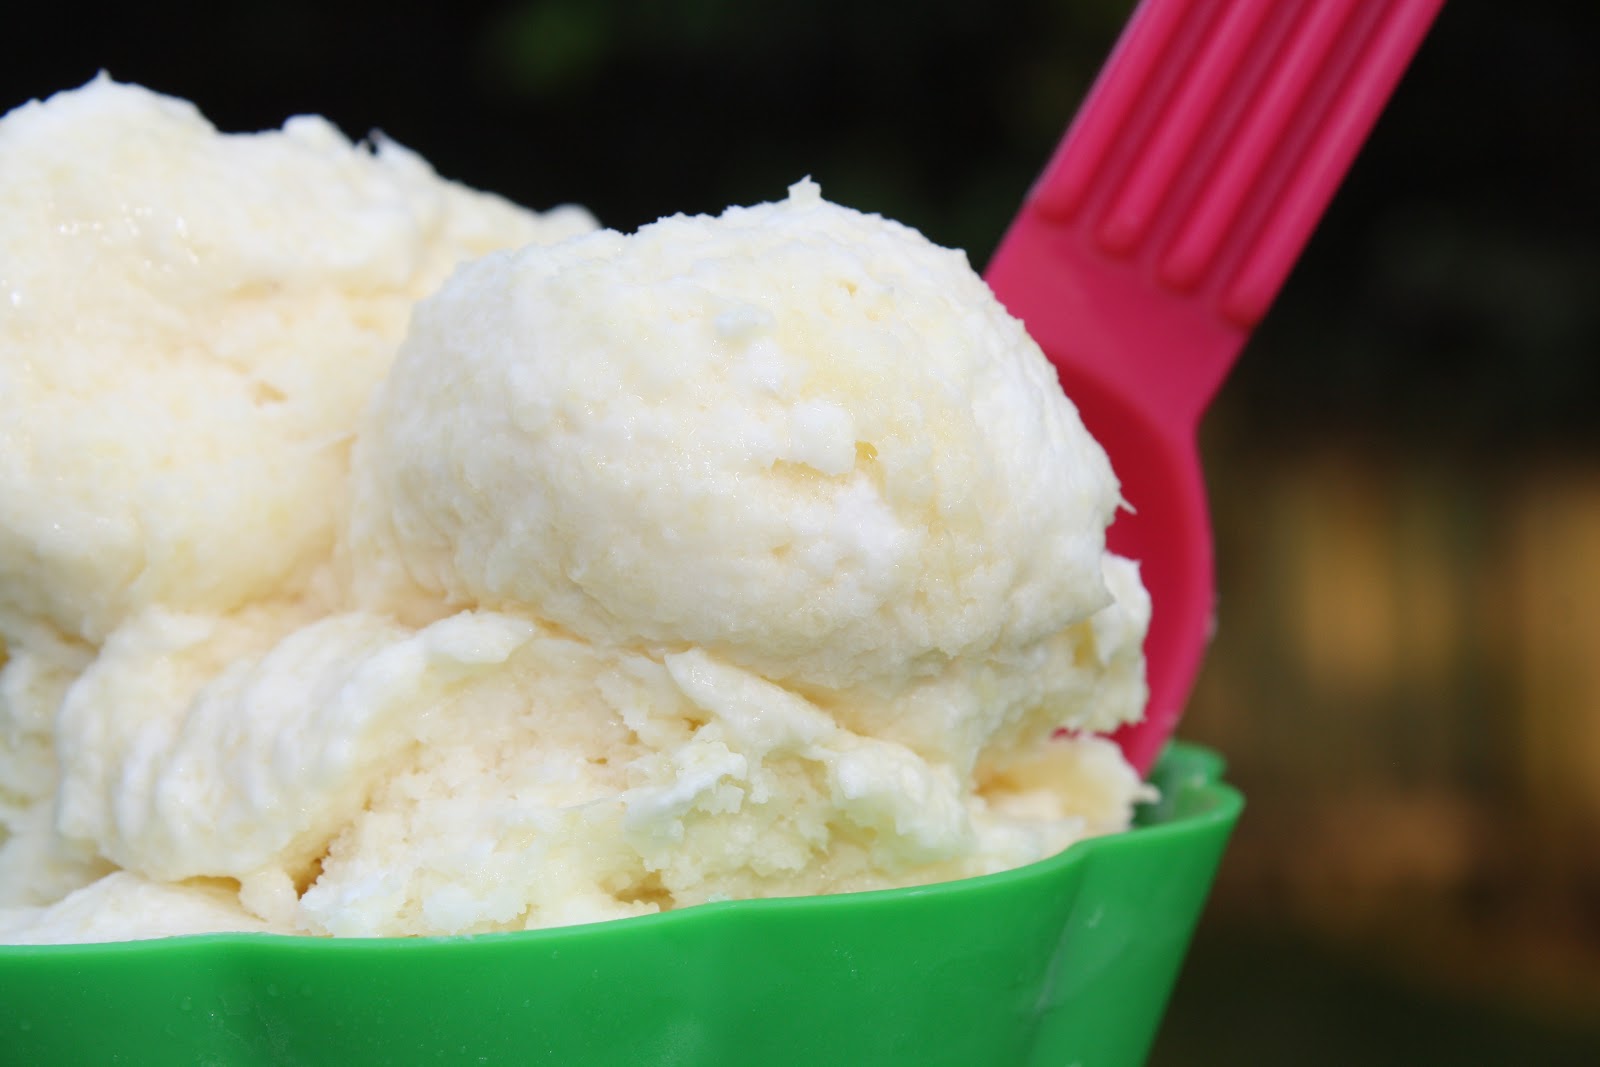
So, somebody brought home two pints of fresh blueberries and that means I had to make something with them quick before they went all mushy.  You know the story.  Anyway, I pulled out a few cookbooks and, since it was 10:00 in the p.m., there was no time to be really creative.  Enter my trusty Betty Crocker Cookbook–you know, the orange one, circa…I have no idea, because I lost the title page with all that good info on it.  But I can always find a recipe in there when I have an ingredient and don’t have a clue what to make with it.  Hope you enjoy this cobbler.  We did…with a scoop of vanilla ice cream–can’t believe I had that in the freezer!

Ingredients:
1/2 cup sugar
1 tablespoon cornstarch
4 cups fresh blueberries (or 2 1/2 cups because some of mine got eaten first)
1 teaspoon lemon juice
3 tablespoons shortening
1 cup all-purpose flour
1 tablespoon sugar
1 1/2 teaspoons baking powder
1/2 teaspoon salt
1/2 cup milk


1.  Heat oven to 400 degrees F.  Mix 1/2 cup sugar and the cornstarch in a 2-quart saucepan.  Stir in blueberries and lemon juice.  I added about 1/4 to 1/2 cup water because it needed a little more juice.  Cook, stirring constantly, until mixture thickens and boils. Boil and stir 1 minute.


2.  Pour mixture into ungreased 2-quart casserole; keep blueberry mixture hot in oven.

3. Cut shortening into the flour, 1 tablespoon sugar, the baking powder and the salt until mixture resembles fine crumbs.  Stir in milk.

4. Drop flour mixture by 6 spoonfuls onto hot blueberry mixture.

5. Bake until topping is golden brown, 25-30 minutes.  Serve warm.  Makes 6 servings.


Source:  Betty Crocker’s Cookbook, New and Revised Edition

Brownie/Cookie Cups

This is a quick, convenient fix that satisfies youth and adults.  Nothing wrong with a little convenience!

Ingredients:

brownie mix (family size)
2 pkg. refrigerated cookie dough (the kind that is scored)
24 snack size Reese’s cups

Directions:

1.  Preheat oven to 350.
2.  Push 1.5 squares of break-apart refrigerated cookie dough into the bottom of each section of a muffin
     tin.
3.  Place 1 Reese’s cup upside down on top of cookie dough.
4.  Top with prepared brownie mix, filling 3/4 full.
5.  Bake for 18 minutes.

Notes:  Obviously you could half this recipe.  Next time, I think I would opt to use homemade cookie dough.  I loved using the square baking mold as opposed to the traditional round muffin tin.

Source: www.stockpilingmoms.com

Simple Chicken Parm

This is a great recipe that will be ready in 30 minutes. It’s simple and low in calories… just the way I like it!!

Simple Chicken Parm


6 small boneless skinless chicken breast halves (around 1lb to 1.5lbs.)
2 egg whites, lightly beaten
1 cup Italian-style bread crumbs
1 Jar of your favorite spaghetti sauce
Shredded Mozzarella Cheese
1/4 cup KRAFT Grated Parmesan Cheese
spaghetti, cooked, drained

– Heat oven to 400ºF.
– Dip chicken in egg whites, then in bread crumbs. Make sure to coat the whole chicken.
– Place in 13×9-inch pan lined with foil and sprayed with cooking spray.
– Bake for 20 to 25 min. or until chicken is done (165ºF).
– Top with sauce and cheeses.
– Bake 5 min. or until mozzarella is melted.
– To serve, place chicken on top of a bed of spaghetti! Enjoy!

(Source)

Mango Salsa

Fresh homemade salsa in the summer? YES, PLEASE! How can you resist those veggies?? (fruit…if we are technical.)

Oh. My. Goodness.

Ingredients:
8-10 Medium sized garden tomatoes
1 Red Onion
3 Mangos*
0 – 3 Jalapeno peppers
Fresh Cilantro, chopped, to taste
1 Tbsp Salt (or to taste)

1. Chop your tomatoes and onion up. Mix them in a Large bowl.
2. Dice your mangos and add them to the mixture. Here is a great video on how to dice a mango. We learned the checkerboard method when we lived in the Caribbean.


3. Deseed (or not) your Jalapenos and dice them up. I used three Medium sized jalapenos, got every seed out of each one, and our salsa wasn’t hot at all. But if you’ve ever experienced jalapenos–you can’t bank on them. 🙂 I use surgical gloves to deseed and I don’t take the gloves off until I’m finished handling the pepper, because only an idiot would cut up jalapenos, wash her hands and then harmlessly scratch an itch by her eye, right? The burning sensation is harmless. (Oy! Can you hear the sarcasm drip??)
4. Using scissors, cut the leaves of fresh cilantro and add them to the mix. We really love cilantro so we put in quite a bit–maybe 1/3 of a bunch.
5. Stir in the salt to taste and serve with your favorite chips!

HAPPY SUMMER!

Source: An Original from watching many people make many different types of salsa.


~Kara

Pineapple Creams

Pineapple is one of my favorite things to eat.  I love this fruit!  Fresh, out of the can, the juice, icecream, pineapple cake, dried slices,…etc.  I love anything pineapple.  One of my fondest memories is going to the Dole Pineapple Plantation on the island of Oahu with my husband and eating pineapple icecream while standing in the pineapple field.  That was some yummy stuff!  I came across a pineapple icecream recipe on pinterest (that the creator had concocted while trying to copy a dessert she had tasted at Disney World.   Well, I have never had one of those particular desserts, but like I said, I love pineapple.  So, I decided to try it.  It is really good!  Its not very sweet, but just enough.  I froze it first as the original recipe suggested and then I froze it overnight.   I like it both ways! But, I think I like it better when its softer.  This is really yummy! Enjoy!

2 -20 oz cans crushed pineapple with juice
2 TBSP Lemon juice
2 TBSP Lime juice
1/3 cup white granulated sugar (I think I would like to add a bit more next time)
1 and 1/2 cups of heavy whipping cream, whipped
Drain the pineapple, and reserve the liquid. Set aside, adding 2 TBSP of this pineapple juice into a blender, or food processor. (I used my Ninja!) Into the blender add drained pineapple, lemon juice, lime juice, sugar and 2 TBSP pineapple juice. Mix until smooth.  Pour into ziplock bags so it can lay flat and freeze quickly.  Whip the cream and refrigerate until needed.  When its slushy (about 1 hour and 45 min for me) pour into the whipped cream and gently stir until its all incorporated.  Freeze again in ziplock bags or container of your choice…for at least an hour. It will be the consistency of homemade icecream.  Its really yummy!

Banana Pops

When I was a kid my mom used to make a version of these as an occasional treat for me.  I make them now with just a couple of slight changes, but they are still just as tasty.

Ingredients:
bananas
creamy peanut butter
Nutella
wheat germ
popsicle sticks

1.  Peel bananas, then slice in the middle to make 2 equal sections.  Carefully insert a popsicle stick into the cut end of each banana half.  Place on cookie sheet lined with wax paper and place in freezer for 30 minutes.
2.  While bananas are freezing, melt peanut butter for about 15-20 seconds in a microwave-safe bowl.  Add Nutella and stir well to combine; set aside.  Pour wheat germ onto a small plate and set aside.
3.  Remove bananas from freezer.  “Frost” each banana with the PB/Nutella mixture.  Roll the frosted banana gently in the wheat germ and place back on wax paper.  Repeat with each banana pop.  Return pops to freezer until ready to serve.
4.  Remove from freezer for 10-15 minutes before eating (to allow bananas to soften a bit).

Notes:

  • Amounts:  I end up using about 1 Tbsp. peanut butter, 1/2 Tbsp. Nutella, and 1/2 Tbsp. wheat germ per banana pop.
  • You can use just peanut butter or just Nutella.  You could also try different nut butters like almond or cashew.
  • You can roll the frosted banana in nuts, coconut, sprinkles, anything you want.
  • It may not necessarily be a “lite” recipe, but it’s better for you than an ice cream binge!
Source:  adapted from my mom

BBQ Pulled Pork Sandwiches

Ingredients:

1 3 pound pork roast (if frozen, thaw before prepping)
2 tablespoons olive oil
Montreal Steak Seasoning (or your favorite steak seasoning)
3-4 cups Root Beer, Dr. Pepper or Coke
1 1/2-2 cups Sweet Baby Rays BBQ sauce
6-8 rolls for serving

1.  Season your pork roast generously with the steak seasoning.  Be sure to massage the spices into your roast really well!
2.  Heat 2 tablespoons of olive oil in a large skillet and sear all sides of the roast.
3.  Pierce roast a couple of times with a fork and place in a large crock pot.
4.  Pour soda over your meat, cover and cook on low for about 7 hours; or until meat shreds easily with a fork.
5.  Remove roast from crock pot and shred with two forks.  Put shredded meat back into the soda juices, cover and cook for 1 more hour.
6.  Drain juices from crock pot and pour in BBQ sauce.  Mix well, cover and cook for 30 minutes or until BBQ sauce is heated through.
7.  Serve pulled pork on yummy rolls and enjoy!  You could also add a handful of cole slaw to each sandwich for texture!

Source:  Jamie Cooks It Up!

Crock Pot Pineapple Baked Beans

This recipe is sassy, sweet and sour (not to mention super easy and quick).
Ingredients:
1 lb. bacon, diced
1 onion, diced
1 green pepper, diced
2 (31 oz.) cans pork and beans
1 (20 oz.) can crushed pineapple, drained
1 cup brown sugar
1 (16 oz.) bottle ketchup
6 T. Worcestershire sauce
Directions:
1.  In a large skillet, cook bacon until halfway cooked.
2.  Add onion and green pepper.
3.  Contiue to cook until bacon is crisp and onion and green pepper are softened.  Drain.
4.  In a 3 qt. crock pot, blend together pork and beans, pineapple, brown sugar, ketchup, and   Worcestershire sauce.
5.  Add bacon mixture to beans and stir to combine.  Cook on low for 3 hours.
Serves 12.
Source:  Real Mom Kitchen, Keepin’ It Real In The Kitchen by Laura Powell

Enjoy-Your-Food-Storage Chicken Salad

Do you ever wonder if something truly good can be made from your food storage? Like, so good that if you didn’t know it was from food storage you never would have guessed it? Well, the answer is yes. This chicken salad was made at a Shelf Reliance party featuring their Thrive products and it was soo tasty! You don’t even have to worry about cooking the chicken if you have Thrive’s freeze-dried chicken…

Ingredients:
1 1/4 C freeze-dried chopped chicken
1/2 C freeze-dried celery
1/3 C dehydrated minced onion
3 C water
1/2 C mayonnaise
salt and pepper to taste

1. Combine chicken, celery, onion, and water in a saucepan over high heat. Bring to a boil and reduce heat to low; simmer until the mixture is rehydrated. (This should take about 10 minutes.)

2. Pour mixture into a colander and allow to drain for another 10 minutes, then cool in the refrigerator.

3. Combine the cooled chicken mixture with the mayonnaise. Season with salt and pepper to taste. Enjoy atop crackers or as part of a sandwich–whatever tickles your fancy!

Source: Lightly adapted from the Thrive Cookbook–Food That Fits Your Lifestyle (The only adaptation was the onion because we didn’t have Thrive’s freeze-dried onion.)

Special thanks to my mom, Anna, for her help with this post. 🙂

Mind the Gap

Image from Microsoft Office Clip Art

Several years back, our parents took us four girls on a trip to Great Britain.  It was a good trip and so interesting!  I loved soaking in local culture and learning new words and phrases.  One of my favorites was “mind the gap.”  This was an important phrase when riding the Tube (subway in London).  There is a gap between the train and the platform and you definitely do not want to step there!  You are probably wondering why I would name this post Mind The Gap.  Well last night my husband and daughter and I were having a discussion as we knelt for family prayer.  He was talking about the gap between where we are and where we think we should be.  Ladies, you know where I am going with this.  We all compare ourselves to others, thinking that we will never measure up and that we will never make it back to live with our Heavenly Father.  And you know where that discouragement comes from–the Adversary who wants to use that gap to his advantage.  However, Christ, with His infinite Atonement takes care of that gap and if we let the Atonement work in our lives the way it’s meant to, we can accept where we are and know that as long as we are keeping the commandments, living the gospel to the best of our ability, then that gap is bridged by our Savior.  He is minding the gap for us.
Have a wonderful Sabbath. Enjoy your church meetings and your families.