My Best Brownies

I’ve been in search of a great brownie recipe for years.  A few of them made the cut, but none satisfied my yearning when it came to texture.  I don’t know why, but for some reason nothing beats the texture of a store-bought brownie mix.  Okay, maybe you don’t agree, but I love them there mixes!

Recently, I decided that even though my brownie search had left me jaded and disillusioned (drama queen?  I don’t know what you’re talking about), I would open up my heart to yet another brownie recipe.

And this time….wait for it….I found LOVE!

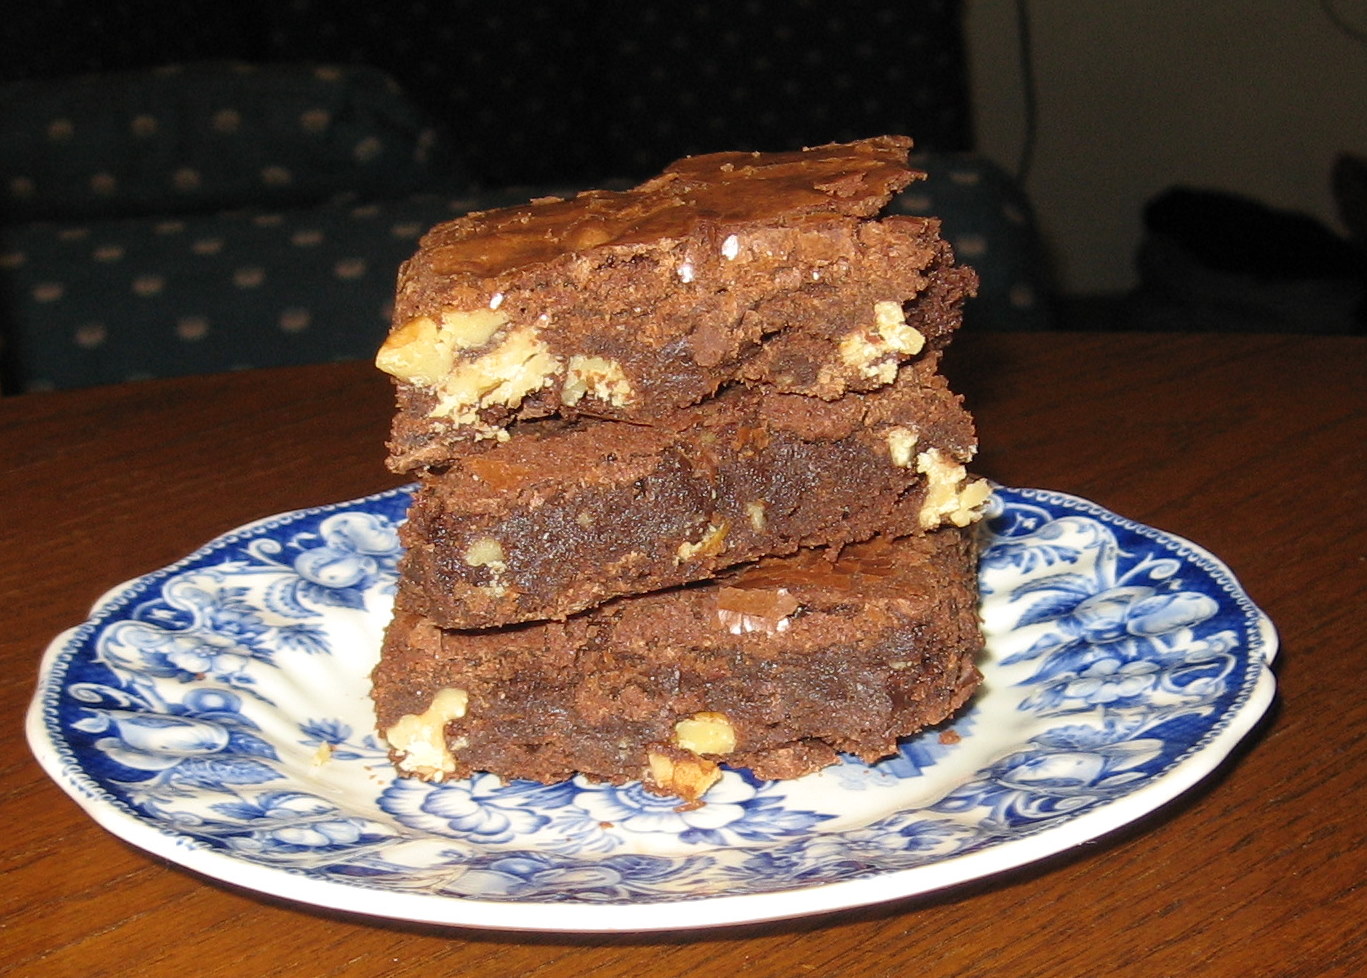
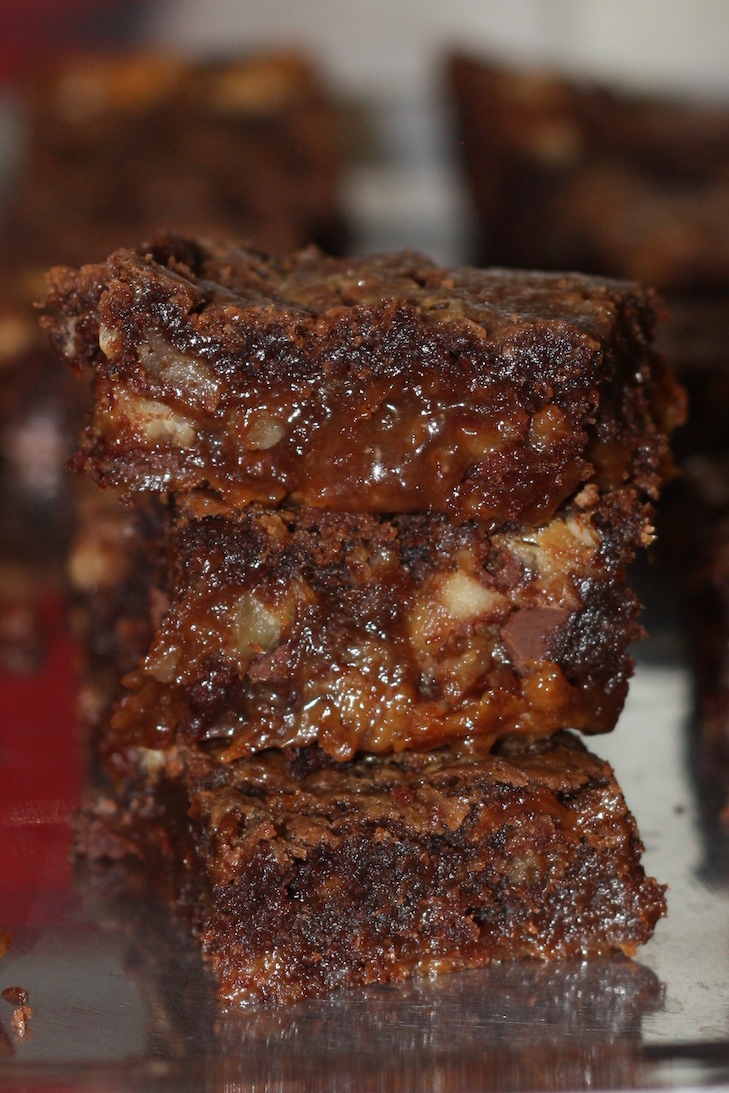
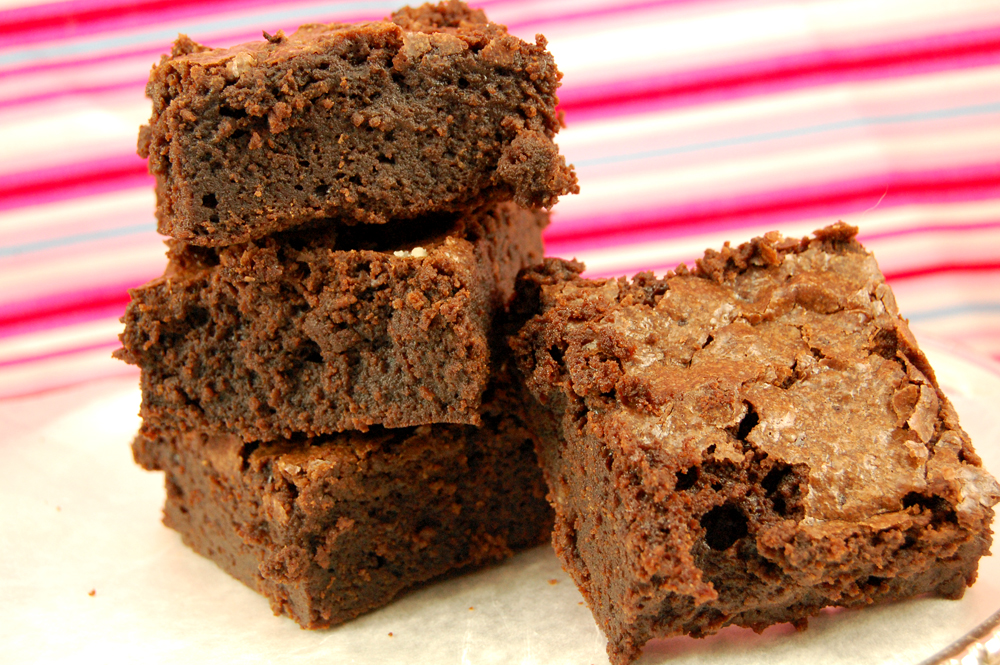
This recipe comes the closest by far to duplicating (or at least closely mimicking) that elusive brownie-mix texture I’ve come to know and love.  And, as with so many brownie recipes, they get better with age.  (Yes, I appreciate brownies more as a middle-aged woman but I’m talking about the brownies‘ age, not mine…they are better the next day.)

So, now that I’ve found it, this recipe will now be named (at least in my house) My Best Brownies!

Ingredients:
1 1/4 cup all-purpose flour
1 tsp. salt
2 Tbsp. unsweetened cocoa powder
11 ounces dark chocolate, coarsely chopped*
1 cup butter, cut into 1″ pieces
2 cups sugar
5 eggs
2 tsp. vanilla

1.  Preheat oven to 350 degrees.  Butter sides and bottom of a 9×13-inch glass pan.  Line with parchment paper (you will use the ends of the parchment to lift out the brownies later).
2.  In medium bowl whisk together:  flour, salt, cocoa.
3.  Put chocolate and butter in a large bowl set over a saucepan of simmer water.  Stir occasionally until completely melted and smooth.  Turn the heat off, but keep the bowl over the pan and add the sugars.  Whisk until thoroughly combined.  Remove bowl from pan and set aside to cool to room temperature.
4.  Add 3 eggs to the chocolate mixture and whisk until combined.  Add remaining eggs and whisk until combined.  Add vanilla and stir until combined, being careful not to over-mix.**
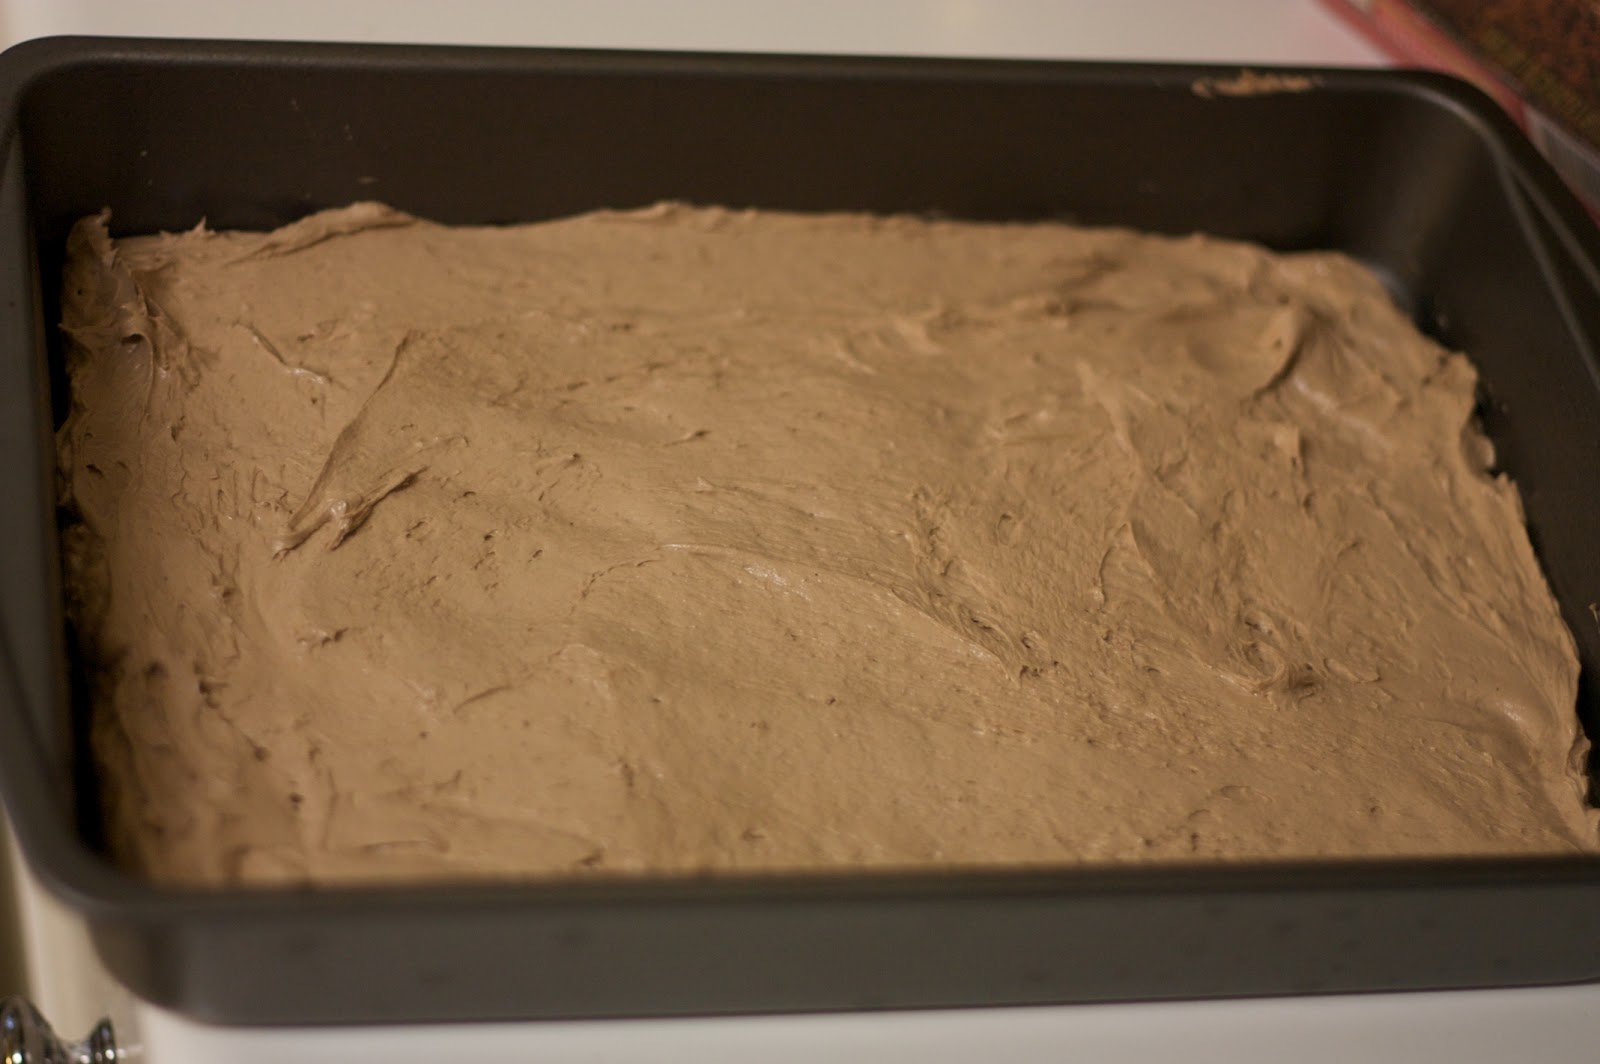
5.  Sprinkle flour mixture over chocolate mixture.  Use a rubber spatula (not a whisk) to fold in the flour mixture.  There should be just a bit of flour visible when you STOP mixing.
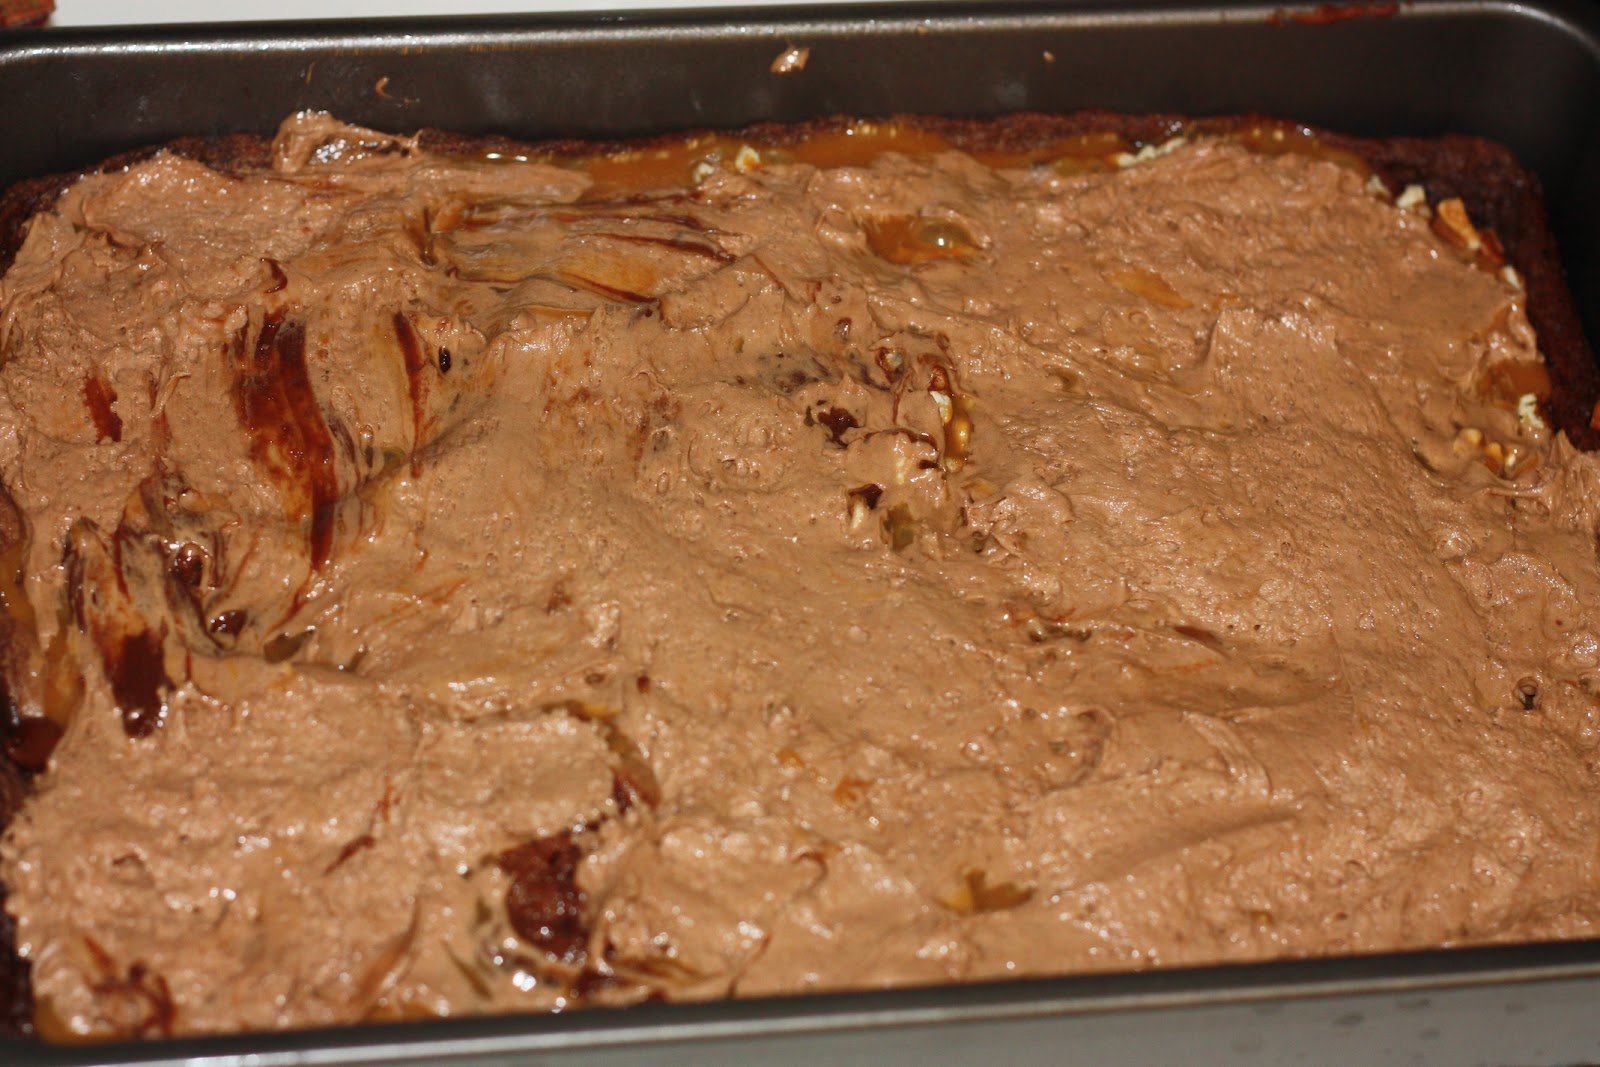
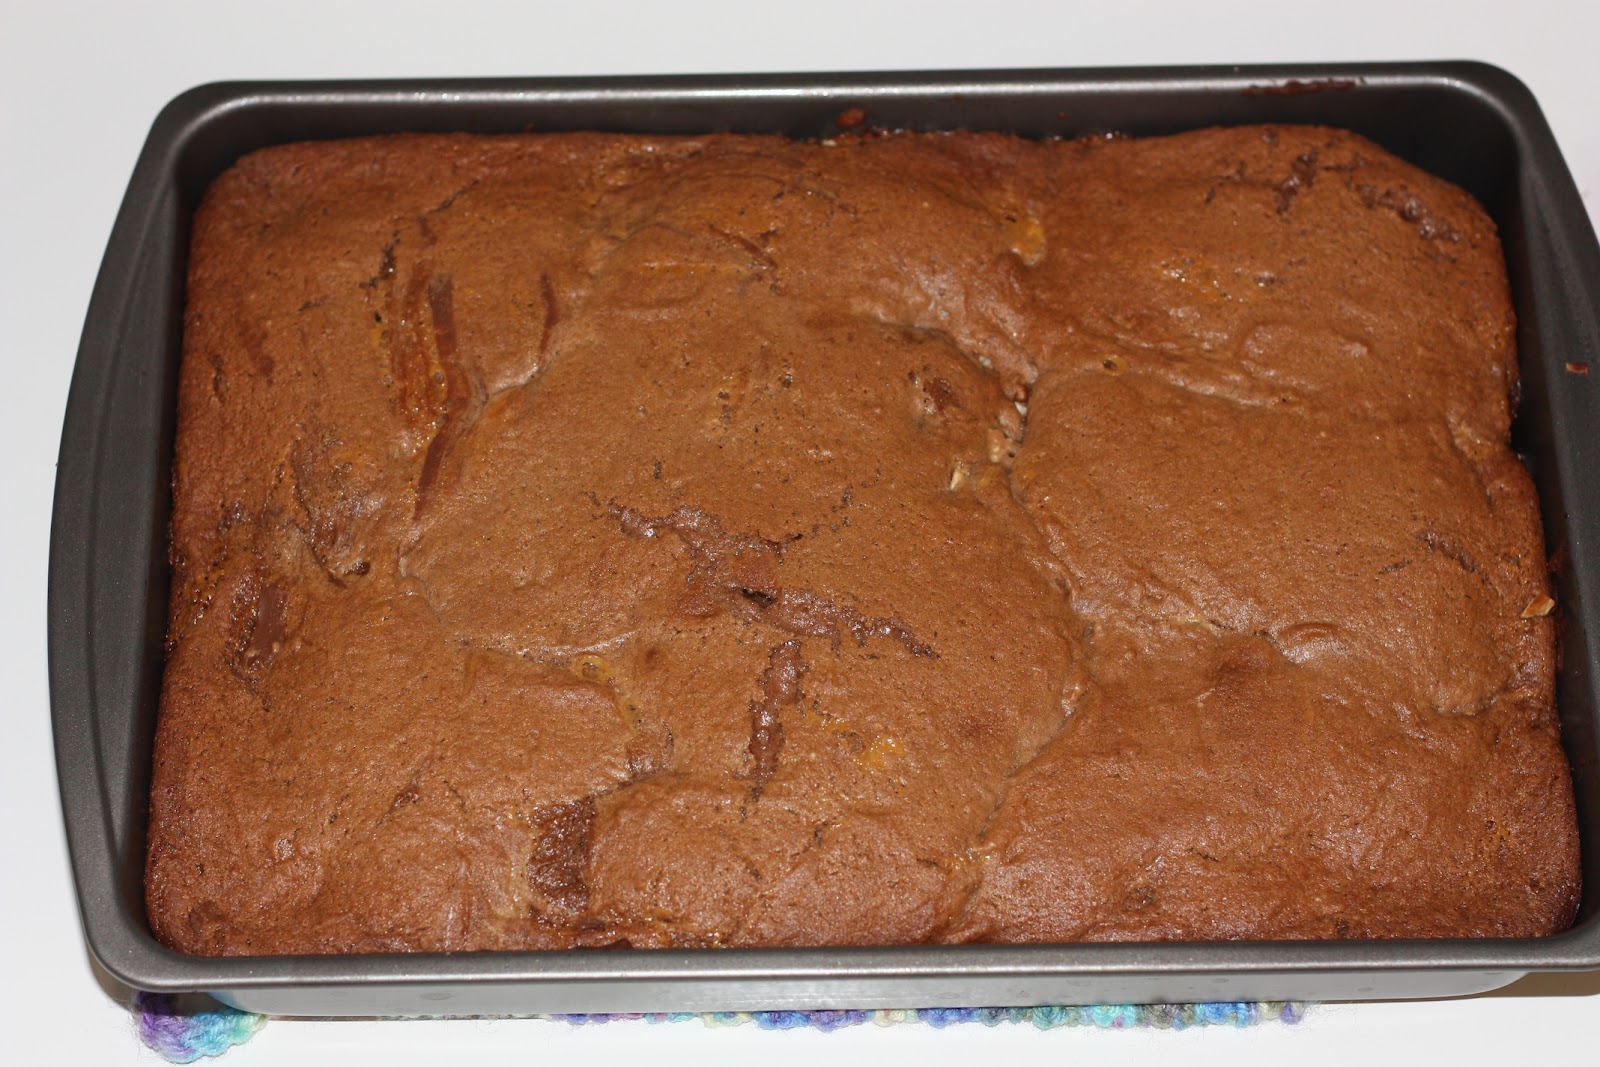
6.  Pour batter into pan and smooth the top.  Bake for 30 minutes, but rotate the pan halfway through the baking time.  Brownies are done when a toothpick inserted in the center comes out with just a few moist crumbs sticking to it.  Let the brownies cool completely.  Lift them out using the parchment paper.  Cut and serve.

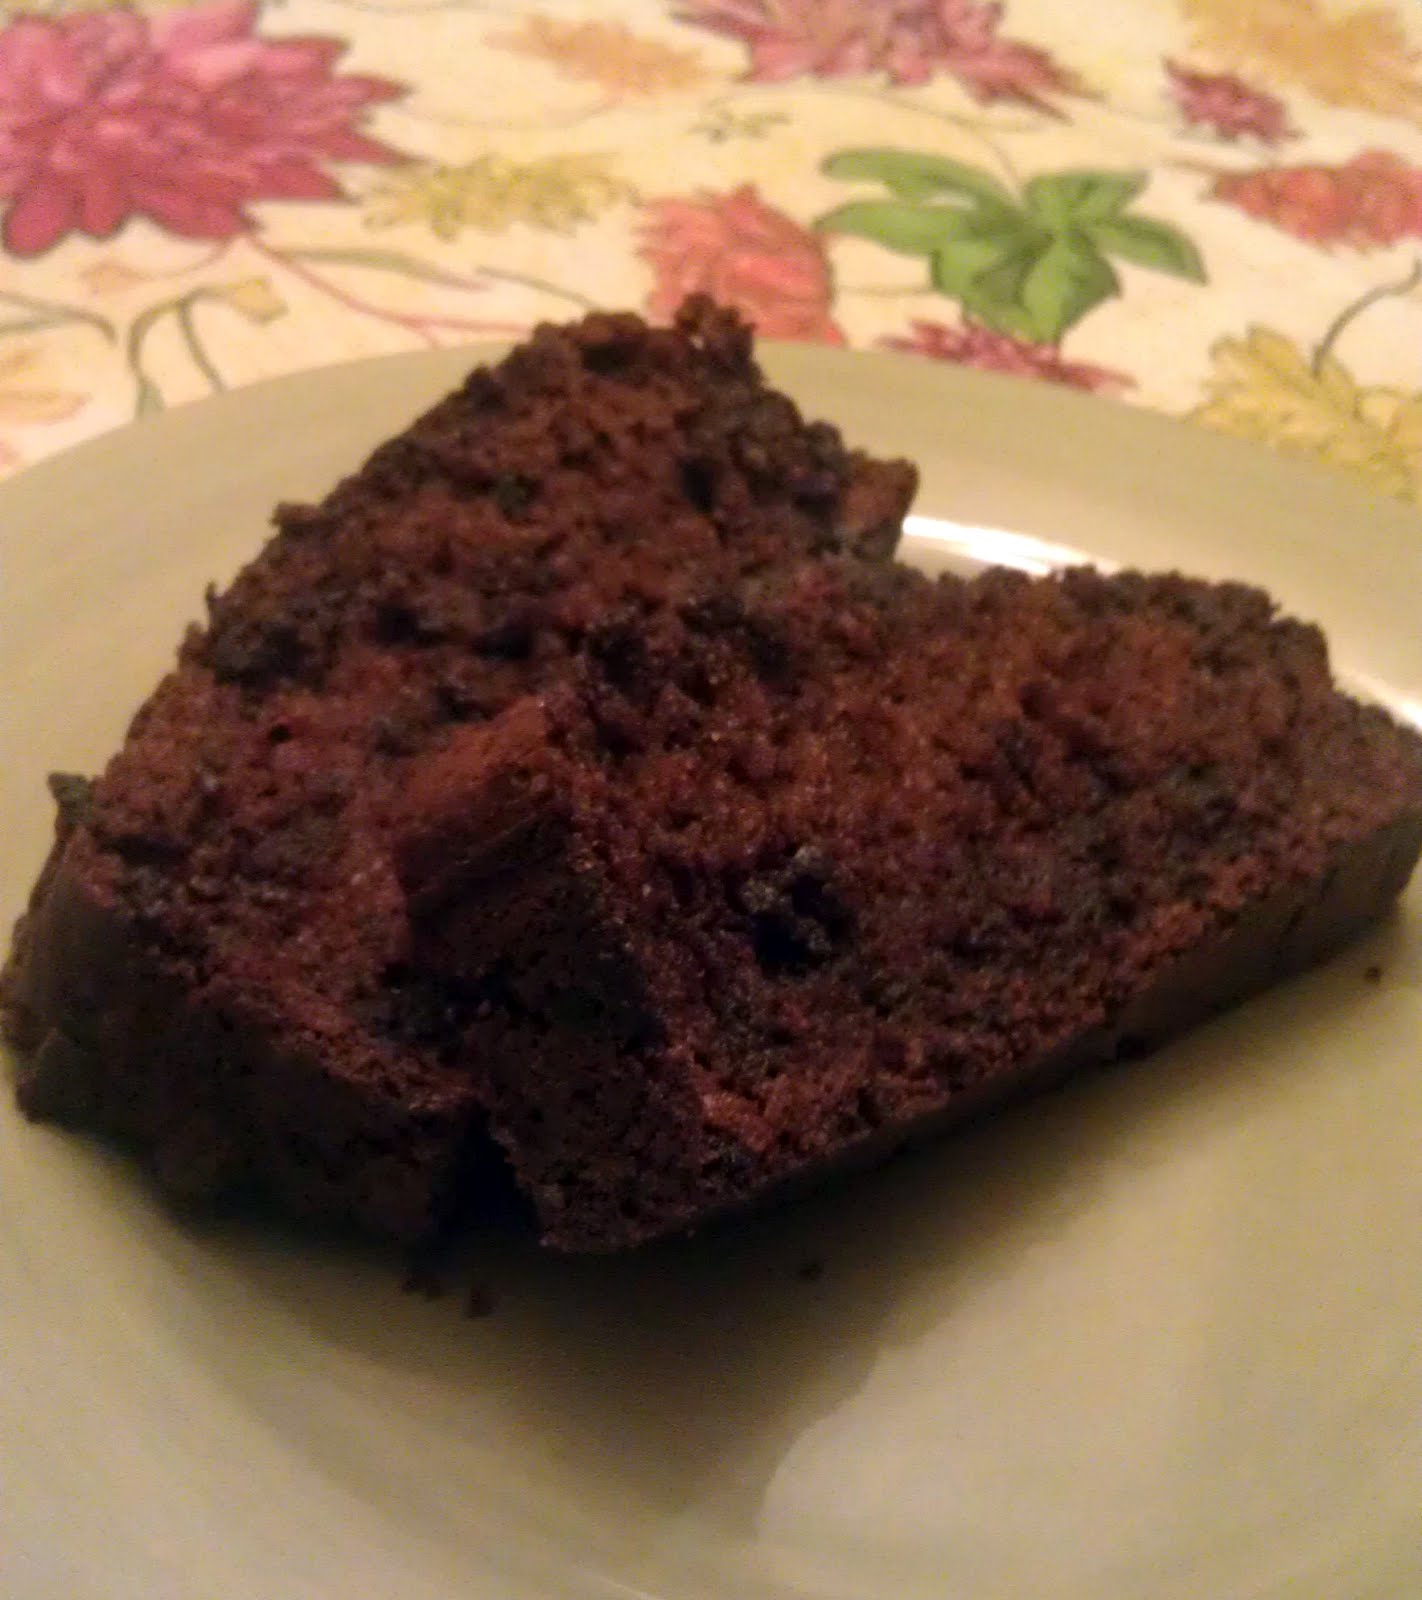
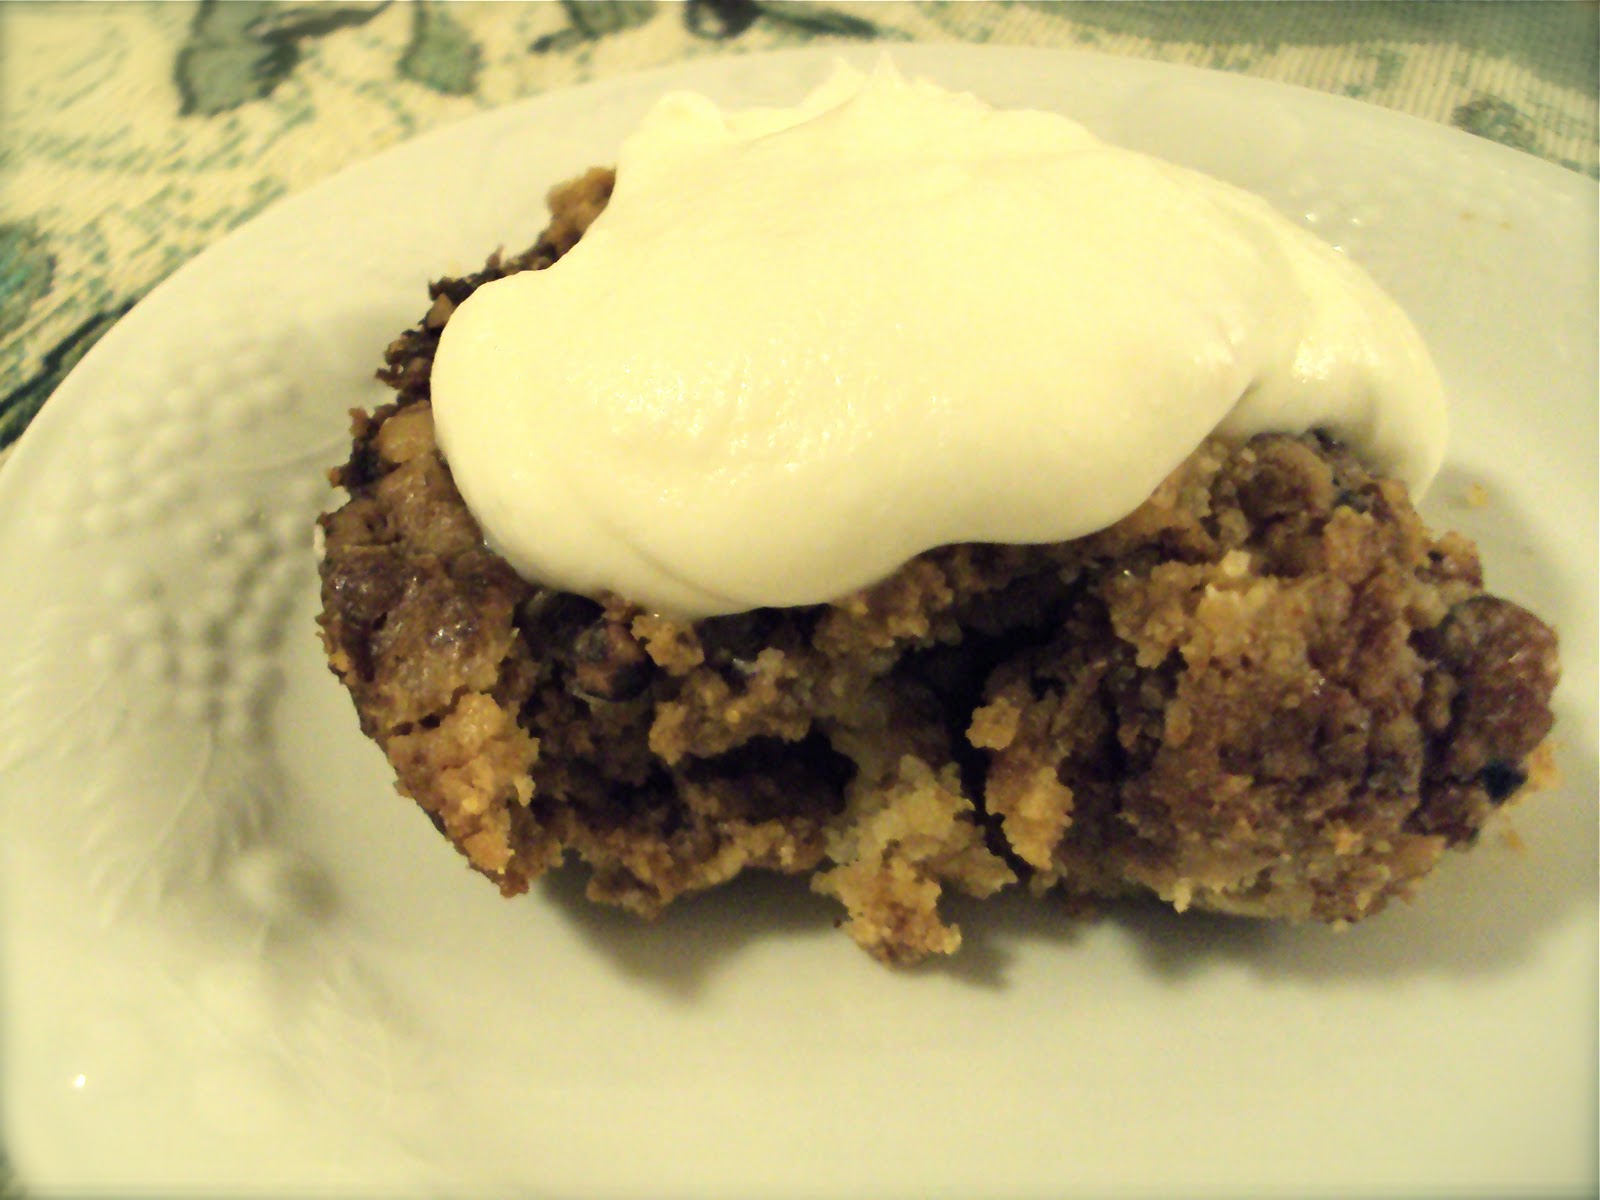
Makes 24 brownies; serve with ice cream, warmed up peanut butter (as a sauce), and Bittersweet Chocolate Sauce

Notes:
*I didn’t have enough dark chocolate so I mixed what I had:  some German chocolate, plain ol’ baking chocolate, and some dark chocolate.
**Over-mixing will result in cake-y brownies.

Source:  slightly adapted from Brown Eyed Baker

One Bowl Brownies

Ingredients:
4 (1 ounce) squares unsweetened chocolate
3/4 cup butter
2 cups white sugar
3 eggs
1 teaspoon vanilla extract
1 cup all-purpose flour
1 cup chopped walnuts
chocolate chips (optional)

1.  Preheat oven to 350 degrees.
2.  Microwave chocolate squares and butter in a large bowl on HIGH for about 1 minute (or until butter is melted).  Stir until chocolate is melted.
3.  Add sugar and mix.  Stir in the eggs and vanilla.  Mix in the flour and nuts.  At this point I tossed in a few handfuls of semi-sweet chocolate chips.
4.  Spread batter into a greased 9×13″ pan.  Bake for 33-35 minutes.  Do not over bake.

Source:  Sweet Designs: A Blog By Amy Atlas 

Sour Cream Chocolate Chocolate Chip Banana Bread

Admittedly, this recipe is similar to some previous postings: Anne’s Banana Chocolate Chip Bread and Julie’s Banana Sour Cream Muffins. But since this recipe has sour cream and chocolate, I guess you could say it’s a great combination of the two! If you’d like to lessen the fat by replacing the sour cream with yogurt, you may be interested in viewing this article beforehand.

Ingredients:
non-stick cooking spray
1 stick of salted butter, softened to room temp.
1/2 C sugar
1 egg
2 large or 2.5 small ripened bananas, mashed
1/2 C sour cream
1 t vanilla
1 t baking soda
2 T cocoa powder
1 C flour
1 C mini (or regular) chocolate chips
1/2 C chopped walnuts (opt.)
1. {Mash your bananas if you haven’t already.} Preheat oven to 350 degrees. Lightly grease a 9×5 loaf pan–or 2 mini pans–with non-stick cooking spray (I recommend the type with flour in it).
2. In a large bowl, cream together butter and sugar. Stir in egg, mashed bananas, sour cream, and vanilla until well blended.
3. Add baking soda, cocoa, and flour. Mix everything until well incorporated (about 3 minutes in a KitchenAid mixer).
4. Add chocolate chips and nuts.
5. Pour batter into loaf pan(s) and bake 50 min.-1 hour. (This loaf took around an hour and 10 minutes.)
6. Insert tooth pick in center of loaf; the bread is done when the tooth pick comes out clean. Remove from heat and allow bread to rest in the loaf pan for 10 minutes.
7. Remove bread to a cooling rack. Enjoy!
Source: I found this on Pinterest, originally posted by Alice to savorysweetlife.com

Jamba Juice’s Strawberries Wild Knock-Off

I’m expecting my second child in just two short weeks. I’ve started to pull out my recipes that are quick to make, nutritious, and can easily be eaten while I’m nursing. (I was always starving while I nursed my first baby!)  Enter Smoothies. I LOVE Jamba Juice…. sadly I live in the part of the country that there are none. That’s not a problem…. with some trial and error, I think I’ve made up a good knock-off of one of their more popular smoothies. Enjoy!


Jamba Juice’s Strawberries Wild Knock-Off 
1 c. apple juice
1 banana
1c. frozen strawberries
1 (6 oz.) light vanilla yogurt (you could also use frozen yogurt if you have that)
½ c. ice

Blend, and enjoy!

German Chocolate Caramel Brownies

Do you see that ooey-gooey, nutty goodness amidst the chocolate? Oh yeah, baby. THAT’S why I LOVE these brownies. THAT’S why they’re my all time FAVORITE. Mmm-MMM! And don’t let the steps (or the margarine) fool you, either. They’re pretty easy and most definitely worth it.
Ingredients:
50 Kraft caramels (1 pkg)
1 Cup Evaporated Milk, divided
1 German Chocolate Cake Mix
3/4 Cup (1.5 sticks) Margarine, melted (as much as I LOATH to say it, butter does an ok job, but margarine does it better. Please tell me I never have to say those words again…)
1.5 Cups Chocolate Chips (your favorite–we use semi-sweet)
1 Cup Chopped Walnuts or Pecans–pecans are shown here, optional
1. Preheat oven to 350 degress F, and unwrap all the caramels into a medium-small microwavable bowl.
2. Add 1/2 Cup Evaporated Milk to the caramels and microwave for 1 minute increments (about 5 increments), stirring between each minute until smooth and creamy (or melt in a double broiler). Set aside.
3. Mix the cake mix, the last half cup of evaporated milk, and melted margarine with a mixer for 3-4 minutes until everything is well incorporated, smooth, and light brown in color. The batter should be fairly stiff.
4. Pour 1/2 of the cake batter into a greased 9×13″ cake pan and smooth to the edges.
5. Bake for 6 minutes.
6. Sprinkle chocolate chips and nuts over the cake, immediately after removing it from the oven. They may sink a little and that’s ok.

I was trying to appease the nut-lovers (myself and Mr. Blue Eyes) and the nut-haters (the kids) and did half and half. What we won’t do for love? (notice they’re equal halves…muahahahaha!)

7. Pour creamy caramel mixture over the chips and nuts.

8. Using the unused portion of the cake batter, drop spoonfuls over the caramel. Try to smooth it out over the top as best you can. Sometimes it seems like it doesn’t work too well, but don’t give up! Even if you can still see mostly caramel, it’s ok. (That has happened to me.) The cake batter seems to have a mind of its own and knows to bake up over the caramel.

9. Pop it into the still-hot oven and bake again for 18 minutes. Voila! The yummiest brownies you’ll ever eat!
10. Cool completely and dive in!

A Few Notes:
~Kraft caramels melt the best. 
~German Chocolate Cake mix tastes and bakes the best, although I have used Devil’s Food and Swiss Chocolate and they turned out fine, too. The German Chocolate seems to hold the chips and nuts up best.
~I have seen recipes that use caramel ice cream topping–the kind in the microwavable jar–in place of the caramel/milk mixture. I have never tried it, but it seems like a good idea if you’re in a pinch.
~There is really no way (that I know of) to test to see if these are done. Because of the caramel, they will always be slightly “jell-o-ish” (is that even a word?!) right after you get them out of the oven. There’s no harm in leaving them in for a few extra minutes just in case, but be careful not to overcook them. Hard brownies/hard caramel = No Bueno!
~I don’t know why, but I have never made a batch that didn’t “fall” a little. If you know why this is and how to prevent it, PLEASE let me in on your secret!
~And this is the most important! These are a taste-melding brownie. As much as I love hot, fresh-from-the-oven brownies, these taste the best when they are made the day before (or the morning of at the latest). Trust me.
Source: The best mama in the world, Karri H!
~Kara

Nutella Fruit Dip

Yummy Nutella Fruit Dip

I love Nutella.  Any recipe I see anywhere that has Nutella in it, I’m interested!  And this one is so quick and easy.  Great for breakfast or for dessert.  Seriously.  Dessert!

Ingredients:
1 cup non-fat Greek yogurt (I used Fage)
1/2 cup Nutella

1.  Combine ingredients in a bowl and stir till smooth.
2.  Serve with your favorite fruit!

Makes 1 1/2 cups

Source:  Babble

Rustic Autumn Fruit Tart

Oh my goodness, what a yummy tart!  I pulled this from the internet to use at Thanksgiving but since we ended up having it at my sister’s house, I put the recipe away.  I found it the other day and decided to make it for our Christmas Eve Eve dinner.  That was not a typo.  We had our Christmas Eve dinner early because we went home to eastern North Carolina the next day.  Anyway, this was our dessert and it was really good.  The crust–oh my–I may have to make my next pie with this.

Ingredients:
1/2 cup butter, chilled                                                     1/3 cup brown sugar
1/2 cup cream cheese                                                      1/2 teaspoon ground cinnamon
1 1/2 cups all-purpose flour                                           1/4 teaspoon ground nutmeg  
2 apples peeled, cored, sliced                                         1/4 teaspoon ground cardamom
1 pear peeled, cored, sliced                                            1 1/2 tablespoons cornstarch
1/4 cup orange juice                                                      1/2 cup apricot jam, warmed
                                                                                     

1.  Cut the cold butter and cream cheese into the flour until the mixture looks like coarse crumbs. I usually use a pastry blender but this time I used my Ninja which was much quicker.  You just pulse the butter and flour until the mixture resembles cornmeal, then add the cream cheese and pulse until it looks like the size of small peas.  You should be able to squeeze a handful of the dough and make a ball.  Shape the dough into a small disk, wrap in plastic, and refrigerate for at least an hour.

2.  Toss the apples and pear with the orange juice.  Whisk together the brown sugar,spices and cornstarch.  Toss the fruit with the sugar-spice mixture and set aside.

3.  Preheat an oven to 375 degrees F.  Set out an 8-inch tart pan or do like me and make a free-form tart, lightly greasing a baking sheet.

4.  Roll the pastry out on a lightly floured work surface to form a 10-inch circle.  Transfer the dough to the tart pan or baking sheet.  Arrange the fruit decoratively Plop the fruit in the middle of the pastry (really, I just had no time to be fancy).  If you are using a baking sheet, leave a 2-inch rim of dough and fold it up over the edge of the fruit (the folds will overlap).

5.  Bake the tart in the oven until the crust is browned and the filling is bubbly, about 30 minutes.  Remove the tart from the oven and brush it with the apricot jam.

I served this with a scoop of vanilla bean ice cream.  You could use whipped cream.

Source:  CULINARY JEN, allrecipes.com

Cream Puffs, Eclairs and more


My Great Aunt Addie used to be famous for her cream puffs. This is her recipe. They are so fun to make with your family not to mention, yummy!

These are not just dots of puff! They can become many traditional or festive things. Don’t let the list of steps fool you, these are easy peasy. They are good with savory fillings as an appetizer or finger sandwich. I’ve listed ideas for different “shapes” below the recipe. This doubles well.

Ingredients:
1/2 cup butter ( not margarine)
1 cup water
1 cup all-purpose flour
1/4 tsp salt
4 eggs

1. In a medium saucepan melt butter.
2. Add water and bring to a boil.
3. Add flour and salt all at once. Stir vigorously, cooking and stirring until mixture forms a ball that doesn’t separate.
4. Remove from heat, cool slightly (about 5 minutes). Add eggs one at a time beating with a wooden spoon after each addition until smooth.
5. Drop batter by teaspoons or Tablespoons depending on the size you want (the batter will “puff” to around three times its size) onto ungreased baking sheet.
6. Bake in a 400 degree oven for 15-30 minutes (depending on size) until golden brown and puffy.
7. Remove from oven, let cool slightly on cooling rack.
8. Split open and remove any soft dough, fill with — Chicken Salad or other Savory spread, whipped cream, jam and cream, pie filling and cream, pudding, ice-cream or pudding custard .
9. For Eclairs: Frost filled puff with chocolate icing below:

Eclair Icing:
3 Tblsp butter
1/2 cup semi sweet chocolate chips or 1.5 oz bitter sweet chocolate
3 Tblsp half and half
1/4 tsp vanilla
3-4 cups powdered sugar
5 + Tblsp milk

1. Melt butter, choc. and half and half together in microwaveable bowl or medium saucepan
2. Remove from heat and add vanilla and powdered sugar
3. Add milk a few tablespoons at a time until desired consistency is reached. Mix until smooth and creamy.

Pudding Custard:
1 small box Vanilla (or your choice) instant pudding
2 cups whipped cream

1. Prepare pudding according to package directions except use 1/3 cup less milk
2. Mix ingredients together and chill for 20 minutes

Enjoy!

Shape Ideas:
1. Drop batter in the shape of mini footballs, frost with choc icing. Use white icing to make lines on the footballs
2. Drop batter in the shape of mini hearts or one large heart with a hole in the center (it will puff better). Fill with Cherry Pie filling and cream. Drizzle with chocolate and white icing.
3. Drop batter in the shape of Easter Eggs, ice with choc. icing. Use white or other color icing to write names on the egg.
4. Drop batter in the shape of Shamrocks, Flowers, Hats, Flags, Pumpkins, Christmas Trees, etc. Experiment – Have fun!

Source: Aunt Addie, My mom and Me

Sweetened Whipped Cream

Is that a black and white photograph of food? Why, yes, it is. Because whipped cream is white, anyway.

My husband has recently had a hankering for strawberry shortcake. So at Food Lion today, I was going to buy some whipped cream in a tub from the frozen section–but then I looked at the ingredients. Cream was not one of them. In fact, the main ingredient was water. So I decided I’d whip my own cream.

Ingredients:
1 C heavy whipping cream
3 T confectioners’ sugar
1/2 t vanilla extract
1. Chill a small mixing bowl and beaters in the refrigerator ahead of time.
2. Using your chilled bowl and beaters, beat cream until it begins to thicken. Add confectioners’ sugar and vanilla; beat until soft peaks form. Store in the refrigerator.
Note: Do not overwhip your cream or it will start becoming runny.

The Great Pumpkin Dessert

More Pumpkin, anyone? 
Ingredients:
1-15oz can pumpkin
1 can of evaporated milk (shake well)
3 eggs
1c sugar
4tsp pumpkin pie spice
1 package yellow cake mix (I used Duncan Hines)
3/4c butter, melted
1 1/2c chopped walnuts (or make it 2c if you really like nuts…I thought 1 1/2 was enough)
  1. Preheat oven to 350* and grease a 9×13 pan
  2. Combine the first 5 ingredients in a mixing bowl and mix well. 
  3. Transfer the pumpkin mixture into the 9×13 pan
  4. Sprinkle the cake mix over the pumpkin, drizzle with butter, then top with walnuts!  
  5. Bake at 350* for an hour*  or until knife comes out clean.
*I think baking it for an hour was a little to long.  I like stuff a little more on the gooey side.  So, if you’re like me…go with 45-50 min.  The fork/knife test should still hold true (for the most part).  =)
*This recipe was one that I copied down at a potluck in in DeKalb, IL.  I thought for SURE I wrote this lovely sister’s name on the card, dag nab it!!