Waffle Cookies

waffle-cookies

My kids looooooove it when I make these.  They are old enough now to make them for themselves (although they still ask me to make the frosting most of the time because it, um, has no recipe–it’s in my head–but they made their own for this batch!).  

It’s a favorite for Family Night treat.  

They’re really easy to make.  

And, hello, FUN!  Cookies with a waffle iron? YES!!

Waffle Cookies
Easy, tasty, fun cookies that are a family favorite!
Write a review
Print
Prep Time
10 min
Prep Time
10 min
Ingredients
  1. 1 1/2 cups sugar
  2. 1 cup butter, softened
  3. 4 eggs
  4. 2 tsp. vanilla
  5. 1/2 cup unsweetened cocoa powder
  6. 2 cups flour
  7. 1/8 tsp. salt
Instructions
  1. Cream together the butter and sugar well.
  2. Add remaining ingredients and mix well.
  3. Drop using a medium cookie scoop onto a heated waffle iron sprayed with non-stick cooking spray to keep the cookies from sticking.
  4. Close waffle iron and allow to cook for 2-3 minutes. Carefully lift out with fork and set aside to cool.
  5. Frost with your favorite frosting.
Notes
  1. No recipe for the frosting, but here's what I do....I start with 1/4 cup of soft butter and cream it with some unsweetened cocoa (maybe 1/3 cup?), a teaspoon of vanilla, and a pinch of salt. Then I just start adding in powdered sugar. When it's too stiff to stir, I drizzle in a little milk. I keep this up till I get the taste and texture I want!
Mormon Mavens https://www.mormonmavens.com/

Autumn Baked Apples

baked-spiced-apples-4So it’s fall.  Yeah, I know.  It’s supposed to be pumpkin everything, right?
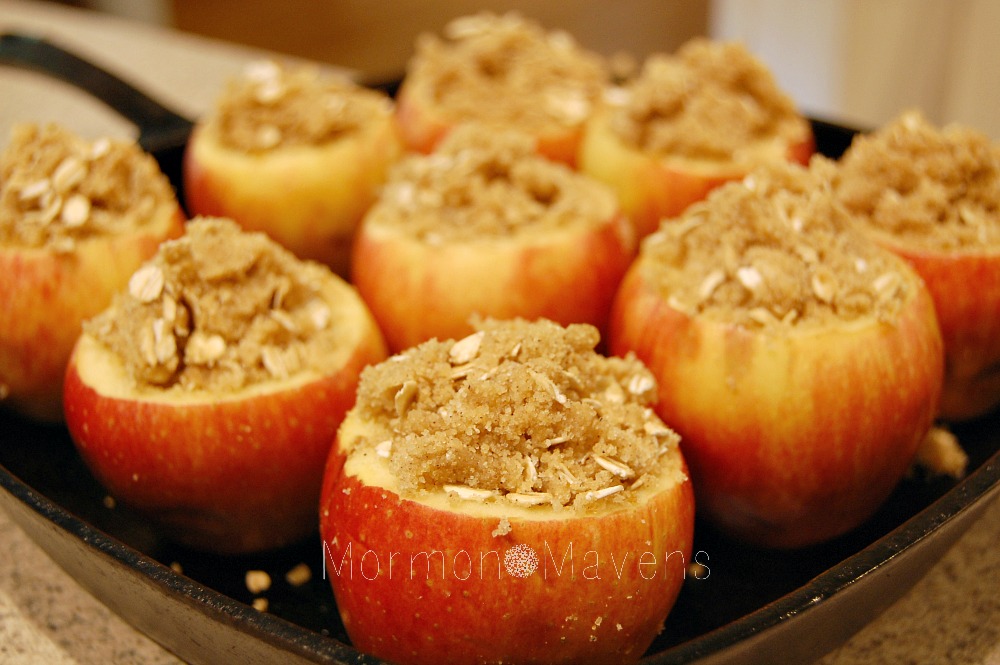
Well, for my money, nothings says fall like apples….warm and spiced.  So cozy.

And although my favorite apple dessert is Apple Crisp (my favorite recipe for that coming soon!) I’ll go for just about any baked apple thing.  And since I had a bunch of small apples that were past their prime, I figured this one was a good one to try.

Next time, I’ll try maple syrup in place of the honey.

baked-spiced-apples-1

baked-spiced-apples


Autumn Baked Apples
A cozy dessert for crisp fall days.
Write a review
Print
Prep Time
15 min
Prep Time
15 min
Ingredients
  1. 6 medium or 9 small apples
  2. 1 1/2 cups brown sugar
  3. 2/3 cup old fashioned oats
  4. 2/3 cup all-purpose flour
  5. 8 Tbsp. butter, softened
  6. 1 tsp. cinnamon
  7. 1/4 tsp. allspice (optional)
  8. 1/8 tsp. nutmet (optional)
  9. 1/4 tsp. kosher salt
  10. 4 Tbsp. honey or real maple syrup
Instructions
  1. Preheat the oven to 350 degrees. Grease a skillet and set it aside.
  2. To prep the apples, cut off about 1/2" from the top. You can also cut a tiny amount off the bottom if you want to "level" the apples. Use a spoon to scoop out the middle, including the core. You can discard this part.
  3. Place the apples in the skillet .
  4. In a bowl, mix together the sugar, oats, flour, spices, and salt. Add the softened butter and work the whole mixture together.
  5. Divide the butter mixture between the apples, filling the cores. Drizzle honey or maple syrup over the apples.
  6. Cover the skillet with aluminum foil; bake for 15 minutes. Then uncover the skillet and bake an additional 15-20 minutes or until the apples are cooked through.
  7. Allow to cool. Serve plain or topped with vanilla ice cream or whipped cream.
Adapted from Dishing Delish
Mormon Mavens https://www.mormonmavens.com/

Chocolate & Coconut Cashew Bars

cashew-bars-2

If you haven’t met me before, allow me to introduce myself.   I’m the girl who wants dessert after every meal.  Every meal.

And also after snacks.

And also after watching TV commercials about meals and snacks.

And that’s a problem.

But luckily I’ve found a way to combat this.  

And I have to be honest.  I really had no faith in this recipe because I am a dessert snob.  If it’s described as a healthy dessert my mind immediately puts it into the “Yeah, right!” category.  And so I wasn’t expecting much.  

I distinctly remember my first bite.  I think I said something like, “Well, it’s okay, I guess.  But I doubt I would make it again.”  Which was followed by multiple bites that impressed me more and more.

A month later and I’m still making them!  

And you know what I love most about this recipe?  The bars taste so rich to me that it only takes one to satisfy!  So they last a long time!  And this has been so helpful for me in my quest to eat healthier and lose weight.  Vegan if you don’t use the honey.

I did tweak the recipe a bit.  It can be gluten free if you make sure that your oats are as well! 

cashew-bars-1


Chocolate & Coconut Cashew Bars
Yields 25
A healthy bar treat that is rich and satisfying! Great combo of a little sweetness and a little salt and a little chocolate and a little nut!
Write a review
Print
Prep Time
15 min
Prep Time
15 min
Ingredients
  1. 1 1/2 cups lightly roasted cashews (I used Planter's)
  2. 1 cup old fashioned oats
  3. 1/4 cup almond butter
  4. 1/4 cup melted coconut oil
  5. 1/4 cup + 2-3 tsp. liquid sweetener*
Topping
  1. 1/4 cup liquid sweetener
  2. 1/4 cup melted coconut oil
  3. 1/2 cup unsweetened cocoa powder
  4. 2-3 Tbsp. unsweetened coconut flakes
  5. sea salt to taste
Instructions
  1. In a food processor, process the cashews for a couple of minutes. Scrape down the sides if you need to. They will start to clump together a little, and that's good.
  2. Add the oats, almond butter, and sweetener and blend for another couple of minutes, scraping the sides down if necessary. This should form a sort of dough.
  3. Line an 8x8 pan with parchment paper and lightly coat it with some non-stick cooking spray. Make sure the edges of the parchment come out over the edge so you can lift out the bars later.
  4. Spread out the dough and press it evenly to the edges.
  5. Make the chocolate topping by whisking together the liquid sweetener, coconut oil, and cocoa powder until smooth. Pour this over the top of the bars.
  6. Sprinkle with coconut and sea salt.
  7. Freeze for an hour or refrigerate for several. Then lift out the bars and cut them carefully into squares. I did 5 slices in each direction which gave me 25 bars.
  8. Store the bars in an airtight container in the fridge.
Notes
  1. *You can use agave nectar (although not actually healthy), honey, brown rice syrup, or maple syrup. I had some agave to use up and that was tasty, but like I said, not really healthy the way it's made today. I was worried that the maple syrup would be too strong, but it was perfect. Gotta be REAL maple syrup though!
Adapted from Dishing Out Health
Mormon Mavens https://www.mormonmavens.com/

Easy Caramel Sauce

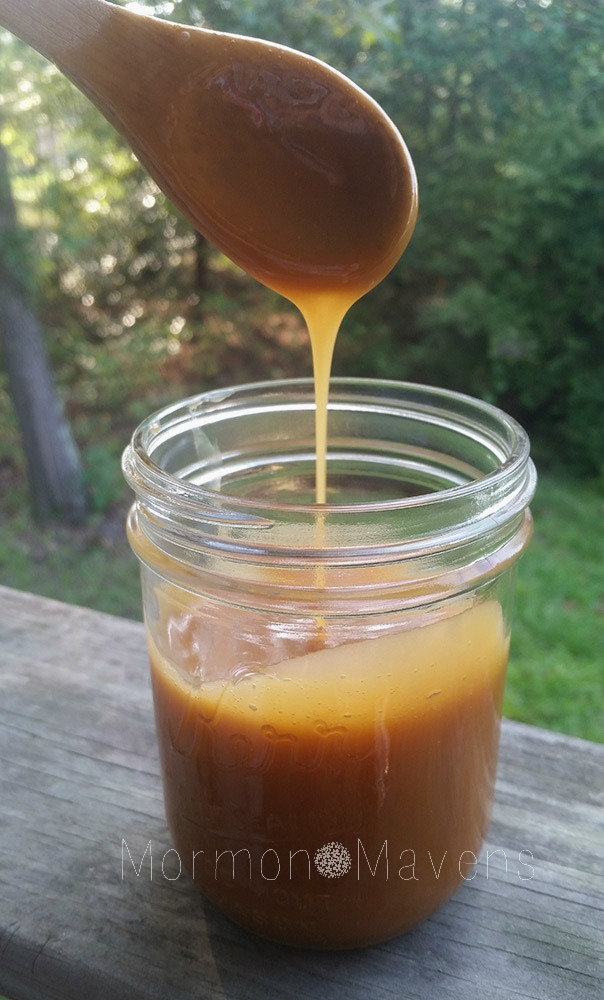
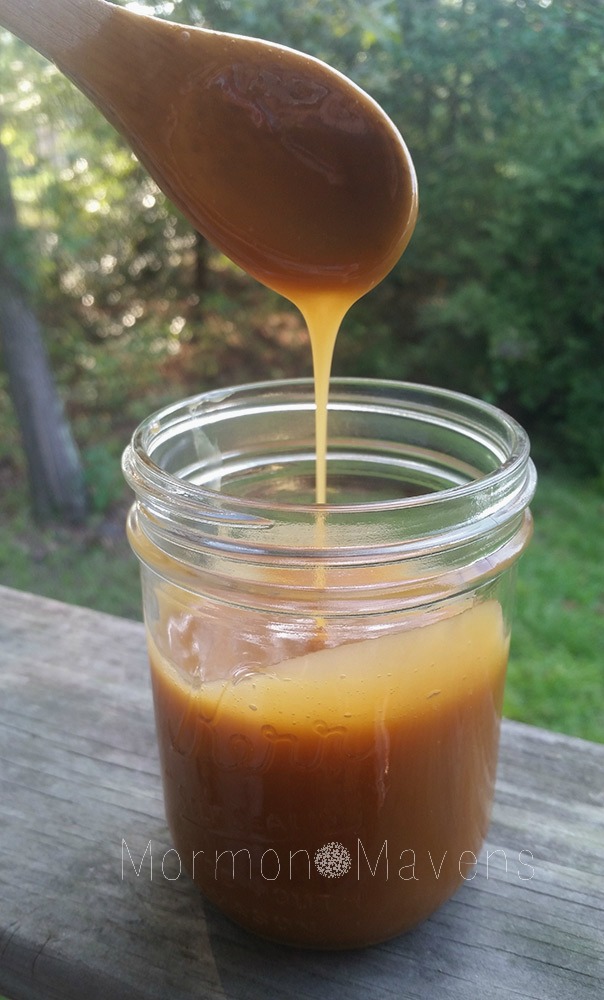
easy-caramel-sauce

Have you ever tried a new recipe?  Have you tried a new recipe when guests were coming over in a few hours and there was no time to make anything else if it failed?

Sunday morning I had high hopes for the Apple Fritter Bread.  The recipe pics looked amazing!  But here’s the thing about trying new recipes:  you gotta make sure you have all the ingredients and you gotta actually follow the directions!

Both situations got me in trouble.

I didn’t have enough fresh apples so I subbed some freeze dried apples.  And this normally is not a big deal because subbing works well with freeze dried if you refresh them first and then drain them well.

I was in a hurry.

So I didn’t prep the apples well AND I didn’t read the recipe well in my rushing around.

So here I was with dry, ugly apple-cinnamon bread for dessert.  

It was okay.  I mean, it wasn’t gross.  It just wasn’t….right.  And I had no time to make anything else.  What was I gonna do?

Have I told you how much I love Pinterest?  I’m so visual and that’s always the easiest way for me to narrow down a search…Google is just…too many words!  I thought maybe a caramel sauce would do the trick…I could still serve the apple bread, salvaging it with a buttery rich sauce to hide the #recipefail.

So happy to have found this recipe.  I can’t believe how ridiculously easy it is to make, and it tastes delicious!  And NO CANDY THERMOMETER!!

It’s like caramel sauce for dummies! 😉


Easy Caramel Sauce
An easy, rich dessert sauce that whips up in no time in the microwave!
Write a review
Print
Cook Time
5 min
Cook Time
5 min
Ingredients
  1. 1/4 cup butter
  2. 1 cup brown sugar
  3. 1/2 cup heavy cream or whipping cream
  4. 1/2 tsp. salt
  5. 1/2 tsp. vanilla
Instructions
  1. In a large microwaveable bowl (I used my large Pampered Chef batter bowl), microwave the butter till it is mostly melted.
  2. Add brown sugar and cream and whisk well until smooth.
  3. Microwave on high for 2 minutes. Stir. Return to microwave for another 2 minutes.
Notes
  1. Serve it warm, but you may want to let it sit for a few minutes to thicken a little.
  2. Your microwave time may vary; you just want it to be bubbling and start to thicken a little.
  3. Store any leftovers in the fridge; reheat in the microwave to serve again.
Mormon Mavens https://www.mormonmavens.com/

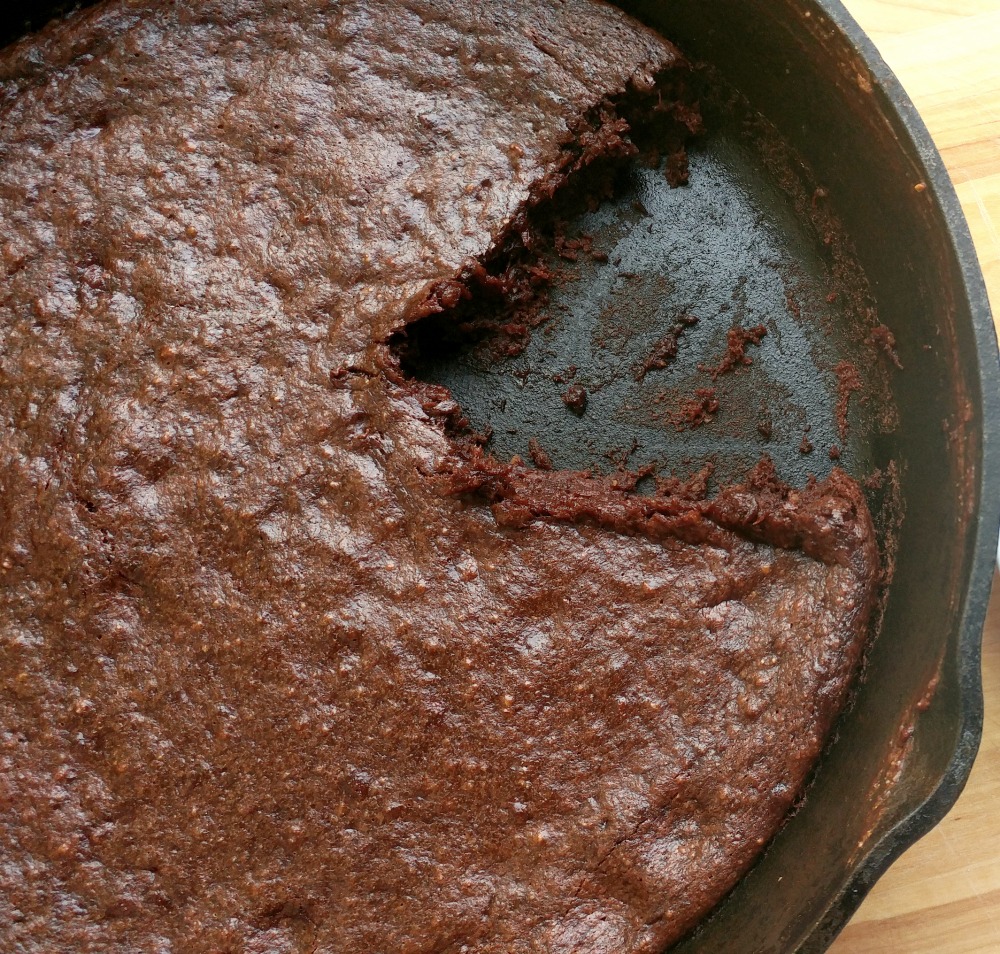
Fudgy Banana Skillet Cake

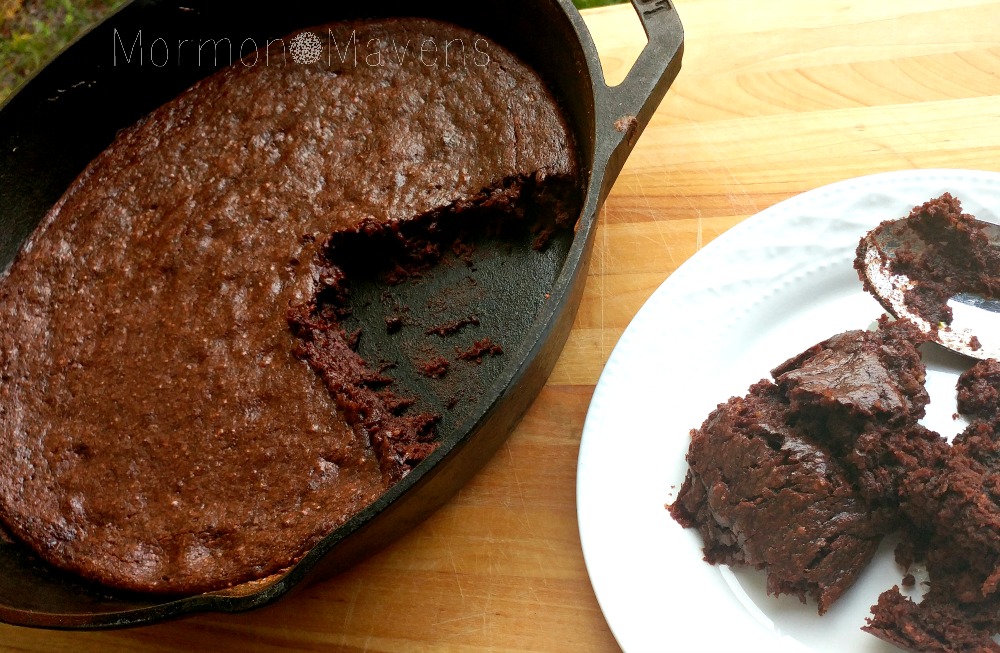
fudgy banana skillet cake 2

I gotta put a disclaimer on this one.

You may not like this.

No, don’t run away!  Just hear me out for a little bit.

It’s Vegan.  

It’s Paleo.

Okay, if you are a die-hard, flour-filled cake lover you can run now.  (Honestly, my kids did, but they don’t have the evolved taste buds that I do.)

Here’s my situation:  I have Leaky Gut.  And while I do make stuff for the family that has wheat and dairy (two foods I’m not supposed to have anymore) I do try an occasional alternative recipe in an attempt to find treats that might be “legal” for me.  And I’ve found that you have to make a taste adjustment most of the time–that’s something I’ve started to get used to.  

So I actually like this recipe!

What does it have going for it–besides being wheat and dairy free?

It mixes up IN the skillet.  Less dishes.

It’s ready pretty quickly.  Cravings kept at bay while it bakes.

It uses ingredients I already have on hand.  Yes!

It’s rich and fudgy.  Oh, yesssssss!

Is it my favorite cake in the world?  No.  That’d be one o’ them there flour-filled cakes of my yesteryear.  <sigh>

But I think it does fit the bill if you are someone who has to or wants to eat treats without grains or animal products and want something rich and chocolate-y.

I would recommend adding some dairy-free ice cream or whipped topping when serving, though.  It just needs a little creamy loveliness to balance out the fudgy!

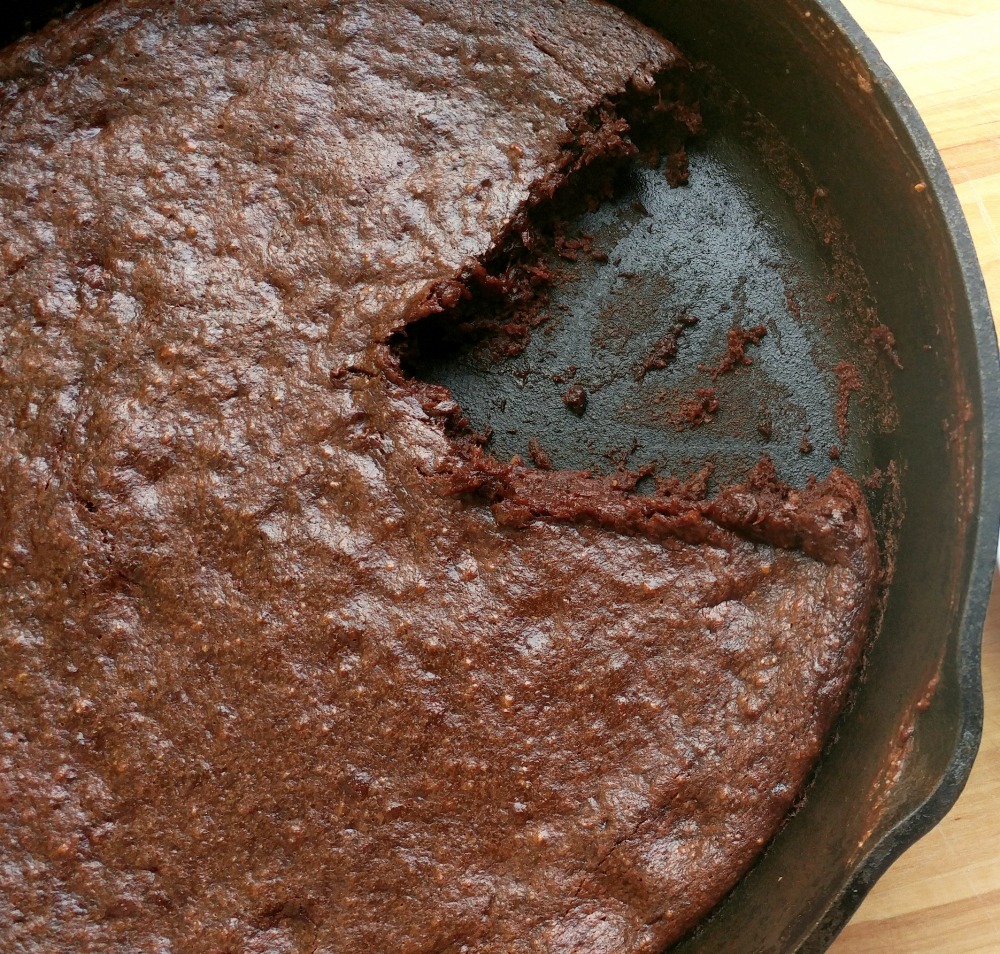
fudgy banana skillet cake 1

Fudgy Banana Skillet Cake
A fudgy flourless, vegan "cake".
Write a review
Print
Prep Time
10 min
Prep Time
10 min
Ingredients
  1. 1/4 cup coconut oil
  2. 1/2 cup unsweetened cocoa powder
  3. 1 cup mashed banana (I used 3 small bananas)
  4. 1/4 cup pure maple syrup
  5. 1 cup almond butter
  6. 1/2 tsp. baking powder
  7. 1/4 tsp. salt
  8. 1 tsp. vanilla
Instructions
  1. Preheat oven to 325 degrees.
  2. In a large cast iron skillet set over low heat, melt the coconut oil completely.
  3. Turn off burner and add remaining ingredients, whisking well to combine.
  4. Run a rubber spatula around the edge of the skillet to get the batter down with the rest of the ingredients.
  5. Bake for 15-20 minutes or until the center is mostly set.
Notes
  1. It should be pretty moist still so don't bake it until a knife comes out clean--that's too done. It took 20 minutes in my oven. Cast iron retains heat well, so this will continue to cook a little when you take it out of the oven.
  2. Serve with ice cream or whipped topping (dairy or not--you decide).
Adapted from Happy Healthy Mama
Mormon Mavens https://www.mormonmavens.com/


Chocolate Raspberry Shortcakes

chocolate raspberry shortcakes


If you like a light, not too sweet dessert, this one is for you–Be forewarned:  this is not a sweet, fudgy cookie. Super easy to put together, this recipe uses Thrive Foods right from your home store.  I made the whipped topping earlier in the day and put the rest of the dessert together after work–along with making the rest of the meal–just in time for supper with friends.

Chocolate Raspberry Shortcakes
Rich chocolate shortcakes, raspberry sauce and whipped topping. Great combo.
Write a review
Print
For the shortcakes
  1. 1/4 cup unsweetened cocoa powder
  2. 1 cup Thrive White Flour *
  3. 1 cup Thrive White Sugar * ( Next time I will add a little more)
  4. 1 1/2 t. baking powder
  5. 1/2 t. Thrive Baking Soda *
  6. 1/4 t.Thrive Salt *
  7. 4 T. cold butter, cubed (original recipe calls for unsalted. I will do that next time.)
  8. 1/2 cup heavy cream
For the raspberry filling
  1. 3 cups Thrive Raspberries (freeze dried)
  2. 2 T. Thrive White Sugar, or to taste
  3. 2 t. vanilla extract
  4. Vanilla Whipped Topping (future post) or whipped topping of choice
Instructions
  1. Preheat oven to 425 degrees F.
  2. To make the shortcakes: In a large mixing bowl, sift together the cocoa powder, flour, sugar, baking powder, baking soda, and salt. Cut in the cold butter with a fork or pastry cutter. Blend the mixture until it resembles a coarse meal. Add the heavy cream and stir the mixture with a fork until it forms a dough.
  3. Roll out the dough on a floured surface (should be 1/4 inch thick). Using a biscuit cutter, cut out 4 shortcakes (depending on the size of biscuit cutter you use, you will end up with more shortcakes than what you need for this recipe). Place shortcakes on a lightly greased baking sheet (I used a reusable parchment sheet), and bake for 12 minutes (a toothpick placed in center should come out clean). Put the shortcakes on a wire rack to cool.
  4. In a small bowl, cover the raspberries with warm water. Let sit for about 5-10 minutes until softened and rehydrated. Drain. In another bowl mash 3/4 cup of the raspberries with a fork, stirring in the white sugar and vanilla. Blend in the remaining raspberries.
  5. Carefully cut the shortcakes in half horizontally with a serrated knife--this was surprisingly easy to do. Transfer the bottom half of each cake to an individual plate. Place a spoonful of the raspberry sauce and a spoonful of vanilla topping on each bottom piece. Place the top parts on each dessert and dust with powdered sugar, if desired. Or maybe use clear sugar sprinkles! Yes, next time I am trying that idea.
Notes
  1. * I am finding ways to "Thrive-alize" recipes in order to use Thrive items from my home store. You can still use your regular store-bought items for this recipe.
Adapted from Thrive Cookbook
Mormon Mavens https://www.mormonmavens.com/

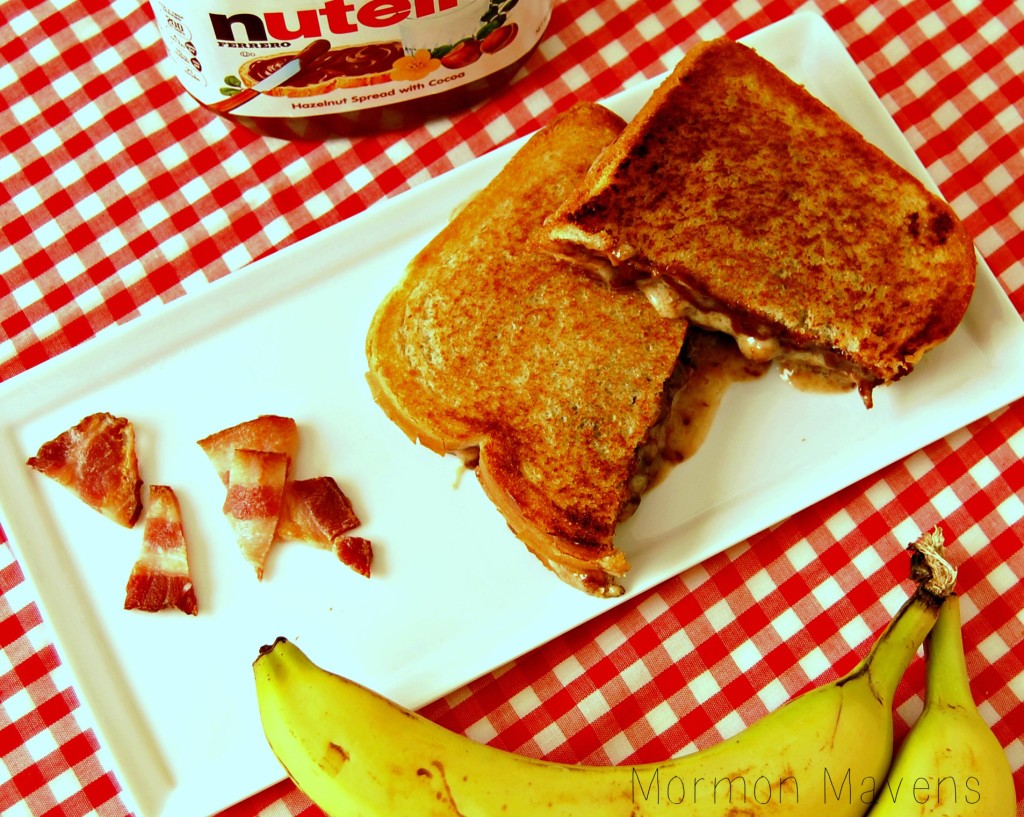
Italian Elvis Sandwiches

italian elvis

A recipe so weird, I just had to try it.

 There I sat, thumbing through who-knows-what outdated magazine at the salon, color setting in my hair.  And I almost didn’t read it.  I almost passed right by it.  But when I read the ingredients I couldn’t help myself.  I snapped a pic of it with my cell phone and made a mental note to try it soon.
 
The family was up for it.  (They are adventurous with anything that involves Nutella.)  And when we bravely tried it for the first time, they were not disappointed.  It as a big hit!  And though this dish is a rich, not-every-day kind of food, it gets requested more often than I can tell you (especially from one kid in particular).
 
So tonight, when we had the missionaries over for dinner and served these for dessert (at the request of that one kid in particular), I remembered….”Oh yeah, I never put this on the blog, did I?”
 
It only took me a year and a half to remember to share it.  Once you try it, you may not forgive me for waiting so long!  My apologies…..but honestly, you’ll be so transported by the unique flavor, you’ll forget all about being mad at me.  🙂

p.s…..comment below if you get why it’s called an Italian Elvis.

Italian Elvis Sandwiches
Yields 4
A wonderfully weird sandwich that you can even serve as a dessert!
Write a review
Print
Ingredients
  1. 8 slices sturdy white bread*
  2. 6 strips of crispy bacon, in bit sized pieces
  3. Nutella
  4. 1 ripe banana
  5. 8 ounce tub of mascarpone cheese
  6. softened butter
  7. lots of napkins
Instructions
  1. Heat a griddle or skillet to medium-low heat (like you are making a grilled cheese sandwich, cuz well, you are!).
  2. Place the banana on a dinner plate and mash it well with a fork. Empty the tub of cheese on top of the mashed banana and use the fork to incorporate the two together. Set aside.
  3. Butter one side of a slice of bread. Place this butter-side down on another slice of bread. Then carefully spread Nutella on top of the slice that's face down with butter. About 1/8" thick is fine--it's up to you how much you want. Now place the bacon pieces on top of the Nutella. (Each sandwich has about 1 1/2 strips of bacon.)
  4. Carefully lift just the Nutella slice of bread and place it butter side down on your griddle or skillet. Immediately drop some scoops of your banana/cheese mixture on top of the Nutella/bacon and carefully spread it out (it will be about twice as thick as the Nutella).
  5. Place the other slice of bread on top (you know, the one you used earlier). Using your flipper/turner/spatula device, gently press down on that top piece. Then carefully spread some butter on it.
  6. When the bottom slice is golden brown, VERY carefully lift and turn it over to cook on the other side. All that gooey goodness might make this step a little challenging, but stick with me....it's worth it.
  7. Once the other side is done, lift it out carefully and place it on a flat surface to cool for a minute or two before slicing and eating.
Notes
  1. Regarding the bread*--super soft white bread will not hold up well to the spreading of Nutella and tends to flatten too much during cooking. I recommend something like Pepperidge Farm breads, which are delicious and stand up well to this recipe.
  2. How many sandwiches this recipe makes will depend a lot on how thick you spread the ingredients on the bread slices. The amounts listed above reflect my family's preferences and you may need to adjust the recipe based on your own preferences.
  3. Where to find mascarpone cheese? In my grocery store, it's found in the deli department, but if you can't find it, just ask someone at the store.
  4. Yes, you do need to have the bacon in pieces. If you just lay 3 half-strips on bacon down, those suckers will slide right out of the sandwich when you take a bite. Also, my family prefers it crispy; yours may like it chewier (in which case it's even more important that the bacon be in pieces).
  5. Why lots of napkins? You obviously haven't tried to eat one yet. Go make one, eat it, and then we'll talk.
Mormon Mavens https://www.mormonmavens.com/

Reese’s Peanut Butter Cookie Dough Dip

Love cookie dough?  Love peanut butter?  Love mini chocolate chips and Reese’s cups?  Look no further!  You have the exact recipe you need!  This sweet dip is so yummy, it can be eaten as a finger-food appetizer, or as a dessert.

Ingredients List:

1/2 c. unsalted butter
1/2 c. light brown sugar
1/4 c. creamy peanut butter
8 oz. cream cheese, softened
3/4 c. powdered sugar
1 tsp. vanilla
1/2 c. mini semisweet chocolate chips
8 oz. package Reese’s mini peanut butter cups (chopped or whole, 1 1/2 cups)

Directions:

1. In a small saucepan over medium heat, melt butter.  Whisk in the brown sugar and heat until sugar dissolves.  Remove from heat; add vanilla.  Allow to cool to room temperature.

2. In a large mixing bowl, beat cream cheese with powdered sugar and peanut butter until creamy.  On low, add in brown sugar mixture.  Mix until combined.

3. By hand, fold in chocolate chips and Reese’s cups.  Serve immediately or store in the fridge until ready to serve.  Best if chilled overnight.

4. Serve with pretzels, animal crackers, graham crackers, apples, etc.  I like to serve them with these pretzels, in Everything flavor!   The sweet and salty combination is delicious!  Yum!

Servings: about 3 cups

Source: all over Pinterest, but I found it here: Shugary Sweets

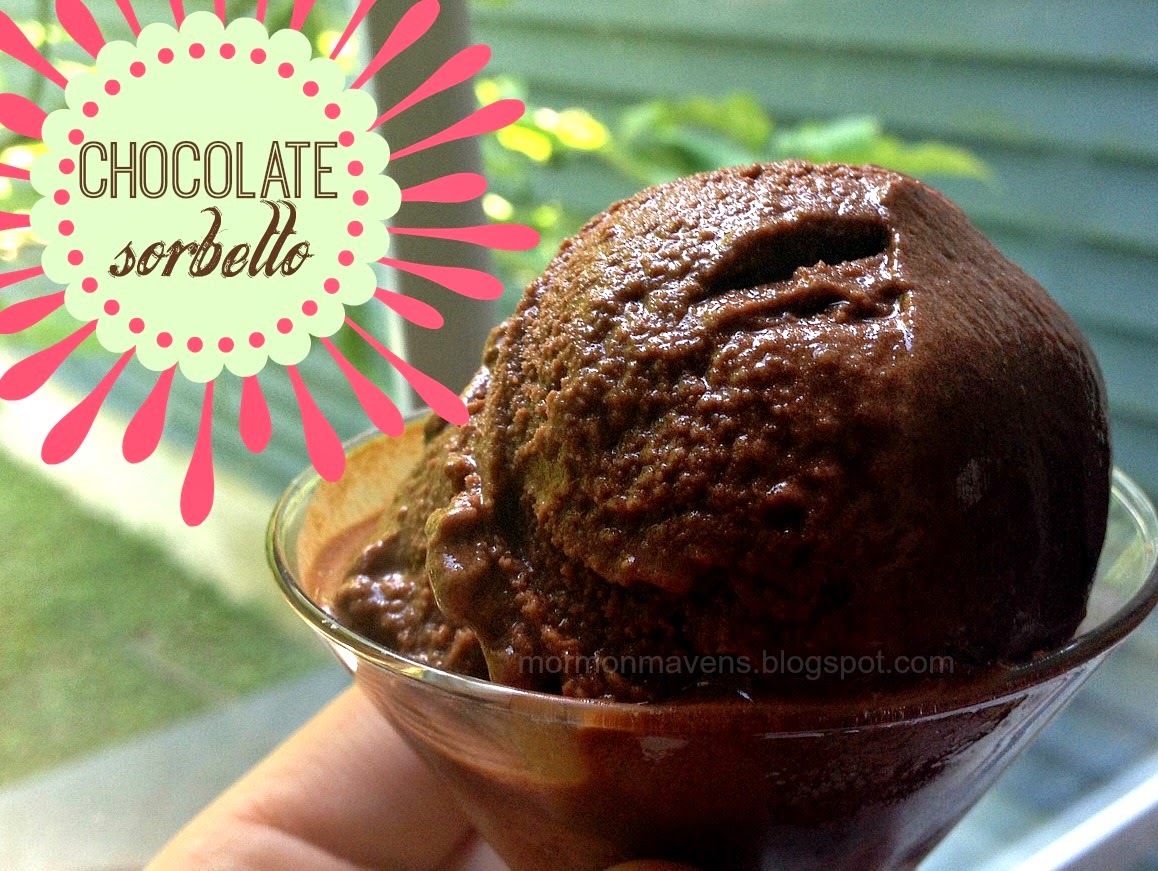
Chocolate Sorbetto

Earlier this year we took a trip to Busch Gardens in Williamsburg, Virginia.  I was in the midst of a 3-month elimination diet to help cure some GI problems and was off of all sorts of foods including dairy, wheat, and–of all things–vanilla.  As we were passing through “Italy” my husband spotted a little gelato stand and pointed it out.  I thought this was really cruel at first because I happen to ADORE gelato and obviously couldn’t have any.  However, it turned out to be fortuitous because they also had sorbetto.  Now, I’d never heard of it but it sounded like something worth investigating.  We asked and to my delight we were told that it had no dairy and no vanilla!  SCORE!!!  We shared a chocolate sorbetto and later returned for a combo of strawberry and chocolate because it was so good.  I vowed to find some sorbetto recipes and make some for myself.  This recipe comes VERY close to the Busch Gardens one.  All my kids loved it!  We served it with homemade strawberry jam to cut the richness a little.

Chocolate Sorbetto
Ingredients:
3 cups water
1 1/2 cups sugar
4 ounces bittersweet chocolate, finely chopped
1/2 cup unsweetened cocoa
1 1/4 tsp. vanilla extract*

1.  Bring the water and sugar to a boil in a medium saucepan, stirring often to make sure all the sugar dissolves.  Reduce the heat and let it simmer for 4 minutes.
2.  Take the saucepan off the heat and add in the chopped chocolate, whisking until the mixture is completely smooth.  Add the cocoa and whisk till smooth.  Add vanilla and whisk.
3.  Pour mixture through a fine sieve into a bowl to cool to room temperature.  Stir often while it cools.
4.  Cover and chill at least 4 hours.
5.  Pour into ice cream machine and process by manufacturer’s directions.  Transfer to freezer container and freeze at least 2 hours.

To serve, remove container from freezer and allow to stand at room temp for 15 minutes.

FYI–Sorbet and sorbetto are sometimes used interchangeably.  From what I can tell, sorbet is French in origin while sorbetto is Italian.  From what I have experienced, sorbetto seems to be creamier in texture than sorbet.

Source:  bittersweetblog.com (slightly adapted)

Fresh Raspberry Pie

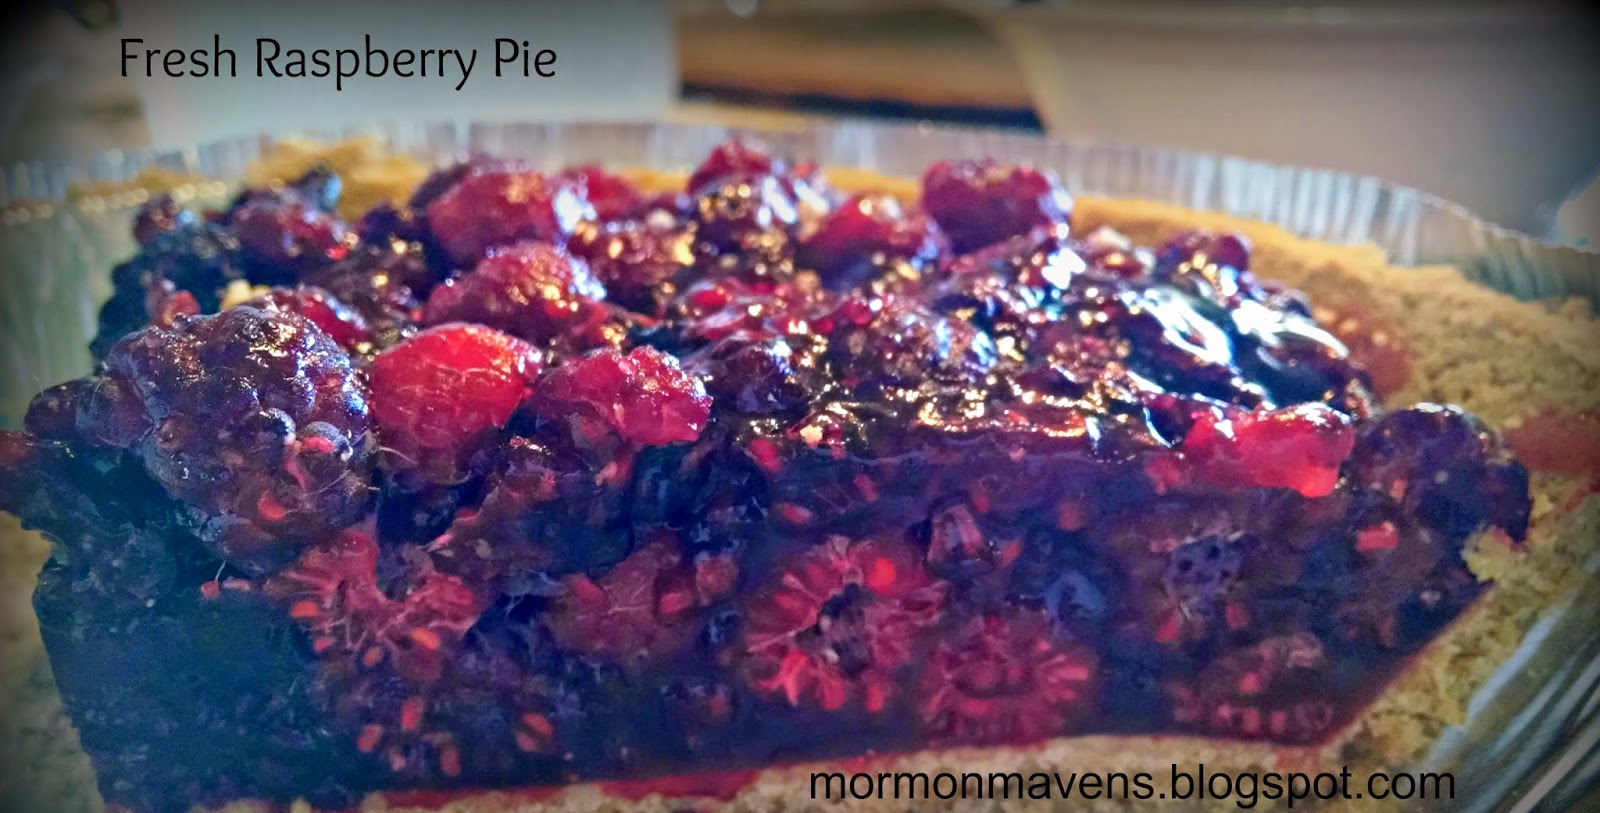
I am visiting my parents and my Dad has the most beautiful raspberry bushes.  My Mom makes this pie out of the fresh raspberries and it is so incredibly yummy!

Fresh Raspberry Pie

1/4 cup Sugar
1 Tbls Cornstarch
1 Cup Water
1 pkg. (3 oz.) Raspberry Gelatin
5 cups Fresh Raspberries
1 Graham Cracker Crust (9 Inches)

In a sauce pan, combine sugar and cornstarch.  Add the water and bring to a boil, stirring constantly.  Cook and stir for 2 min.  Remove from heat; stir in gelatin until dissolved.  Cool for 15 min.  Place raspberries in the crust; slowly pour gelatin mixture over berries.  Chill until set (about 3 hours).  Top with whipped cream. Yield: 6-8 servings

Source: Sheryl Lewis