Hot Fudge Sundae Sauce

I may have mentioned before that I come from a family of sweet-tooths…sweet-teeth…whatever. You can blame my mother (and her mother before her) for my appreciation of Hot Fudge Sundaes.

A sweet lady in Colorado gave me this recipe for Hot Fudge Sundae Sauce after I begged her for it when I tasted its goodness at a Relief Society meeting. It’s so easy to make and 5,000 times better* than that microwavable junk you can buy at the store (no offense, Microwavable Junk!). Now, that’s what I’m talkin’ about!

Ingredients:

1/2 C Karo Light Corn Syrup
1/2 C Evaporated Milk (not Sweet and Condensed!)
2 Tbsp Water
2 C Semi-Sweet Chocolate Chips
1 tsp Vanilla

1. In a medium-sized sauce pan, combine Karo syrup, evaporated milk, and water. Stir over medium heat until it just comes to a boil.
2. Remove from heat and immediately stir in the chocolate chips until smooth.
3. Stir in vanilla.

Yield: About 1 pint

This picture was taken after we and another family dipped into it for dessert, so the amount you see in the jar is not the full amount that was made.

The sauce stores very well in the fridge for a long time. Warm it up in the microwave or over the stove when you’re ready to use it again.

Source: B. Buss, Greeley, CO

*Have I ever mentioned that I may exaggerate a bit? Yeah, I’m an exaggerator. But in my defense, it is better than store bought! 5,000 times better? That’s for you to decide.

~Kara

Chocolate Covered Strawberry Shortcake

This is such a delicious idea that I don’t know why I didn’t think of it before.  The idea came from a dinner with our Sister Missionaries, one of which is allergic to strawberries.  I made a quick “chocolate sauce” for her pound cake and the rest of us wanted in on it.  This is the result.  You can spread the sauce over the cake, drizzle it over the top, or both.  It is a yummy twist to an already delectable dessert! 

Ingredients:
Cake – Pound Cake, Angela Food Cake or another cake of your choice cut into serving size pieces
1 Qt. Strawberries (fresh if available)
Sprinkle of sugar (optional)
2 cups Heavy Whipping Cream
1/2 tsp Vanilla
1/4 cup Powdered Sugar
1 cup milk chocolate chips
1/4 cup Heavy Whipping Cream

1.  Prepare Cake according to directions on package or recipe (or purchase pre-made) Let cool.
2.  Wash, Stem and slice strawberries.  Sprinkle with 1-2 TBLS sugar and stir with wooden spoon – this will cause the strawberries to “juice”
3.  Whip whipping cream until peaks start to form, add vanilla and powdered sugar, whip until stiff peaks form
(Note:  If you whip your cream too long, you will have a sweetened vanilla butter – not all “oops” are a bad thing)
4.  Heat Chocolate chips and cream in double boiler or in microwave just until melted – stirring to prevent burning let cool slightly
5.  Layer the dessert the way you like it.

Source:  A Jennie Original with a little help from my friends 🙂

Mini Berry Tarts

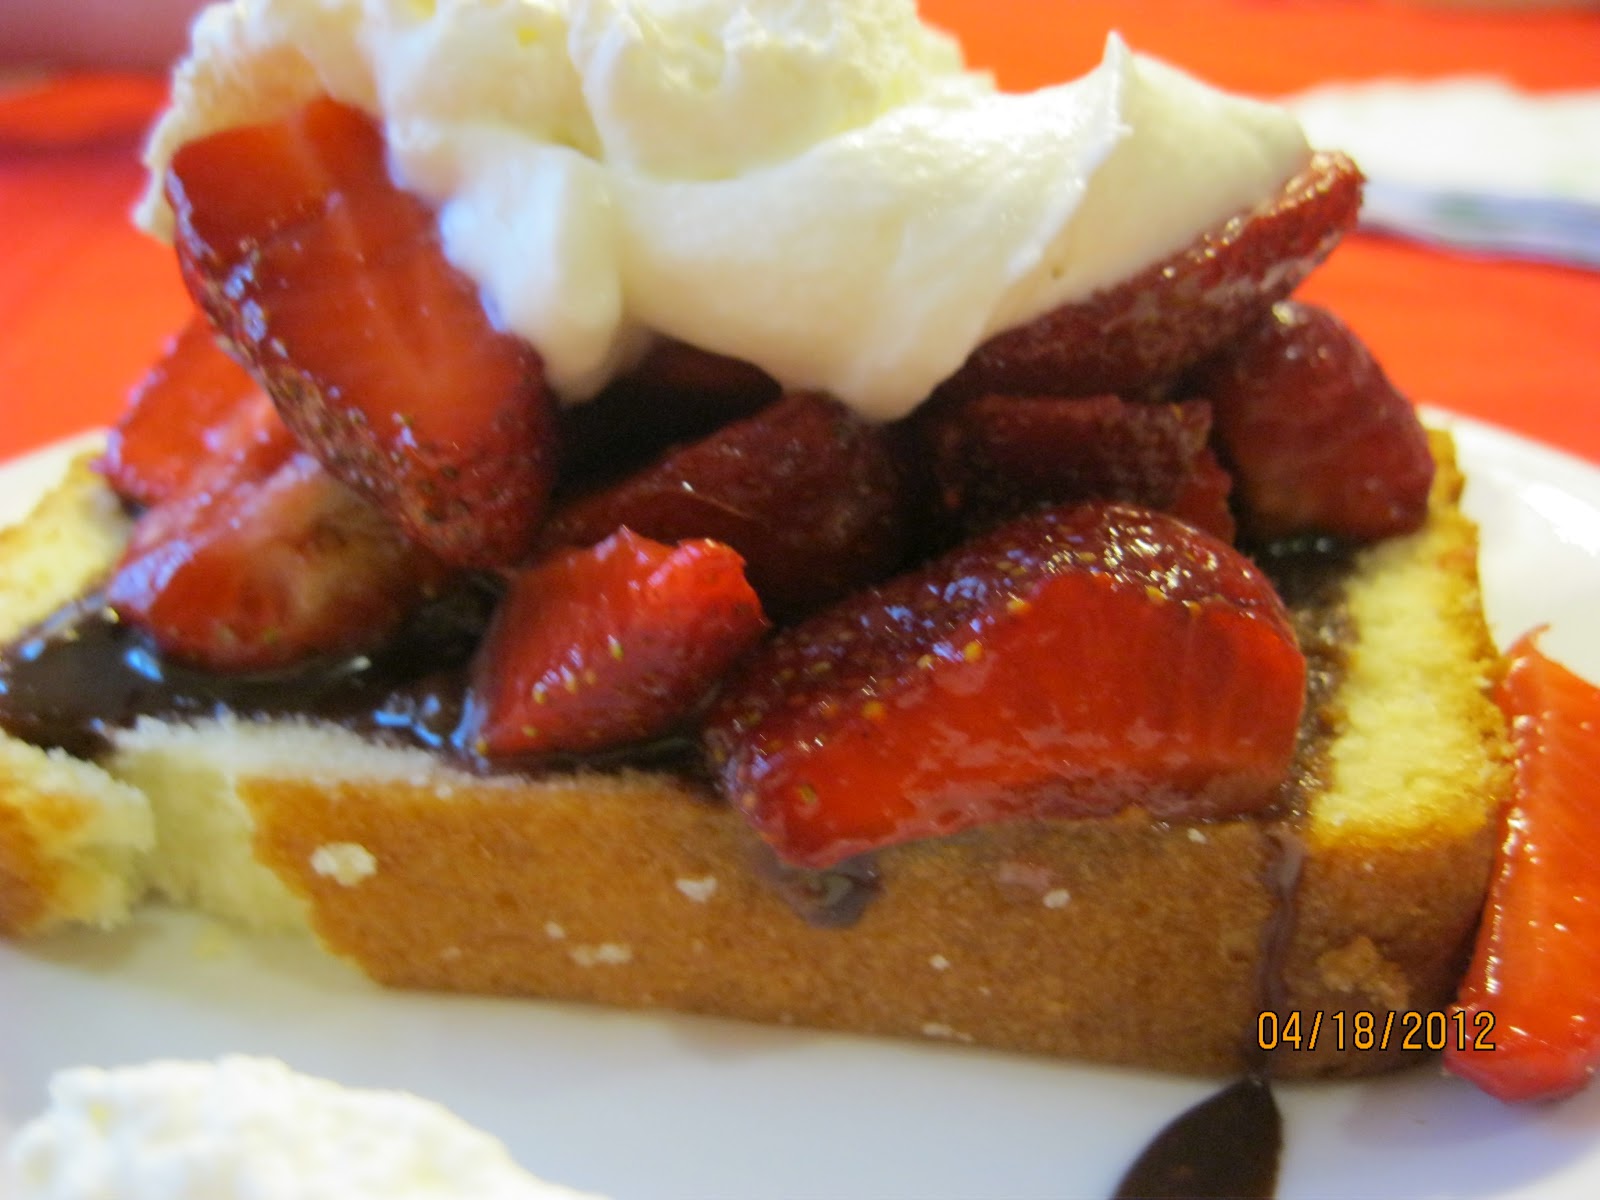
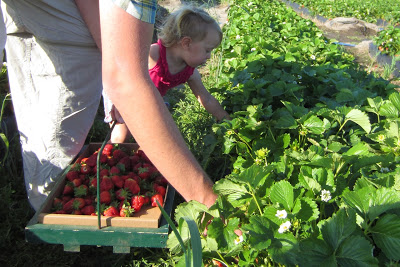
I really love spring. A fresh start in so many ways! One of my favorite spring activities is going to the strawberry patch and picking big, juicy fruit right off the bush. Most of the strawberries make it into our basket, but I will admit that a fair share go from vine to mouth in one swift motion.

 
Once we get the berries home, it’s a race to see how may ways we can use them before they spoil. Among many of the strawberry dishes we have had over the past week were these little babies:
 
I bet you are glad you stopped by, because I am going to tell you how to make them!!! And once you do, share them at your spring brunch, or take some to a neighbor!
 
You will need some sort of tart pan, which looks a lot like a regular sized muffin tin, but with shallower pockets.
 

You could attempt to make the tart shells in a muffin tin, but I am not taking responsibility for stuck and broken shells. Just be sure to grease and flour the pan before you place your pastry in the cups.
 
Tart Shells:
6 T. sugar
2/3 cup margarine
1 1/2 T. cream
1 egg yolk
1/2 tsp. vanilla or almond extract
1 1/4 C. cake flour, plus extra if your dough seems too sticky
 
Directions:
1. Cream sugar and margarine together in a medium bowl. Add cream, egg yolk, and vanilla/almond extract and mix until well blended. Add the 1 1/4 cups of cake flour. If the dough is really sticky, and doesn’t come together or leave the sides of the bowl, add more flour in small increments until it does.
2. Remove dough from bowl and wrap it in plastic wrap. Refrigerate 30 min. to 1 hour.
3. Roll chilled dough out on a floured surface and use a cookie cutter or glass to cut circles about an inch larger than the tart pan cups. Transfer circles of dough to each cup, easing them into the bottom and up the sides. Press gently around the sides and cut away the excess dough on top. Cover the pan with foil and bake at 350 degrees F. for 10 minutes. Remove the foil and bake for 5-10 minutes more or until golden brown (watch them carefully for the color you want, they can over-brown quickly). You want the shells to be crunchy though, not soft.
Allow to cool before filling.
Makes 24 mini tart shells or one 9-inch tart shell*
 
* If you would like to make one large tart shell, roll out dough to 1 inch larger than the pan and gently lay the dough into the bottom and up the sides. Roll the rolling pin over the top of the pan to seal the edges and cut away excess. Lay foil over the dough, gently pressing it against the bottom and sides. Pour 1 1/2 cups baking beads, dry beans, or rice on top of the foil (this is to prevent the dough from rising during baking) Bake this way at 350 degrees F. for 15 min. Remove foil and return the crust to the oven for 10 minutes until golden brown.
 
Tart Filling:
1 C. strawberries
1 C. blueberries (*if you are making a 9-inch tart add another cup of berries)
3 oz. cream cheese, room temperature
4 T. sugar, divided
4 oz. frozen whipped topping, thawed in the refrigerator (that’s 1/2 of an 8 oz. container)
 
Directions:
1. Rinse the berries and dry on paper towels. Cut the strawberries into quarters.
2. Beat cream cheese and 1 T. sugar until smooth. Add whipped topping and mix until well blended.
3. Spread filling into tart shells, and arrange berries on top of filling.
4. Sprinkle with the remaining 3 T. of sugar.
 
Source: adapted from a Lion House Pies recipe.

Banana Date Muffins

I’m always looking for good recipes to use dates in because I ALWAYS have dates on hand for these.  I guess it’s not a bad thing to only eat dates paired with bacon.  However, I’m trying to branch out.  These were easy to make and tasted yummy!

Ingredients:
2 ripe bananas
1/2 cup vegetable oil (next time I’ll try replacing the oil with applesauce)
2 eggs
3/4 -1 cup chopped dates
3/4 cup brown sugar
1 1/2 cups self rising flour
1 tsp. baking soda
1/2 tsp. of cinnamon (optional)
1 tsp. vanilla (optional)

1.  Preheat oven to 300 degrees.  Lightly grease a muffin pan and set aside; you could also use baking cups if you like. 
2.  Mash bananas with a fork and mix well with remaining wet ingredients.  In a separate bowl, mix dry ingredients and add to wet ingredients until just combined.
3.  Fill muffin cups 1/2-2/3 full.  Bake for 18-20 minutes or until done.
4.  Serve muffins with butter/jam or dress them up with some cream cheese frosting!

*While I thought these were moist and delicious, they tasted pretty close to regular banana muffins.  The date flavor was very mild.  Next time I make them I’m going to add at least 1 1/4 cups of chopped dates.

Source: Nigella.com

Cast Iron Chocolate Chip Cookie

 We’re big fans of Chocolate Chip cookies. Bigger the better, right? This cookie is so scrumptious, and… you can’t go wrong with a Martha recipe.  It’s crisp on the outside and chewy on the inside. It’ll be a while until I make cookies any other way…

Also, don’t be afraid. Pull out your trusty cast iron skillet. It makes the edges so crispy!


Cast Iron Chocolate Chip Cookie

Ingredients
2 cups all purpose flour
1 teaspoon baking soda
1/2 teaspoon salt
3/4 cup (1 1/2 sticks) unsalted butter, softened
1/2 cup granulated sugar
3/4 cup packed light brown sugar
1 large egg
2 teaspoons of pure vanilla extract
1 1/2 cups chocolate chips (9 ounces)

Directions
-Preheat oven to 350 degrees.
-In a medium bowl, whisk together flour, baking soda, and salt; set aside. In the bowl of an electric mixer fitted with the paddle attachment, cream butter and sugars until mixture is light and fluffy, about 2 minutes.
-Add egg and vanilla; mix until they are fully incorporated.
-Add flour mixture, and beat until just combined.
-Stir in chocolate chips.
-Transfer dough to a 10-inch ovenproof skillet (I sprayed mine with just a little cooking spray), and press to flatten, covering bottom of pan.
-Bake until edges are brown and top is golden, 40 to 45 minutes. Don’t overbake; it will continue to cook a few minutes out of the oven. Transfer to a wire rack to cool in pan, 15 to 20 minutes. Cut into wedges.

This cookie would taste great with some Vanilla Ice Cream and Chocolate Sauce. Yum!

Blueberry Banana Smoothie

Just call me the Smoothie Queen. I can’t get enough of them.
Here’s one that I’ve made up…. it’s quickly become a favorite of my husbands. (Go figure. He’s from Maine. Anything with Maine Blueberries, he loves!!)

Blueberry Banana Smoothie
Serves 2
Ingredients
1 Banana
1 1/2 cup Frozen Blueberries (If you have a Costco close by, they carry frozen Wild Maine Blueberries, Wlyer’s Brand… these are naturally sweeter and SO tasty!)
1/2 C. Vanilla Yogurt (if you have a 6 oz. container, that works too!)
1 C. apple juice

Directions

Blend.
Enjoy!

Happy Pi Day: Nutella Pie

I love Pi Day.  I mean, who wouldn’t love an excuse to eat pie?  March 3.14 is for both geeks and gastronomists alike.

I just happen to be both.

Ingredients:
For the Crust:*
about 2 1/2 cups of graham cracker crumbs**
1/4 cup melted butter
1/3-1/2 cup creamy peanut butter
_______

For the Filling:
16 ounces Neufchâtel cheese, softened (the 1/3 less fat “cream cheese”)
3/4 cup sugar
1 tsp. vanilla
1/2 cup Nutella
1/2 cup whipping cream
_______

For the Nutella Ganache:
1/4 cup Nutella
1/4 cup whipping cream

1.  Spray your pie plate with non-stick cooking spray (or butter it) and set aside.
2.  Combine graham cracker crumbs, butter, and peanut butter (I do this in the food processor since I usually use that to make the crumbs).  Make sure the mixture is combined well.  (When you press some of the mixture together, it should hold its shape.)
3.  Pour crumb mixture into pie plate, spreading evenly on the bottom.  Then, using the bottom of a straight-sided measuring cup, start pressing the crumb mixture down.  Work your way from the center of the pie plate out to the edge.  Use the measuring cup to coax the mixture firmly into the bottom edge of the pie plate (where the bottom meets the sides).  Then use your fingers to press the mixture up the sides.  Place in the fridge to chill.
4.  Whip the cream cheese and sugar together until well blended.  Stir in the vanilla and Nutella.  Scrape the sides down, then stir in the cream.  Increase the speed of the mixer and whip the mixture for about 3 minutes or until very thick.
5.  Pour filling into pie crust, smoothing the top.  Refrigerate about 2 hours to set.
6.  When ready to serve, microwave the Nutella and cream together in a small bowl for about 30 seconds.  Whisk with a fork until completely mixed together.  Drizzle this lovely ganache over the slices of pie.  Enjoy!

Source:  slightly adapted from Tasty Kitchen

Notes:
*Original recipe uses 24 Nutter Butter Cookies and 1/4 cup melted butter for the crust.  Grind the cookies up in a food processor and then add the melted butter.
**I say “about 2 1/2 cups” because I don’t really measure here.  I don’t normally buy graham cracker crumbs; I just crush regular graham crackers.  I kind of eyeball it, then add the butter and peanut butter and adjust the amounts until it will hold its shape when pressed.

Granny’s Chocolate Pie

First of all, ignore the cut in the pie tin. I got too excited and cut too deep! This pie is soo yummy! It tastes chocolatey and light all at the same time! You could soo add some topping to this but, really it doesn’t need it. Its delicous! And its super easy to make!
Happy “pi” day!

1 square of baking chocolate
1 stick of butter
Melt these two together in the microwave and stir really well to make sure all the chocolate is incorporated.

1 cup of granulated sugar
1 tsp. vanilla flavoring
Stir these into the chocolate mixture and stir really well.

2 eggs
Stir in one egg at a time and mix well. Making sure all ingredients are incorporated well.

Bake in an unbaked pie shell at 350 degrees for 30-40 min. The pie will settle while it cools. Then put it in the fridge until your ready to serve. It is addicting!

Rolo Brownies

Chocolate, chocolate, and caramel. Mmmmm…
 
Ingredients:
24 frozen Rolos
Brownie mix (or make batter from scratch) and whatever the brownie mix calls for (eggs, vegetable oil, etc.)
Pam
 
1. (Freeze the Rolos first.) Make the brownie batter.
 
2. Grease muffin pan well and fill each insert 2/3 of the way full with batter.
 
3. Place a frozen Rolo into the center of each brownie.
 
 
4. Spread batter from around the Rolo over the top to cover it completely.
 
5. Bake at 350 degrees for 10-15 minutes. Let cool for a several minutes and carefully remove from pan. Enjoy!!!
 
Source: Rachel B. posted to Pinterest, my friend Porsche repinned it, and Porsche and my sister, Kylie, were kind enough to make them while visiting 🙂

Apple Nachos

Contrary to what you may think, there is no cheese involved in this recipe…but lots of gooey PB and other crunchy toppings to satisfy your snacky cravings. Thanks to Pinterest and Manifest Vegan we now have another healthy (not to mention FUN) morsel to make with the kids. 😉


Ingredients
Apples (we usually have Gala or Pink Lady…but use your fav.)
Lemon Juice/Fruit Fresh/or Lemon Lime Soda (if you don’t want them to brown)
Peanut Butter (about 1/2 C per 2 apples), Warmed
Craisins (Dried Cranberries)
Shredded Sweetened Coconut
Slivered Almonds (or any other type of chopped nut)
 
 
The best part about Apple Nachos is that you can use 
as much or as little of your choice of ingredients as you would like! 
And the kids LOVE to help!
First, just get your apples washed and sliced.  
If you want to prevent them from browning, put the apples in a bowl 
or ZipLock bag and pour either lemon juice, a Fruit Fresh solution 
or some lemon lime soda (like 7Up or Sprite) over them and stir 
or shake to coat them completely.
Warm up the PB in a microwaveable cup or dish. 
I did 1/2 C for about 30-40 seconds.
When you get the apples on the plate, just start piling it on!
We started with the Craisins, then drizzled that melty PB all over.
Mmmmmmm. Melty Goodness.
Some how those little people always make their way into my pics. 😉
 

And…….Voila! Apple Nachos!

Mmm Hmmm…They’re sticky, alright!