How did I get so lucky to post on Independence Day? I am honored to post on the 4th of July because I am a patriot. I get teary-eyed when the national anthem is played and the Stars and Stripes are presented at ballgames. Every time.
For our followers who are not of the LDS faith, I would like to share a couple of our
Articles of Faith–what we believe–that correlate with our celebrations today:
Article of Faith #11–We claim the privilege of worshipping Almighty God according to the dictates of our own conscience, and allow all men the same privilege, let them worship how, where, or what they may.
Article of Faith #12–We believe in being subject to kings, presidents, rulers, and magistrates, in obeying, honoring, and sustaining the law.
I just thought these were very appropriate as we celebrate our freedoms and the principles upon which this great country was established.
Now that I have given you food for thought, here is my food post for today. Have you seen the new cookbook from our lovely Kate and Sara at
OBB? It is entitled,
“Savoring the Seasons with Our Best Bites.” Yummy stuff . This recipe comes from that book and it is a perfect summer treat for this holiday.
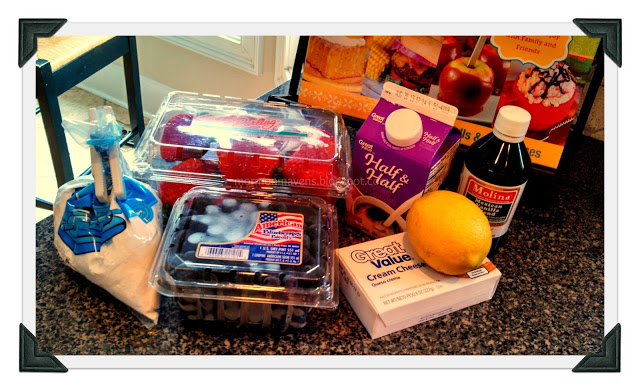
Ingredients:
2 cups assorted berries (I used strawberries and blueberries)*
1/2 cup plus 3 tablespoons powdered sugar, divided
3 oz. cream cheese
1 cup Half-and-Half
1 teaspoon vanilla
2 teaspoons fresh lemon juice
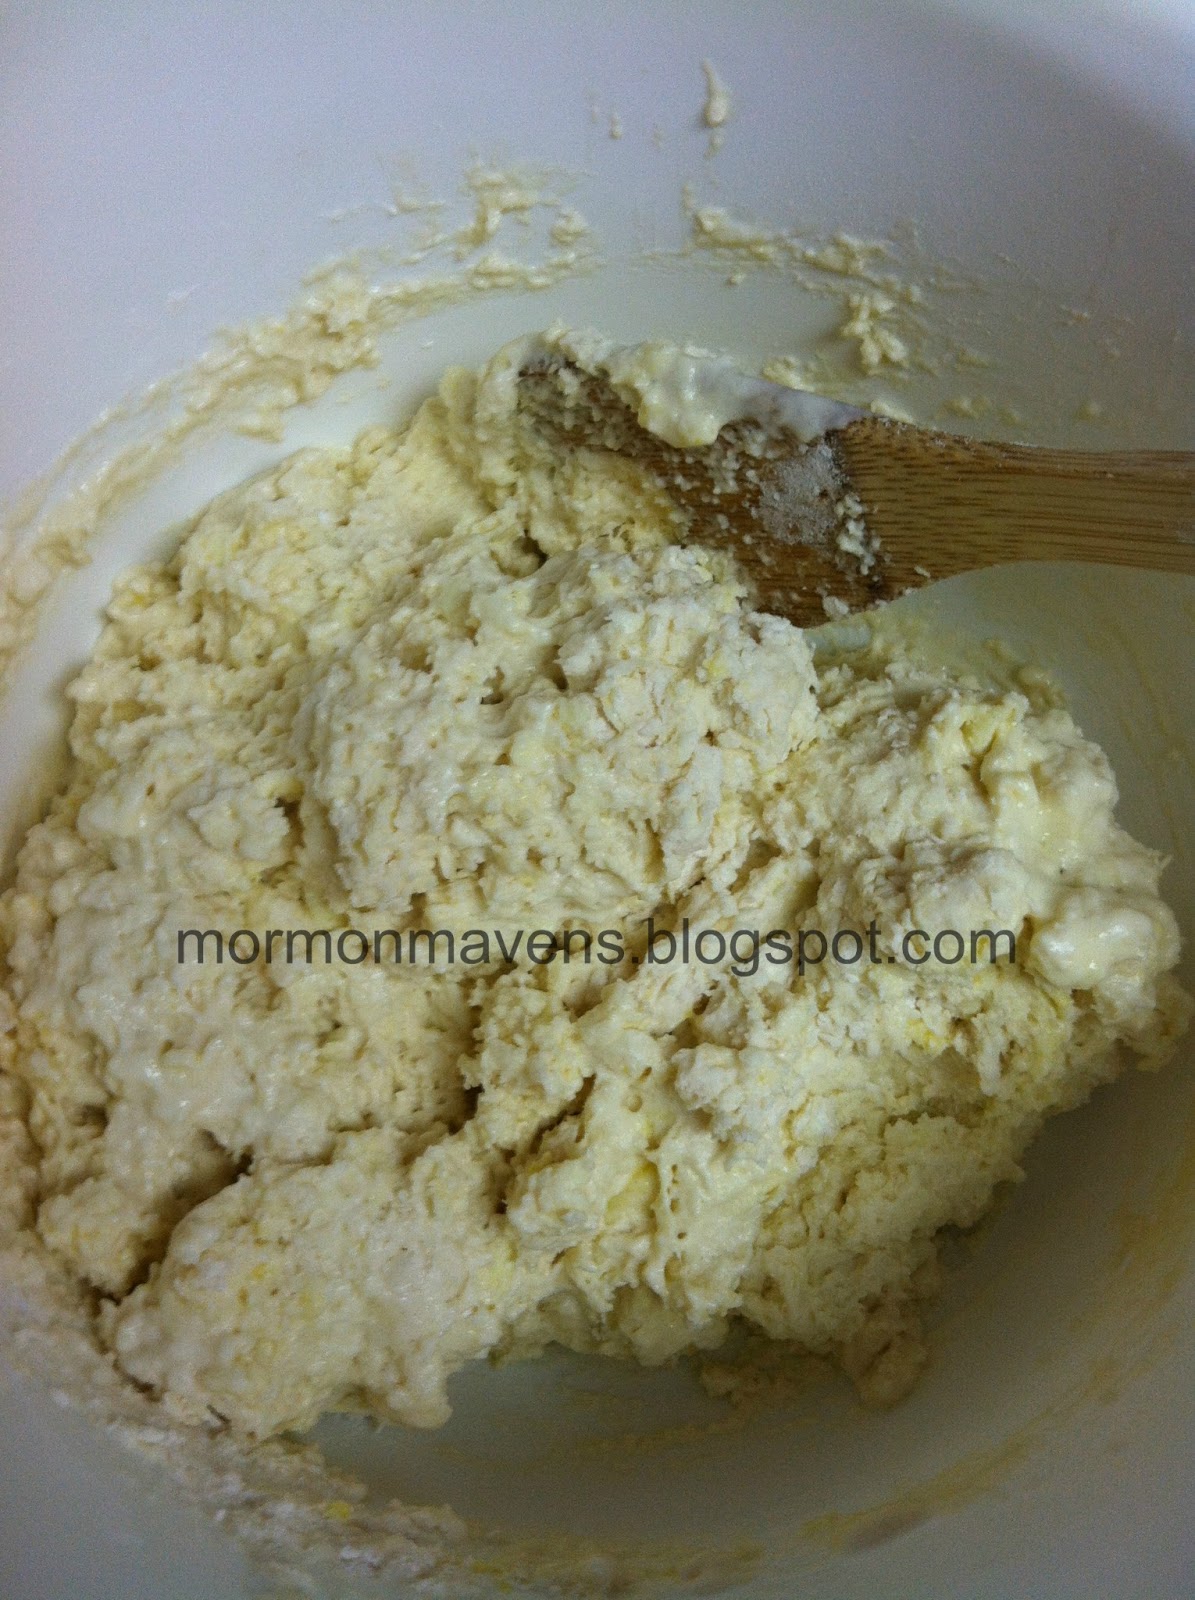
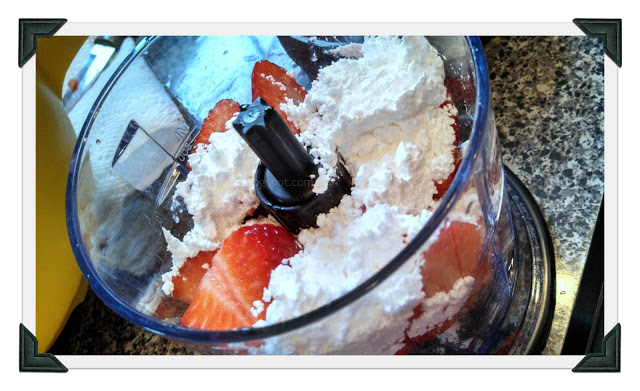
1. Place berries and 3 tablespoons powdered sugar in a blender or food processor and roughly puree. Add more sugar, if needed. You should end up with about 1 cup of berry puree–smooth or chunky. Whatever you want.
2. Transfer puree to a bowl or measuring cup with a pour spout and set aside. Wash out food processor and place the cream cheese, half-and-half, vanilla, lemon juice, and 1/2 cup powdered sugar inside. Puree until smooth–not going to show a picture but it is white and liquid.
3. Fill popsicle molds, alternating berry mixture and cream cheese mixture. You can swirl it with a popsicle stick or leave in layers. Freeze until slightly firm if you are adding your own popsicle stick. My form came with stick/lids so I just put mine in at the get-go and froze them completely.

4. To remove from molds, carefully run warm water around the outside of molds until popsicles are loosened. Store in an airtight container or zip-top bag in the freezer.
* Next time I make these I am going to try some of my freeze-dried fruit and see how that turns out. Sounds like a good way to use that fruit from my food storage and it is a healthy snack–pretty much.
Source: Savoring the Seasons with Our Best Bites, p. 124.